


Spoiler‑light mapping guide. Covers how maps work, where to meet/recall Shakra, early area order, per‑area locations, and what to buy first.
Summary
- Mapping: Buy maps and tools from Shakra; no auto‑map until you own them.
- First meet: The Marrow (listen for humming); buy Moss Grotto + Marrow maps, Compass, and Quill.
- Missed Shakra: Use the recall bell in Bone Bottom to summon her and buy skipped maps.
- Early area order: Moss Grotto → The Marrow → Deep Docks → Far Fields → Greymoor → Bellhart.
How Mapping Works
- Buy maps per area from Shakra. Without a map, the screen stays “blank parchment.”
- Compass: Shows Hornet’s position on the map (equip at a bench).
- Quill: Fills in explored rooms after you rest.
- Markers/Pins: Optional quality‑of‑life; prioritize once Rosaries are comfortable. See the Rosaries guide for farming routes.
First Shakra Location — The Marrow
- Route: From early Marrow, go right past the paid bench, climb near lava‑adjacent rooms, then loop left across cage platforms.
- Audio cue: Shakra hums when you’re close.
- Buy here: Moss Grotto Map, The Marrow Map, Compass, Quill, and basic pins/markers.
Bone Bottom Recall — If You Missed Her
- Go to Bone Bottom’s right platforms and strike the hanging ring/bell (twice) to summon Shakra.
- She sells maps you skipped so progress isn’t blocked by a missed encounter.
Recommended Early Area Order
- Moss Grotto (aka Mosslands)
- The Marrow
- Deep Docks
- Far Fields
- Greymoor
- Bellhart (settlement; Shakra camps here later)
Per‑Area Map Locations
- Moss Grotto: Not sold inside the biome—buy at Shakra’s first shop in The Marrow.
- The Marrow (first shop): Same room as above; grab both Marrow and Moss Grotto maps plus Compass/Quill.
- Deep Docks: From Marrow → Docks, continue right. In a tall elevator room near a bench/Bellway sign, drop to Shakra’s alcove and buy the Deep Docks map.
- Far Fields: In the tall updraft tower, enter a small right‑side nook where Shakra sets up; buy the Far Fields map.
- Greymoor: After riding updrafts into Greymoor from below, travel right a couple of screens; Shakra is along that path with the Greymoor map.
- Bellhart: Later, Shakra can camp in an upper‑right alcove near the Pinmaster—useful for follow‑up pins and any missed maps.
Prices (Rosaries) — Early Kit
- Maps: Moss Grotto (≈40), The Marrow (≈50), Deep Docks (≈50), Far Fields (≈50)
- Tools: Compass (≈70), Quill (≈50)
- Pins/Markers: Bench Pins (≈60), Shell Marker (≈40), Bellway Pins (≈60), Vendor Pins (≈80), Ring Marker (≈40) Note: Availability and costs can shift slightly with progression/patches; use these as ballpark figures.
Tips & Common Mistakes
- Buy Compass with your first maps; Quill next. Pins/markers can wait.
- Short on Rosaries? Farm a loop next to Shakra’s shop, then rest to respawn enemies. See Fast Rosaries.
- Listen for humming to triangulate her location in each area.
- Don’t panic if she moves—Bone Bottom recall covers missed maps.
FAQ
- Where is Shakra first? In The Marrow; climb then loop left from the lava‑adjacent route and follow the humming.
- How do I get missed maps? Use the Bone Bottom bell to summon Shakra; she’ll sell prior maps.
- Should I buy Compass or Quill first? Compass first (position), then Quill (fills explored rooms after resting).
- Do maps fill in automatically? Not without the Quill; rest to update the parchment with explored rooms.
Route & Map Pointers
- Broader routing: 100% map route.
- Currency: Rosaries guide for gear and farming strategies.
- Areas referenced: The Marrow, Deep Docks, Far Fields, Greymoor.
Map Preview
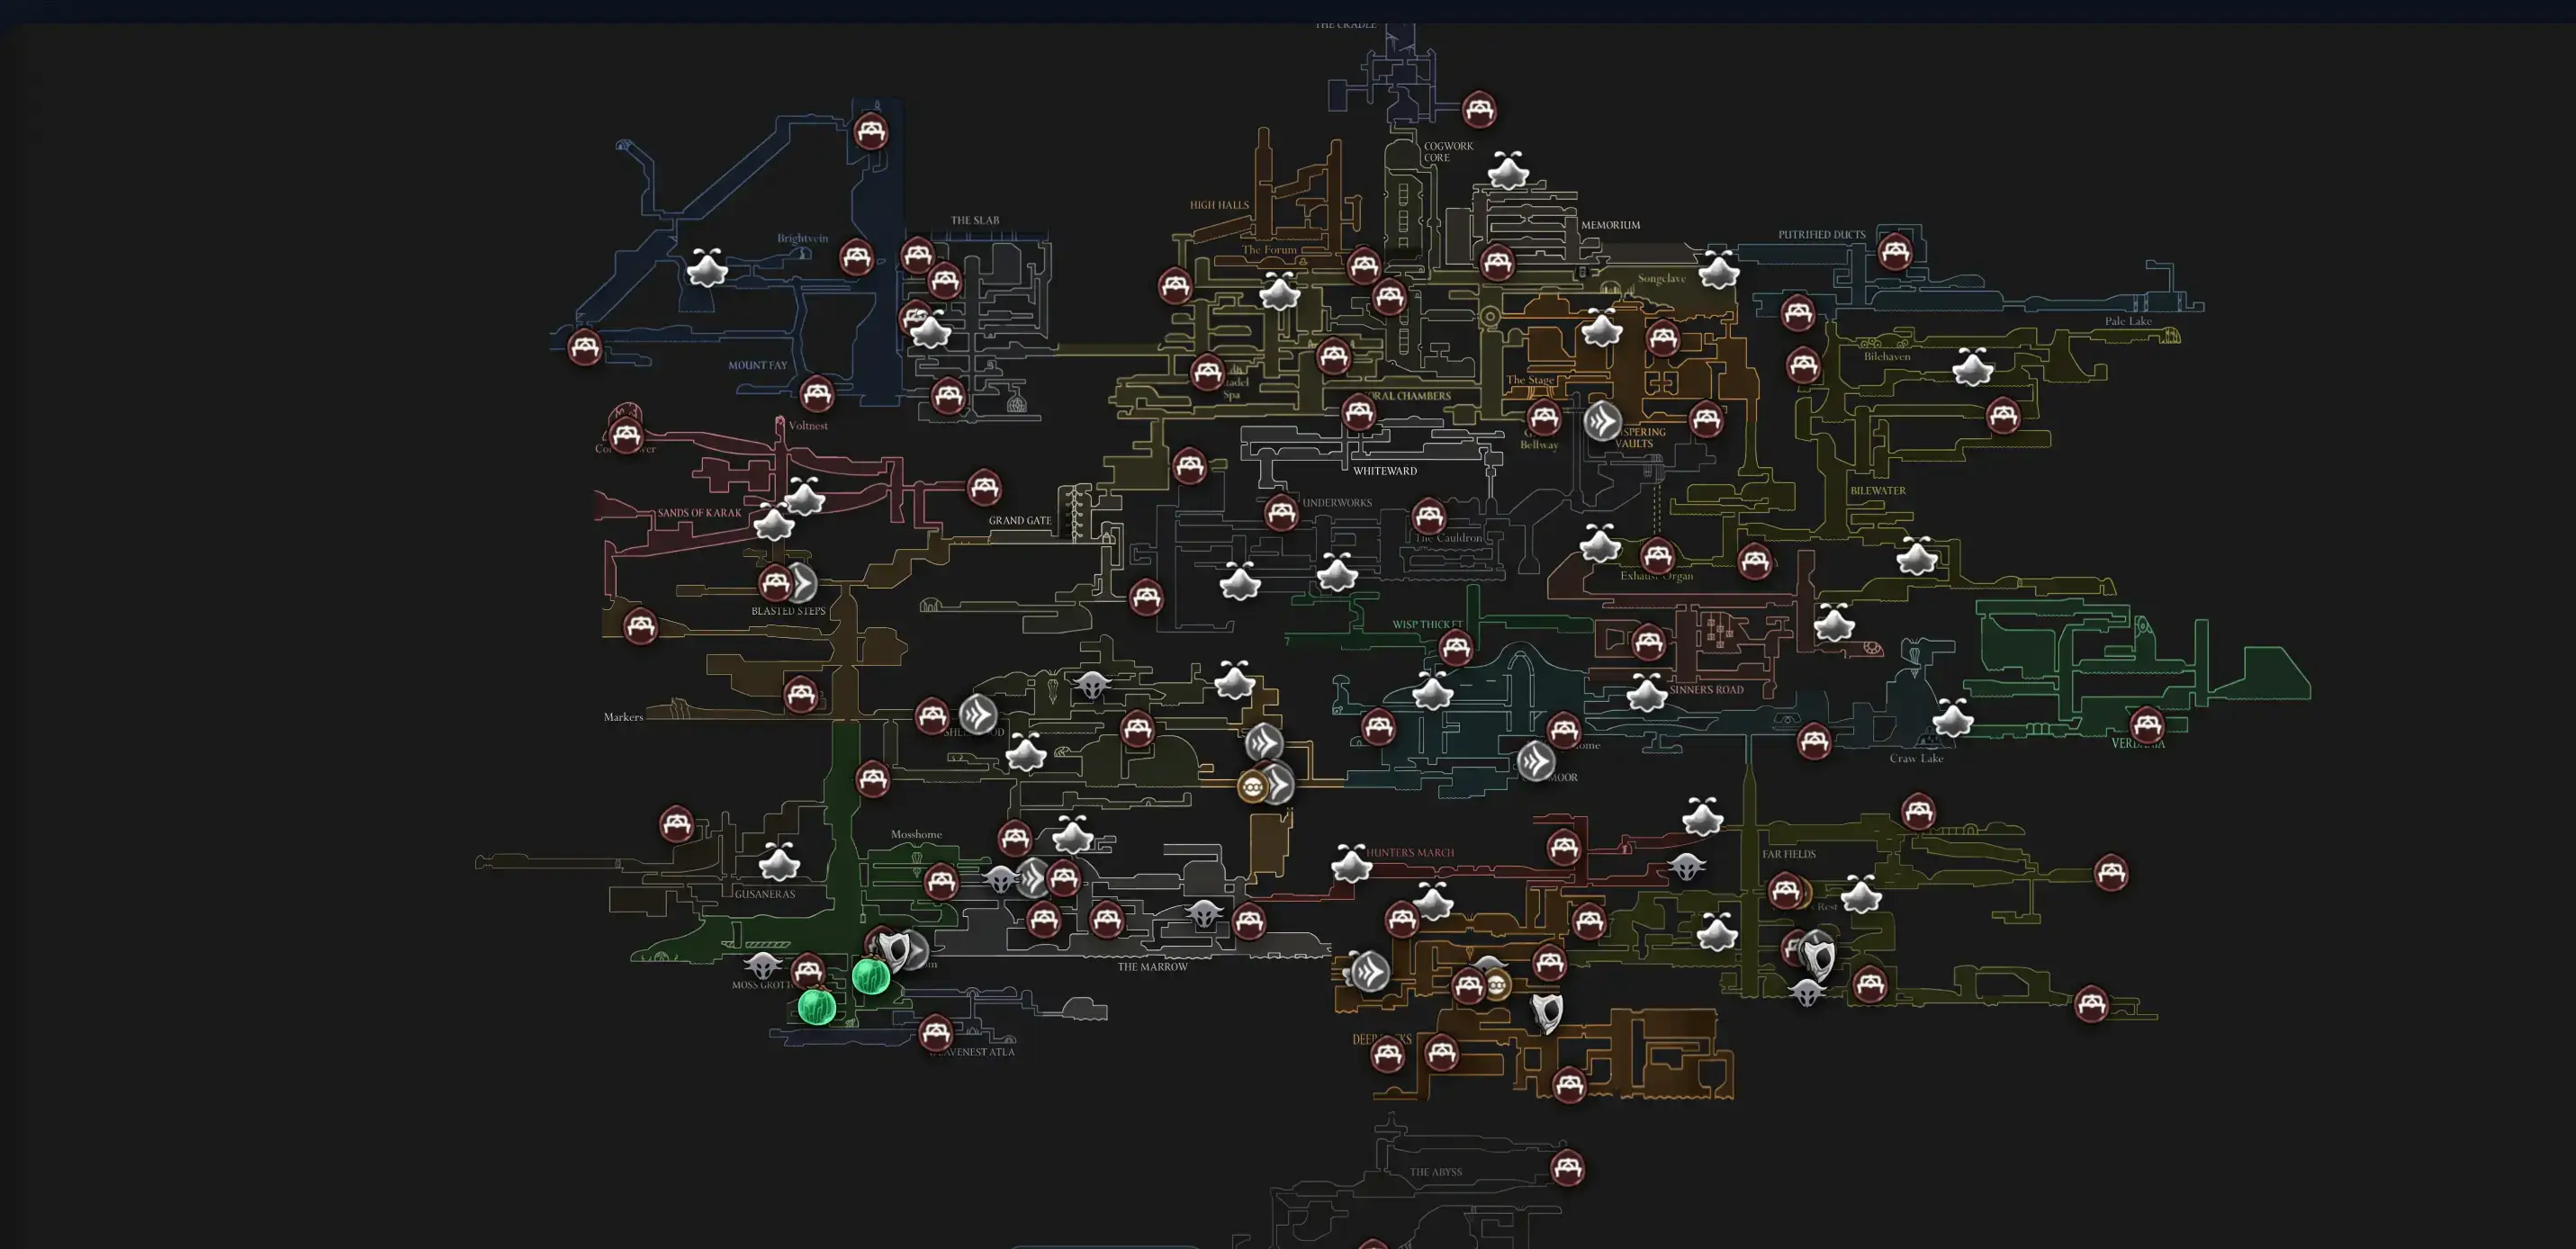
Open Interactive Map
Opens the full interactive Silksong map in a new tab.
Sources
- Video: https://www.youtube.com/watch?v=6Qcnq4sJEI4
- Launch‑window guides aligning on Shakra’s early placements, recall bell behavior, and price ranges.