


What are Rosaries in Hollow Knight: Silksong?
Rosaries are the primary currency in Hollow Knight: Silksong, serving as the equivalent to Geo from the original Hollow Knight. These small, bead-like items are dropped by defeated enemies and can be spent with various merchants throughout Pharloom for essential upgrades, maps, tools, and services.
Unlike many games where currency is automatically collected, Rosaries must be physically picked up from the ground where enemies drop them. This creates both opportunity and risk - while you can accumulate substantial wealth through efficient farming, you'll lose all carried Rosaries if you die (though they can be recovered from your death location).
Understanding efficient Rosary farming is crucial for progression in Silksong, as many essential items - including maps, movement upgrades, and powerful charms - require significant investment. The difference between struggling through areas and having the right tools often comes down to having enough Rosaries to purchase what you need.
Understanding the Rosary Economy
How Rosaries Work
Earning Rosaries:
- Enemy defeats - Most enemies drop 1-3 Rosaries when killed
- Environmental sources - Some breakable objects contain Rosaries
- Quest rewards - Completing certain wishes provides Rosary bonuses
- Hidden caches - Secret areas sometimes contain Rosary deposits
Spending Rosaries:
- Maps and navigation tools - Compass, Quill, map pins from Shakra
- Charms and upgrades - Power-ups from various merchants
- Tools and abilities - Movement upgrades and utility items
- Services - Bench repairs, fast travel activations, special services
The Risk-Reward System
Death Mechanics:
- All Rosaries dropped - Die and lose everything you're carrying
- Cocoon recovery - Return to your death spot to reclaim lost Rosaries
- Double death penalty - Die again before recovery and lose everything permanently
- No interest or growth - Rosaries don't increase in value over time
Protection Strategies:
- Frequent banking - Convert to items or spend regularly
- Safe farming zones - Choose low-risk areas for grinding
- Emergency escape - Save & Quit to avoid death in dangerous situations
Early Game Rosary Farming (0-2 Hours)
Method 1: Mosshome Quick Loop
Location: Just off The Marrow bench, accessible very early in the game.
The Route:
- Start at The Marrow bench - Rest to ensure full health
- Head left into Mosshome - Short walk into the adjacent area
- Clear 2-3 nearby enemies - Basic bugs that die quickly
- Return to bench immediately - Rest to respawn enemies
- Repeat the cycle - No complex navigation required
Efficiency Stats:
- Time per loop: ~20-25 seconds
- Rosaries per loop: 8-12 Rosaries
- Hourly rate: ~1,200-1,800 Rosaries per hour
- Risk level: Very Low
Why This Works:
- Immediate accessibility - Available from the start
- Zero risk - Bench is seconds away
- No equipment needed - Basic attacks are sufficient
- Perfect for beginners - Teaches farming fundamentals
Best Use Cases:
- First map purchase - Get Shakra's basic mapping tools
- Learning enemy patterns - Safe practice environment
- Emergency funds - Quick cash when you need something specific
Method 2: Bone Bottom Village Loop
Location: Central Bone Bottom area, available after reaching the village.
The Route:
- Use the central Bone Bottom bench - Located near the village center
- Clear the left-side enemy cluster - 4-5 enemies in close proximity
- Return to bench via shortest path - Minimize travel time
- Rest and reset - Enemies respawn for next loop
Efficiency Stats:
- Time per loop: ~35-40 seconds
- Rosaries per loop: 20-30 Rosaries
- Hourly rate: ~2,000-2,700 Rosaries per hour
- Risk level: Low
Advantages:
- Higher enemy density - More targets per area
- Still very safe - Bench proximity ensures low risk
- Good enemy variety - Helps you learn different attack patterns
- Sustainable long-term - Can be used throughout early game
Equipment Recommendations:
- Basic needle upgrades if available
- Any health-boosting charms for extra safety
- Movement speed improvements to reduce travel time
Early Game Purchase Priorities
First Purchases (0-100 Rosaries):
- Basic Map from Shakra - Essential for navigation
- Compass - Shows your location on the map
- Quill - Allows custom map marking
Second Wave (100-300 Rosaries):
- Magnetite Brooch - Auto-collects nearby Rosaries (game changer)
- Map pins - Mark important locations
- First charm upgrades - If available from merchants
Mid Game Rosary Farming (2-8 Hours)
Method 3: Deep Docks Elevator Room
Location: Deep Docks area, near the elevator system and Forge Daughter.
The Route:
- Start at the Deep Docks bench - Located near the elevator entrance
- Ride the elevator down - Descend to the lower level
- Clear the vertical chamber - Defeat helmeted bugs and floating enemies
- Save & Quit to menu - This warps you back to the bench instantly
- Load game and repeat - You keep Rosaries but enemies respawn
Efficiency Stats:
- Time per loop: ~45-60 seconds
- Rosaries per loop: 40-55 Rosaries
- Hourly rate: ~2,800-3,600 Rosaries per hour
- Risk level: Medium
Why This Is Powerful:
- Save & Quit trick - Eliminates backtracking time
- Dense enemy spawns - Many targets in a small area
- Magnetite Brooch synergy - Auto-pickup makes clearing much faster
- Near Forge Daughter - Can spend money immediately on upgrades
Required Equipment:
- Magnetite Brooch (essential) - Available from Forge Daughter
- Upgraded needle - Kills enemies faster
- Silk abilities if available - Clear groups more efficiently
Advanced Techniques:
- Group enemies before attacking - Maximize Silk ability effectiveness
- Learn enemy spawn patterns - Optimize your clearing route
- Monitor health carefully - Use Save & Quit to avoid deaths
Method 4: Greymoor Halfway Home
Location: Greymoor region, specifically the Halfway Home bench area.
The Route:
- Equip Silklance/Silkspear - Essential for this method's efficiency
- Rest at Halfway Home bench - Ensure full health and silk
- Exit and clear clustered enemies - Use piercing attacks on groups
- Refill silk if needed - Hit background elements or use abilities
- Return to bench and reset - Rest to respawn enemies
Efficiency Stats:
- Time per loop: ~40-45 seconds
- Rosaries per loop: 45-60 Rosaries
- Hourly rate: ~3,600-4,800 Rosaries per hour
- Risk level: Medium-High
Equipment Requirements:
- Silklance or Silkspear (mandatory) - Piercing damage for group clears
- Magnetite Brooch (highly recommended) - Auto-pickup is crucial
- Silk regeneration items - Sustain your clearing abilities
- Health upgrades - More survivability for aggressive clearing
Optimization Tips:
- Master the piercing angles - Hit multiple enemies per attack
- Silk management - Know when to use abilities vs. basic attacks
- Enemy grouping - Learn to position enemies for maximum efficiency
- Emergency protocols - Always have an escape route planned
Late Game and Advanced Farming
High-Level Farming Strategies
Advanced Route Combinations:
- Multi-area circuits - Chain together multiple farming spots
- Boss respawn farming - If certain mini-bosses respawn
- Hidden area exploitation - Secret zones with high-value enemies
- Speed run techniques - Movement optimizations for maximum efficiency
Equipment Synergies:
- Full silk sustain builds - Unlimited ability usage
- Speed-focused loadouts - Movement speed and attack speed stacking
- Survivability setups - Tank builds for dangerous high-value areas
- Magnetism enhancements - Maximum pickup range and effectiveness
Risk Management at High Levels
Banking Strategies:
- Rosary String conversion - Turn currency into inventory items
- Frequent spending - Don't hoard more than you can afford to lose
- Safe zone rotations - Never farm too far from secure areas
- Diversified routes - Have backup plans if primary areas become dangerous
Advanced Safety Protocols:
- Health thresholds - Stop farming when health gets too low
- Emergency escape routes - Always know multiple ways out
- Save state management - Strategic use of Save & Quit
- Risk vs. reward calculations - When to push luck vs. when to bank
Essential Farming Equipment Guide
Must-Have Items
Magnetite Brooch
What it does: Automatically pulls nearby Rosaries to you Where to get: Purchase from Forge Daughter in Deep Docks Cost: ~50-80 Rosaries (varies by progression) Why it's essential:
- Eliminates manual pickup - Focus on combat, not collection
- Increases efficiency by 40-60% - Dramatically speeds up all farming
- Reduces risk - Less time spent vulnerable while collecting
- Quality of life - Makes farming actually enjoyable
Silklance/Silkspear
What it does: Piercing attacks that hit multiple enemies Where to get: Found through progression, specific locations vary Why it's powerful:
- Group clearing - Hit 2-4 enemies per attack
- Silk efficiency - More damage per silk spent
- Time reduction - Clear rooms much faster
- Scales with enemy density - Better in crowded farming spots
Recommended Supporting Items
Movement Enhancements:
- Speed-boosting charms - Faster travel between enemies and benches
- Wall-jump improvements - Better navigation in vertical farming areas
- Dash extensions - Quickly escape dangerous situations
Combat Amplifiers:
- Attack damage increases - Kill enemies faster
- Attack speed improvements - More hits per second
- Silk regeneration - Sustain your most efficient attacks
- Health regeneration - Reduce downtime from damage
Utility Items:
- Map enhancement tools - Better navigation and landmark identification
- Inventory expansions - If available, carry more items safely
- Emergency items - Healing consumables or escape tools
Advanced Farming Strategies
Efficiency Optimization
Route Planning:
- Map out enemy positions - Know exactly where targets spawn
- Optimize movement paths - Minimize unnecessary travel
- Time each segment - Identify and eliminate bottlenecks
- Plan emergency exits - Always have a safe retreat option
Combat Optimization:
- Learn enemy attack patterns - Avoid damage while farming
- Master group positioning - Line up enemies for multi-hits
- Perfect your combo timings - Maximum damage per time invested
- Develop muscle memory - Make the route automatic
Resource Management:
- Track silk usage carefully - Don't run out mid-clear
- Monitor health thresholds - Know when to retreat or heal
- Balance risk and reward - Don't get greedy with dangerous enemies
- Maintain equipment durability - If applicable to your loadout
Psychological Aspects of Farming
Avoiding Burnout:
- Set session goals - Farm for specific purchases, not indefinitely
- Take breaks - Prevent repetitive strain and maintain focus
- Mix up routes - Variety prevents boredom
- Listen to music or podcasts - Make the time more enjoyable
Motivation Techniques:
- Track progress visibly - Keep notes on Rosary goals and achievements
- Celebrate milestones - Acknowledge when you reach major purchase thresholds
- Focus on outcomes - Remember what you're farming for
- Share with community - Discuss strategies with other players
What to Buy and When
Early Game Priorities (0-500 Rosaries)
Tier 1: Immediate Needs (0-100 Rosaries)
-
Basic Map (Shakra) - ~30 Rosaries
- Essential for navigation
- Unlocks other map features
- Prevents getting lost
-
Compass (Shakra) - ~40 Rosaries
- Shows your position on map
- Critical for efficient exploration
- Helps plan farming routes
-
Quill (Shakra) - ~50 Rosaries
- Allows custom map marking
- Mark farming spots and important locations
- Essential for organization
Tier 2: Efficiency Boosters (100-300 Rosaries)
-
Magnetite Brooch (Forge Daughter) - ~80 Rosaries
- Game-changing farming improvement
- Highest return on investment
- Makes all future farming much easier
-
Map Pins (Shakra) - ~10-20 Rosaries each
- Mark vendors, benches, farming spots
- Essential for route planning
- Small cost, high utility
Tier 3: Power Upgrades (300-500 Rosaries)
- First charm upgrades - Varies by availability
- Tool improvements - If offered by merchants
- Health or silk upgrades - Increase survivability and efficiency
Mid Game Purchases (500-2000 Rosaries)
Combat Enhancement Focus:
- Damage-boosting charms - Kill enemies faster
- Silk-related upgrades - Improve ability usage
- Specialized tools - Situation-specific equipment
Exploration Investment:
- Advanced map features - If available
- Movement upgrades - Faster travel and farming
- Key purchases - Items that unlock new areas
Quality of Life:
- Bench repairs or activations - Faster farming reset points
- Fast travel improvements - If the system can be enhanced
- Inventory or storage upgrades - Carry more safely
Late Game Spending (2000+ Rosaries)
Endgame Equipment:
- Powerful charms and abilities - Maximum combat effectiveness
- Specialized loadouts - Situation-specific builds
- Completion items - Tools needed for 100% exploration
Luxury Purchases:
- Cosmetic items - If available
- Convenience upgrades - Maximum quality of life
- Experimental builds - Try new strategies and combinations
Banking and Risk Management
Understanding Death and Recovery
What Happens When You Die:
- All Rosaries drop - Every single Rosary you're carrying falls at your death location
- Cocoon marks the spot - A visual indicator shows where you died
- Recovery window - You can return to collect your dropped Rosaries
- Double death penalty - Die again before recovery = permanent loss
Recovery Strategies:
- Immediate return - Go back as soon as possible
- Route planning - Take the safest path to your cocoon
- Health management - Don't attempt recovery while low on health
- Equipment preparation - Use your best survival gear for recovery runs
Banking Alternatives
Rosary Strings
How they work:
- Convert currency to item - Turn ~80 Rosaries into 1 Rosary String
- Inventory storage - Strings stay in your inventory when you die
- Exchange rate loss - Conversion isn't 1:1, you lose some value
- Strategic use - Bank large amounts before risky activities
When to use Rosary Strings:
- Before boss fights or dangerous exploration
- When carrying more than you can afford to lose
- During difficult platforming sections
- As emergency backup funds
Dead Bug's Purse
What it does: Retains a percentage of Rosaries when you die How to get: Purchase from specific merchants (location varies) Why it's valuable:
- Partial loss protection - Keep some Rosaries even on death
- Peace of mind - Reduces farming anxiety
- Steel Soul essential - Critical for hardcore runs
- Compounds with other protection - Works alongside other safety measures
Advanced Risk Management
Safe Farming Protocols:
- Set carry limits - Never hold more than you can afford to lose
- Regular banking - Convert to items or spend frequently
- Health monitoring - Stop farming when health gets low
- Escape route planning - Always know how to reach safety
Emergency Procedures:
- Save & Quit safety - Use menu escape when in danger
- Retreat thresholds - Predetermined points where you must leave
- Recovery protocols - Systematic approach to death recovery
- Backup route knowledge - Alternative paths to safety
Interactive Map and Visual Guide
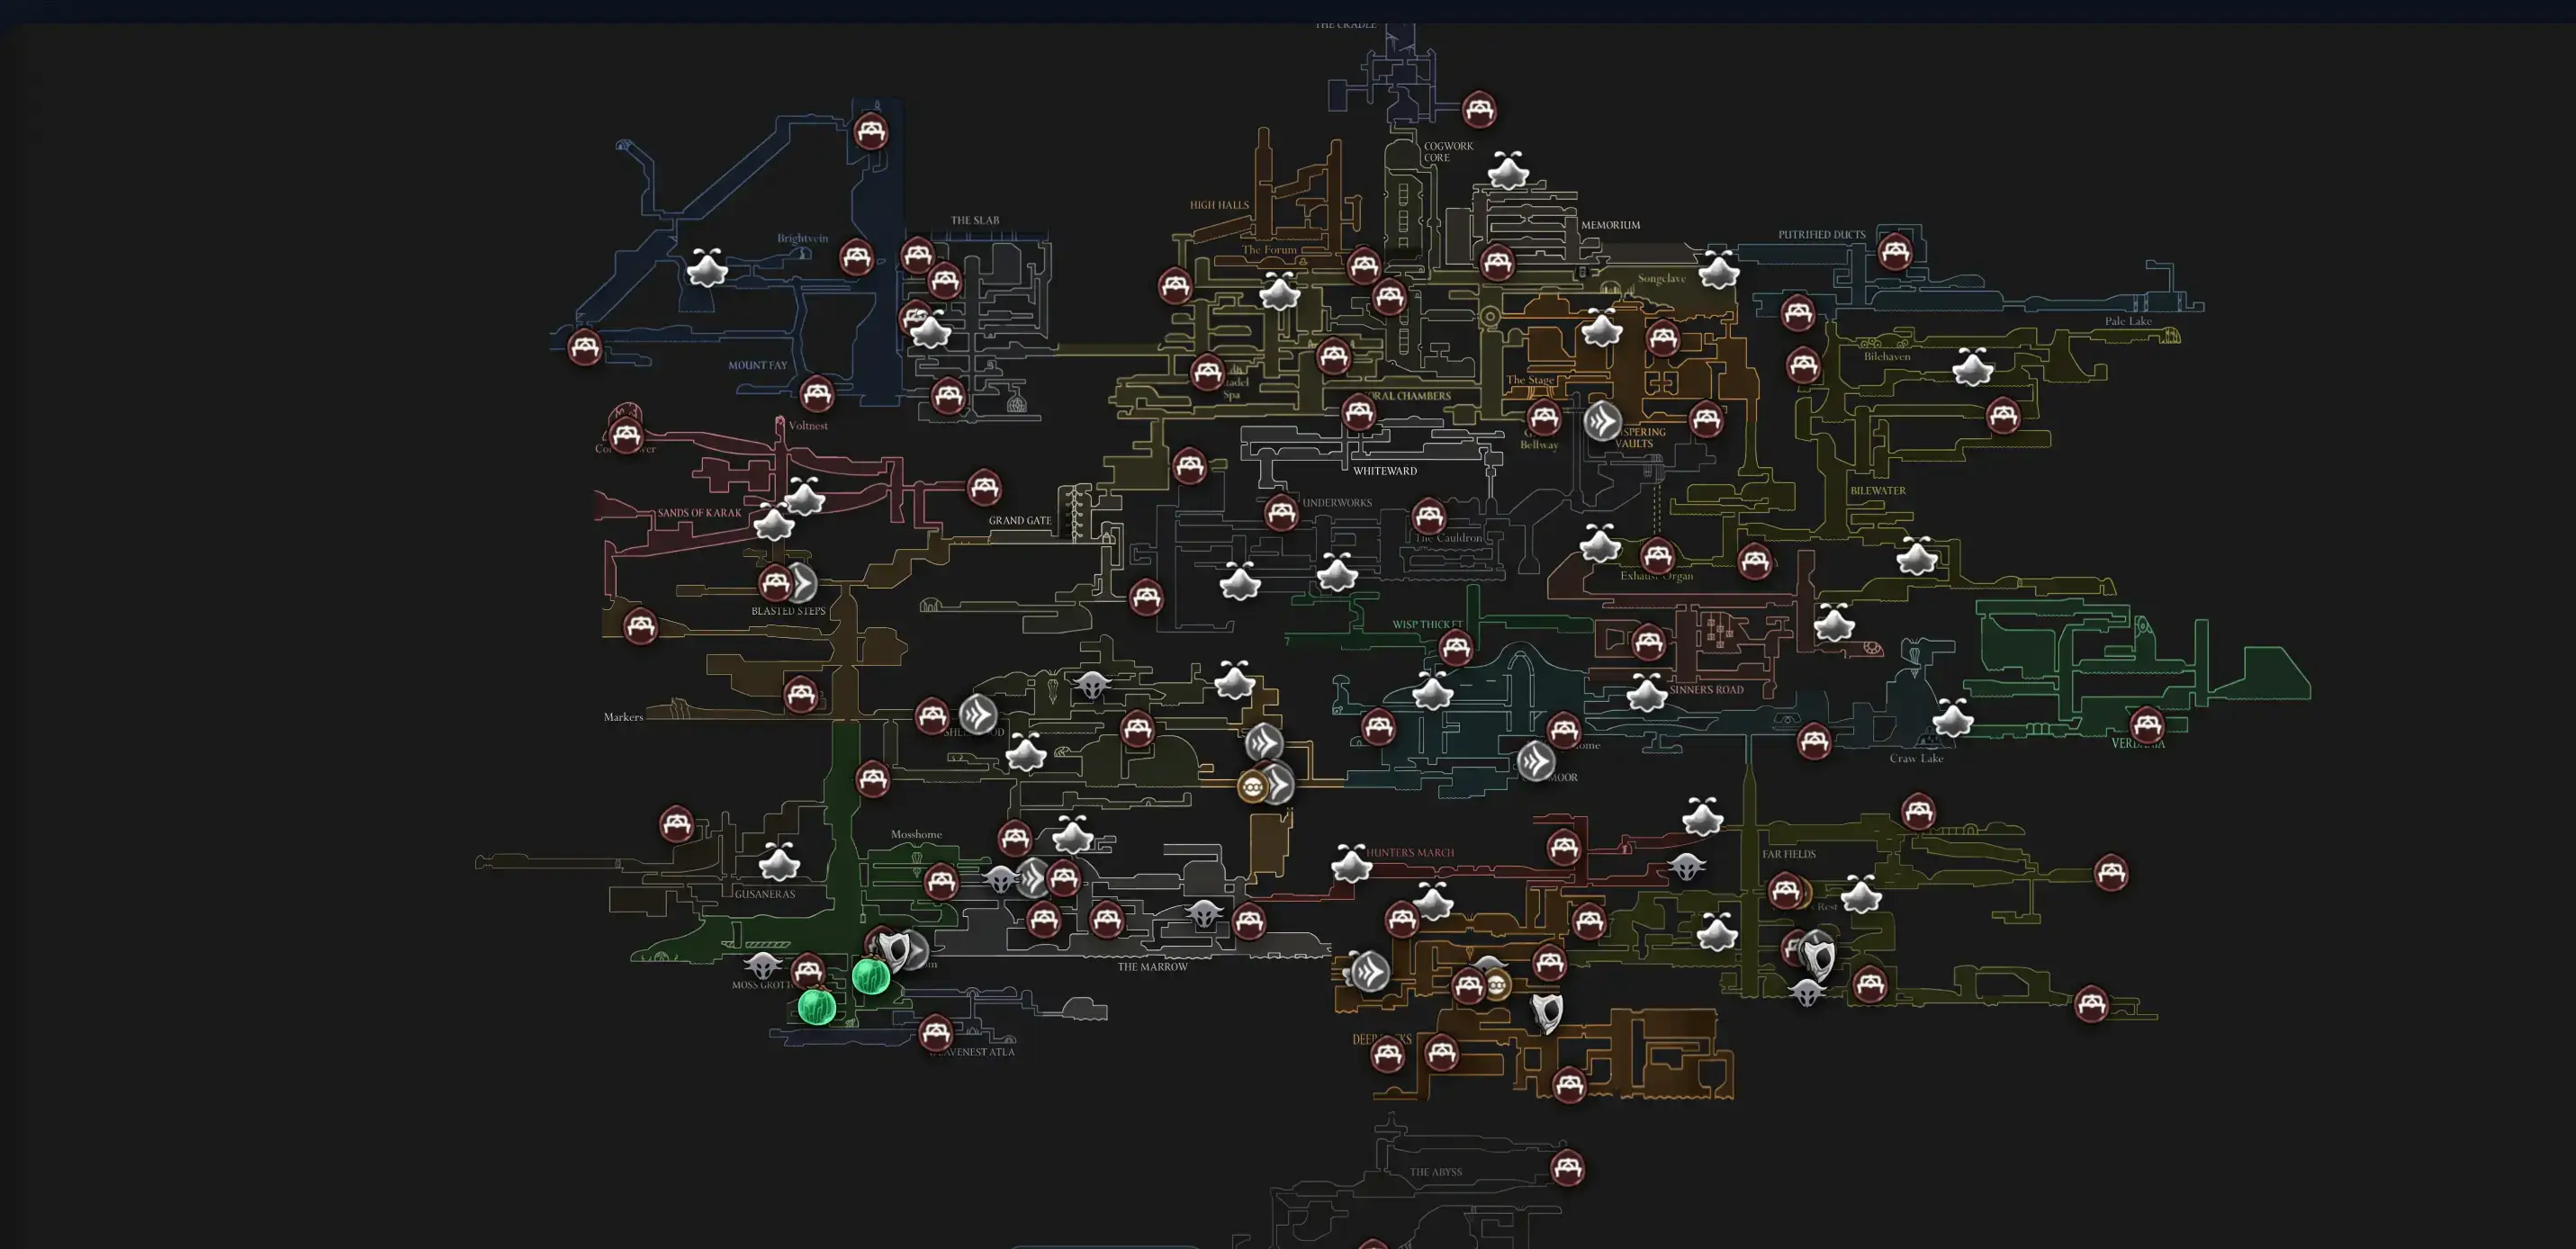
Open Interactive Map
Opens the full interactive Silksong map in a new tab.
Farming Location Reference
Early Game Zones:
- The Marrow to Mosshome - Safest starter farm
- Bone Bottom Village - Slightly higher risk/reward
- accessible mini-areas - Small enemy clusters near benches
Mid Game Zones:
- Deep Docks Elevator - High efficiency with Save & Quit
- Greymoor Halfway Home - Best sustained mid-game rates
- Vertical platforming areas - Often have good enemy density
Advanced Zones:
- End-game areas - Higher risk but much better rewards
- Secret or hidden areas - Sometimes contain premium enemies
- Boss approach routes - Often well-populated with enemies
Frequently Asked Questions
Basic Farming Questions
Q: What are the best early game Rosary farming spots? A: The Mosshome loop off The Marrow bench is safest for beginners (~30 Rosaries/minute). Once you reach Bone Bottom, the village loop offers better rates (~40-50 Rosaries/minute). For mid-game, the Deep Docks elevator room with Save & Quit is extremely efficient (~60+ Rosaries/minute).
Q: How do enemies respawn for farming? A: Enemies respawn when you rest at a bench or use Save & Quit. Resting is faster if the bench is nearby, but Save & Quit can be used anywhere to return to your last bench. Both methods fully reset enemy spawns.
Q: Should I farm Rosaries or just progress naturally? A: A mix of both is optimal. Farm for specific purchases (like the Magnetite Brooch) that dramatically improve efficiency, but don't grind endlessly. The Magnetite Brooch especially transforms how you collect Rosaries throughout the entire game.
Q: Is the Magnetite Brooch worth the investment? A: Absolutely yes. The Magnetite Brooch is arguably the best early-game purchase. It automatically collects nearby Rosaries, increasing all future farming efficiency by 40-60% while reducing risk and tedium. It pays for itself very quickly.
Advanced Strategy Questions
Q: What's the most efficient mid-game farming method? A: The Deep Docks elevator room with Save & Quit is extremely efficient (~3,000+ Rosaries/hour). You clear the vertical chamber of enemies, then Save & Quit to instantly return to the bench with your earnings. Requires Magnetite Brooch to be truly effective.
Q: How should I manage risk while farming large amounts? A: Never carry more than you can afford to lose. Bank into Rosary Strings frequently, especially before risky activities. Consider getting Dead Bug's Purse for additional protection. Always know your escape routes and have a plan for reaching safety.
Q: Are there any secret or advanced farming techniques? A: Yes, several: Save & Quit warping eliminates backtracking time, enemy grouping maximizes piercing attack efficiency, route chaining combines multiple farming spots, and silk sustain builds allow unlimited ability spam for faster clearing.
Q: When should I stop farming and focus on progression? A: Farm for specific goals rather than arbitrary amounts. Essential early purchases include Magnetite Brooch, map tools, and your first few charm upgrades. Once you have these, focus on progression and farm as needed for new purchases you encounter.
Technical and Safety Questions
Q: What happens if I die while farming? A: All Rosaries drop at your death location, marked by a Cocoon. You can return to recover them, but if you die again before recovery, they're lost forever. This is why banking strategies and safe farming practices are so important.
Q: Can I permanently lose Rosaries? A: Yes, if you die twice without recovering your dropped Rosaries. However, you can protect value by converting to Rosary Strings (inventory items), purchasing Dead Bug's Purse (retains some on death), or spending Rosaries on permanent upgrades before risky activities.
Q: Are there any farming exploits or glitches? A: The Save & Quit method is a legitimate technique - clear an area, quit to menu, reload at your last bench with earnings intact and enemies respawned. This isn't a glitch but a time-saving strategy that eliminates backtracking.
Q: How do I know when I have enough Rosaries? A: Set specific purchase goals rather than arbitrary amounts. Early priorities include Magnetite Brooch (~80), map tools (~120 total), and first charm upgrades (varies). Having 200-300 banked as Rosary Strings provides good security for most situations.
Related Guides and Advanced Resources
Essential Preparatory Guides
- Complete Rosaries Currency Guide - Deep dive into the currency system
- Magnetite Brooch Location Guide - How to get the essential farming tool
- Map Tools and Navigation - Shakra's tools and efficient exploration
- Early Game Purchase Priorities - What to buy first for maximum benefit
Area-Specific Farming Guides
- The Marrow Complete Guide - Including the Mosshome farming loop
- Deep Docks Exploration - Elevator room and Forge Daughter location
- Bone Bottom Village Guide - Village layout and enemy locations
- Greymoor Farming Strategies - Halfway Home and advanced techniques
Advanced Combat and Efficiency
- Silk Abilities Mastery - Maximizing group clearing potential
- Combat Efficiency Guide - Faster enemy kills and better positioning
- Movement Optimization - Speed up travel between farming areas
- Risk Management Strategies - Avoid losing your hard-earned currency
Progression and Planning Guides
- Early Game Roadmap - When to farm vs. when to progress
- Purchase Priority Calculator - ROI analysis for different items
- 100% Completion Route - Efficient farming within completionist runs
- Steel Soul Preparation - High-stakes farming and banking strategies
Conclusion
Efficient Rosary farming is one of the most impactful skills you can develop in Hollow Knight: Silksong. The difference between struggling with limited resources and having the tools you need often comes down to smart farming strategies and purchase priorities.
Key principles for successful farming:
- Start safe, scale up - Begin with low-risk routes like Mosshome, then progress to higher-efficiency methods
- Invest in efficiency first - The Magnetite Brooch transforms farming from tedious to tolerable
- Manage risk actively - Never carry more than you can afford to lose, bank regularly
- Farm with purpose - Set specific purchase goals rather than grinding indefinitely
- Optimize your routes - Learn enemy positions, perfect your clearing patterns, eliminate wasted movement
The farming methods outlined in this guide represent hundreds of hours of community testing and optimization. From the humble Mosshome loop that gets you started to the advanced Deep Docks elevator technique that sustains mid-game purchases, these strategies will ensure you always have the resources needed for progression.
Remember that farming should enhance your Silksong experience, not dominate it. Use these techniques to unlock the tools and upgrades that make exploration more enjoyable, combat more manageable, and progression more satisfying. The time invested in efficient farming pays dividends throughout your entire journey through Pharloom.
Most importantly, don't let the fear of losing Rosaries prevent you from taking risks and exploring. The currency is renewable through farming, but the experiences and discoveries from bold exploration are unique and irreplaceable. Farm smart, spend wisely, and adventure boldly.
Sources and Community Resources
- Video Guide: https://www.youtube.com/watch?v=85EJ6fAwiU8
- Community Wiki: Hollow Knight: Silksong Currency Systems
- Farming Route Database: Player-contributed efficiency testing
- Speedrun Community: Advanced techniques and optimization strategies
- Mathematics Community: ROI calculations and efficiency analysis