


Spoiler‑light route guide. Covers the Shellwood entrance, wind timing at the chain gap, where to find Shakra in Blasted Steps, and nearby benches/bells once you have the map.
Summary
- Start: From Shellwood, climb into Blasted Steps via upper‑left routes.
- Hazards: Sand burrowers and strong winds that affect jump distance.
- Goal: Reach Shakra and purchase the Blasted Steps Map (≈70 Rosaries).
- Tip: Unlock a nearby bench/Bellways to make revisits painless.
Requirements & Prep
- Mobility: Short glides and precise jumps help with wind timing; practice ledge‑to‑ledge hops before the chain gap.
- Rosaries: Bring ≈70 for the map. If short, run a quick loop from Fast Rosaries.
- Mapping kit: Compass + Quill from Shakra improves navigation after purchase.
Route From Shellwood (Step‑by‑Step)
- Enter Blasted Steps: From Shellwood’s upper paths, go left then up at the junction; keep right to the exit. You’ll shortly see the “Blasted Steps” title card.
- Cross the dunes: Stick to rock ledges and blooms. Avoid prolonged sand contact—burrowing worms punish slow crossings.
- Bell landmark: After a leftward climb with hanging bells, head right into a room with conch‑like fliers.
- Windy chain gap: In an upper tunnel, reach a long hanging chain with no obvious platform ahead. Wait for a strong wind gust, then jump and float to ride the gust to the far ledge.
- Find Shakra: Continue right a few screens to Shakra’s nook and buy the Blasted Steps Map (≈70 Rosaries).
After You Buy the Map — Benches & Bells
- Bench: Push a little farther to secure a bench; this sets your respawn close to the hazardous dunes.
- Bellways: Summon the Bell Beast to add the node for fast travel once available.
Tips & Common Mistakes
- Don’t rush the chain gap—wait for a big gust, then jump/float. Mistimed hops drop you into sand (and worms).
- Clear fliers before the wind section; aerial knocks make the gap riskier.
- If Shakra isn’t there, return later or use Bone Bottom’s recall bell to buy missed maps.
FAQ
- Price for the Blasted Steps Map? Approximately 70 Rosaries, per multiple launch‑window guides.
- Do I need special movement? No new unlock is hard‑required, but wind control helps. If you have Wind Gliding, the gap is more forgiving.
- How do I get back fast? Secure a nearby bench and Bellways node as soon as practical.
Route & Map Pointers
- Broader mapping: See All Map Locations (Early) for where Shakra appears across regions.
- Currency planning: Use Fast Rosaries if you’re short on the ≈70 cost.
Map Preview
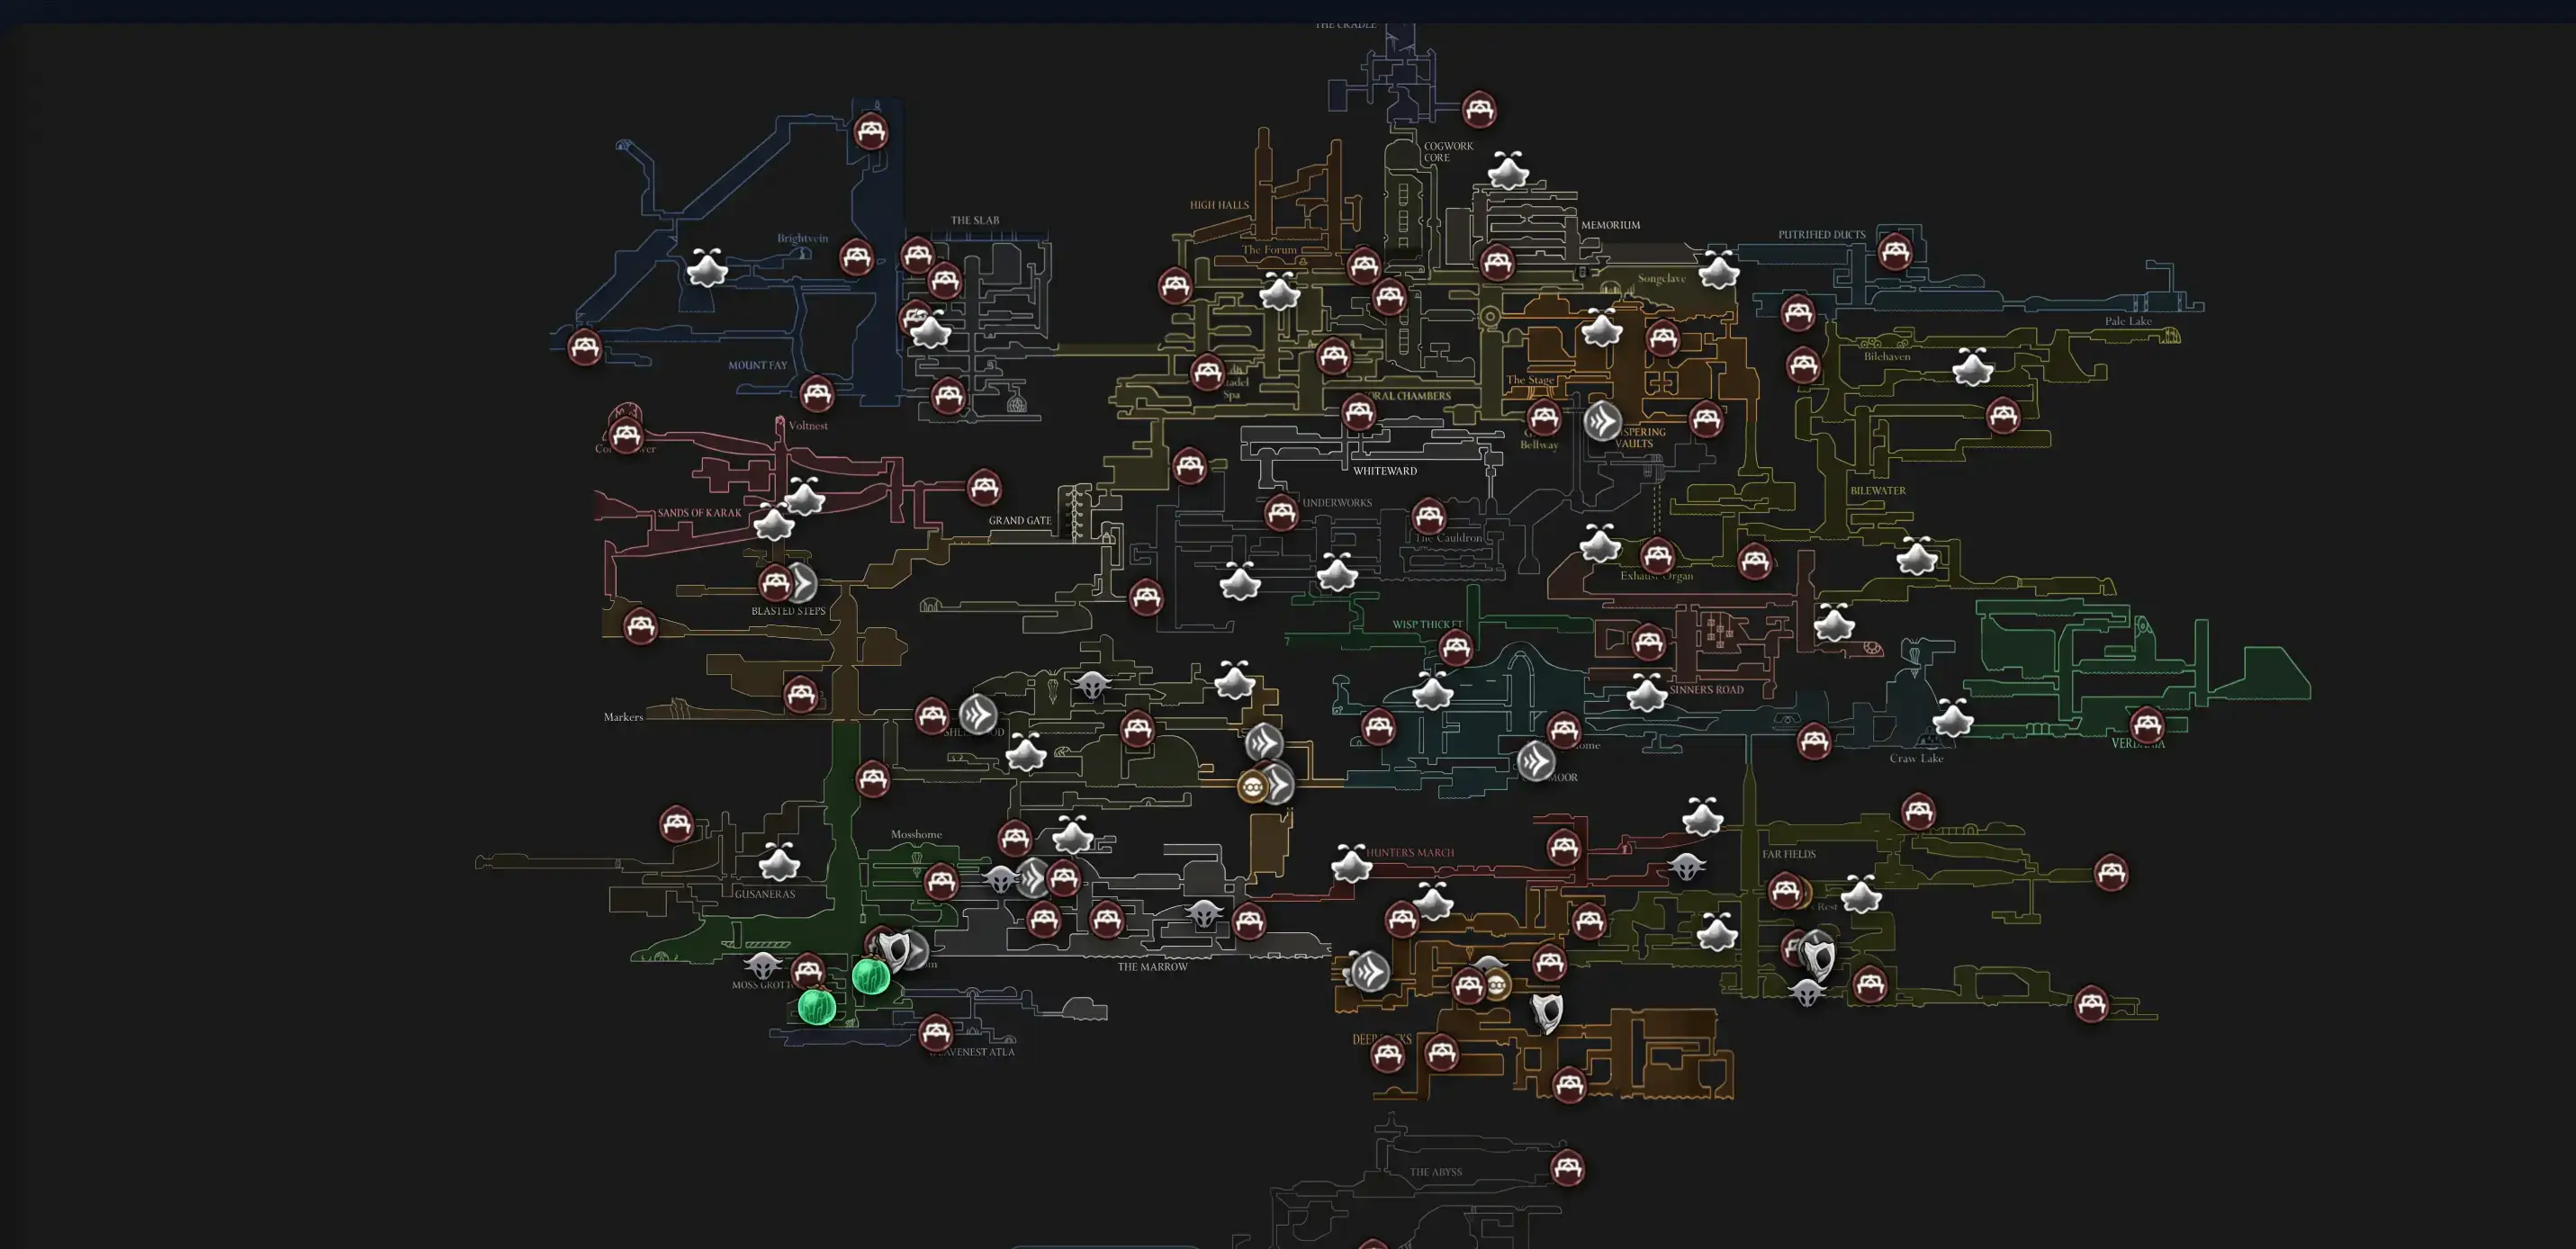
Open Interactive Map
Opens the full interactive Silksong map in a new tab.
Sources
- Video: https://www.youtube.com/watch?v=0Fn_hbLJxdc
- Route/cost corroboration from early guides (wind timing, chain gap, ≈70 Rosaries).