


Light spoilers for a mainline boss. This guide covers the route to the arena, bell telegraphs, safe counters, heal windows, and what beating Widow unlocks.
Summary
- Region: Bellhart (within the Shellwood complex)
- Progression: Main story boss — required for Bellhart’s liberation and onward route
- Core mechanic: Reading silk‑strand telegraphs to dodge falling/bouncing bells
- Win condition: Chip safe 1–2 hit punishes after charges/dives; never commit while bell strands are active
Location & Requirements
- Where: Bellhart, reached via the right side paths connected to Shellwood.
- Requirement: Cling Grip (Wall Jump/Climb) to traverse the bell tunnels. If you haven’t unlocked it yet, see How to Unlock Wall Jump and defeat Sister Splinter on the way.
- TL;DR route: Shellwood bench → defeat Sister Splinter → move right into bell tunnels → descend/advance to the Bellhart arena where Widow waits.
Arena & Hazards
- Vertical chiming chamber filled by falling and diagonal bells. Silk strands mark future impact points; bells can bounce once on landing.
- Mid‑ground control is safest. Hugging walls works during eruptions, but center lanes improve visibility for diagonal drops.
Moveset → Safe Counters
- Bell Drop (vertical): Silk strands appear, then bells fall. Counter: Step out of the strands immediately; counter with a single hit as lanes clear.
- Diagonal Bell Drop (from sides): Strands angle in; bells sweep diagonally. Counter: Move opposite the strands’ slope and reset mid‑ground.
- Ground Charge → Bell Eruption: Widow dashes along the floor, leaving silk nodes that erupt into bells. Counter: Short‑hop or pogo over the dash to tag recovery, then cling to a wall or hover until eruptions expire.
- Dive & Slash: Short hover → targeted dive → immediate ground slash. Counter: Run through the dive line, then back‑stab with one quick hit.
Phase notes
- Phase 2 — Bell Roar: Brief roar that rains a dense cluster (5–6 bells). Sidestep early; punish only after impacts resolve.
- Final phase — Pressure ramp: Fewer clear gaps, more ground dashes. Prioritize survival; take safe chips on whiffs.
Healing windows: Best after a Ground Charge recovery, post‑roar impacts, or when strands disappear between patterns. Avoid healing with active strands or during eruptions.
Step‑by‑Step Strategy
- Read strands, not bells. As soon as you see silk telegraphs, move to open space; only then look for a 1–2 hit punish.
- Punish charges safely. Hop or dash through the ground rush and land a single tag—never extend into an eruption.
- Wall discipline. During eruptions, cling briefly to side walls to let bounces settle; drop only when strands vanish.
- Manage greed in the endgame. Final phase is an endurance check; preserve masks and take guaranteed chips only.
- Iterate efficiently. Sync a nearby Shellwood bench to shorten runbacks while learning the strand pacing.
Recommended Tools/Crests (Early)
- Ability: Threadstorm for instant add/area clears between bell waves (optional but strong).
- Tool: Warding Bell to protect during heals and punish contact on ground dashes.
- Crest: Reaper Crest to widen arcs for safe single‑hit punishes without overcommitting.
- Build focus: Mobility and heal safety first; add damage once you’re consistently surviving waves.
Rewards & Progress
- Needolin (Ancestral ability): Granted after a brief post‑fight sequence; lets Hornet weave melodies via silk along the needle.
- Progression: Advances Bellhart’s state and opens access to a Needle upgrade.
- Needle upgrade: After Bellhart is secured, speak to Pinmaster Plinney in town to sharpen the Needle (first upgrade).
Tips & Common Mistakes
- Over‑staying on strands—move first, then punish.
- Chasing during eruptions—reset on a wall and wait the pattern out.
- Centerline tunnel vision—periodically re‑center to read diagonal strands cleanly.
FAQ
- Is Widow optional? No—she’s part of the main progression through Bellhart.
- Do I need Wall Jump? Yes—Cling Grip is effectively required for the bell tunnel approach.
- What’s a safe punish? After a Ground Charge, a single hit as she recovers; also after bell clusters finish landing.
Route & Map Pointers
- If following a completion path, check the 100% route to see where Bellhart and Widow fit into broader progression.
Map Preview
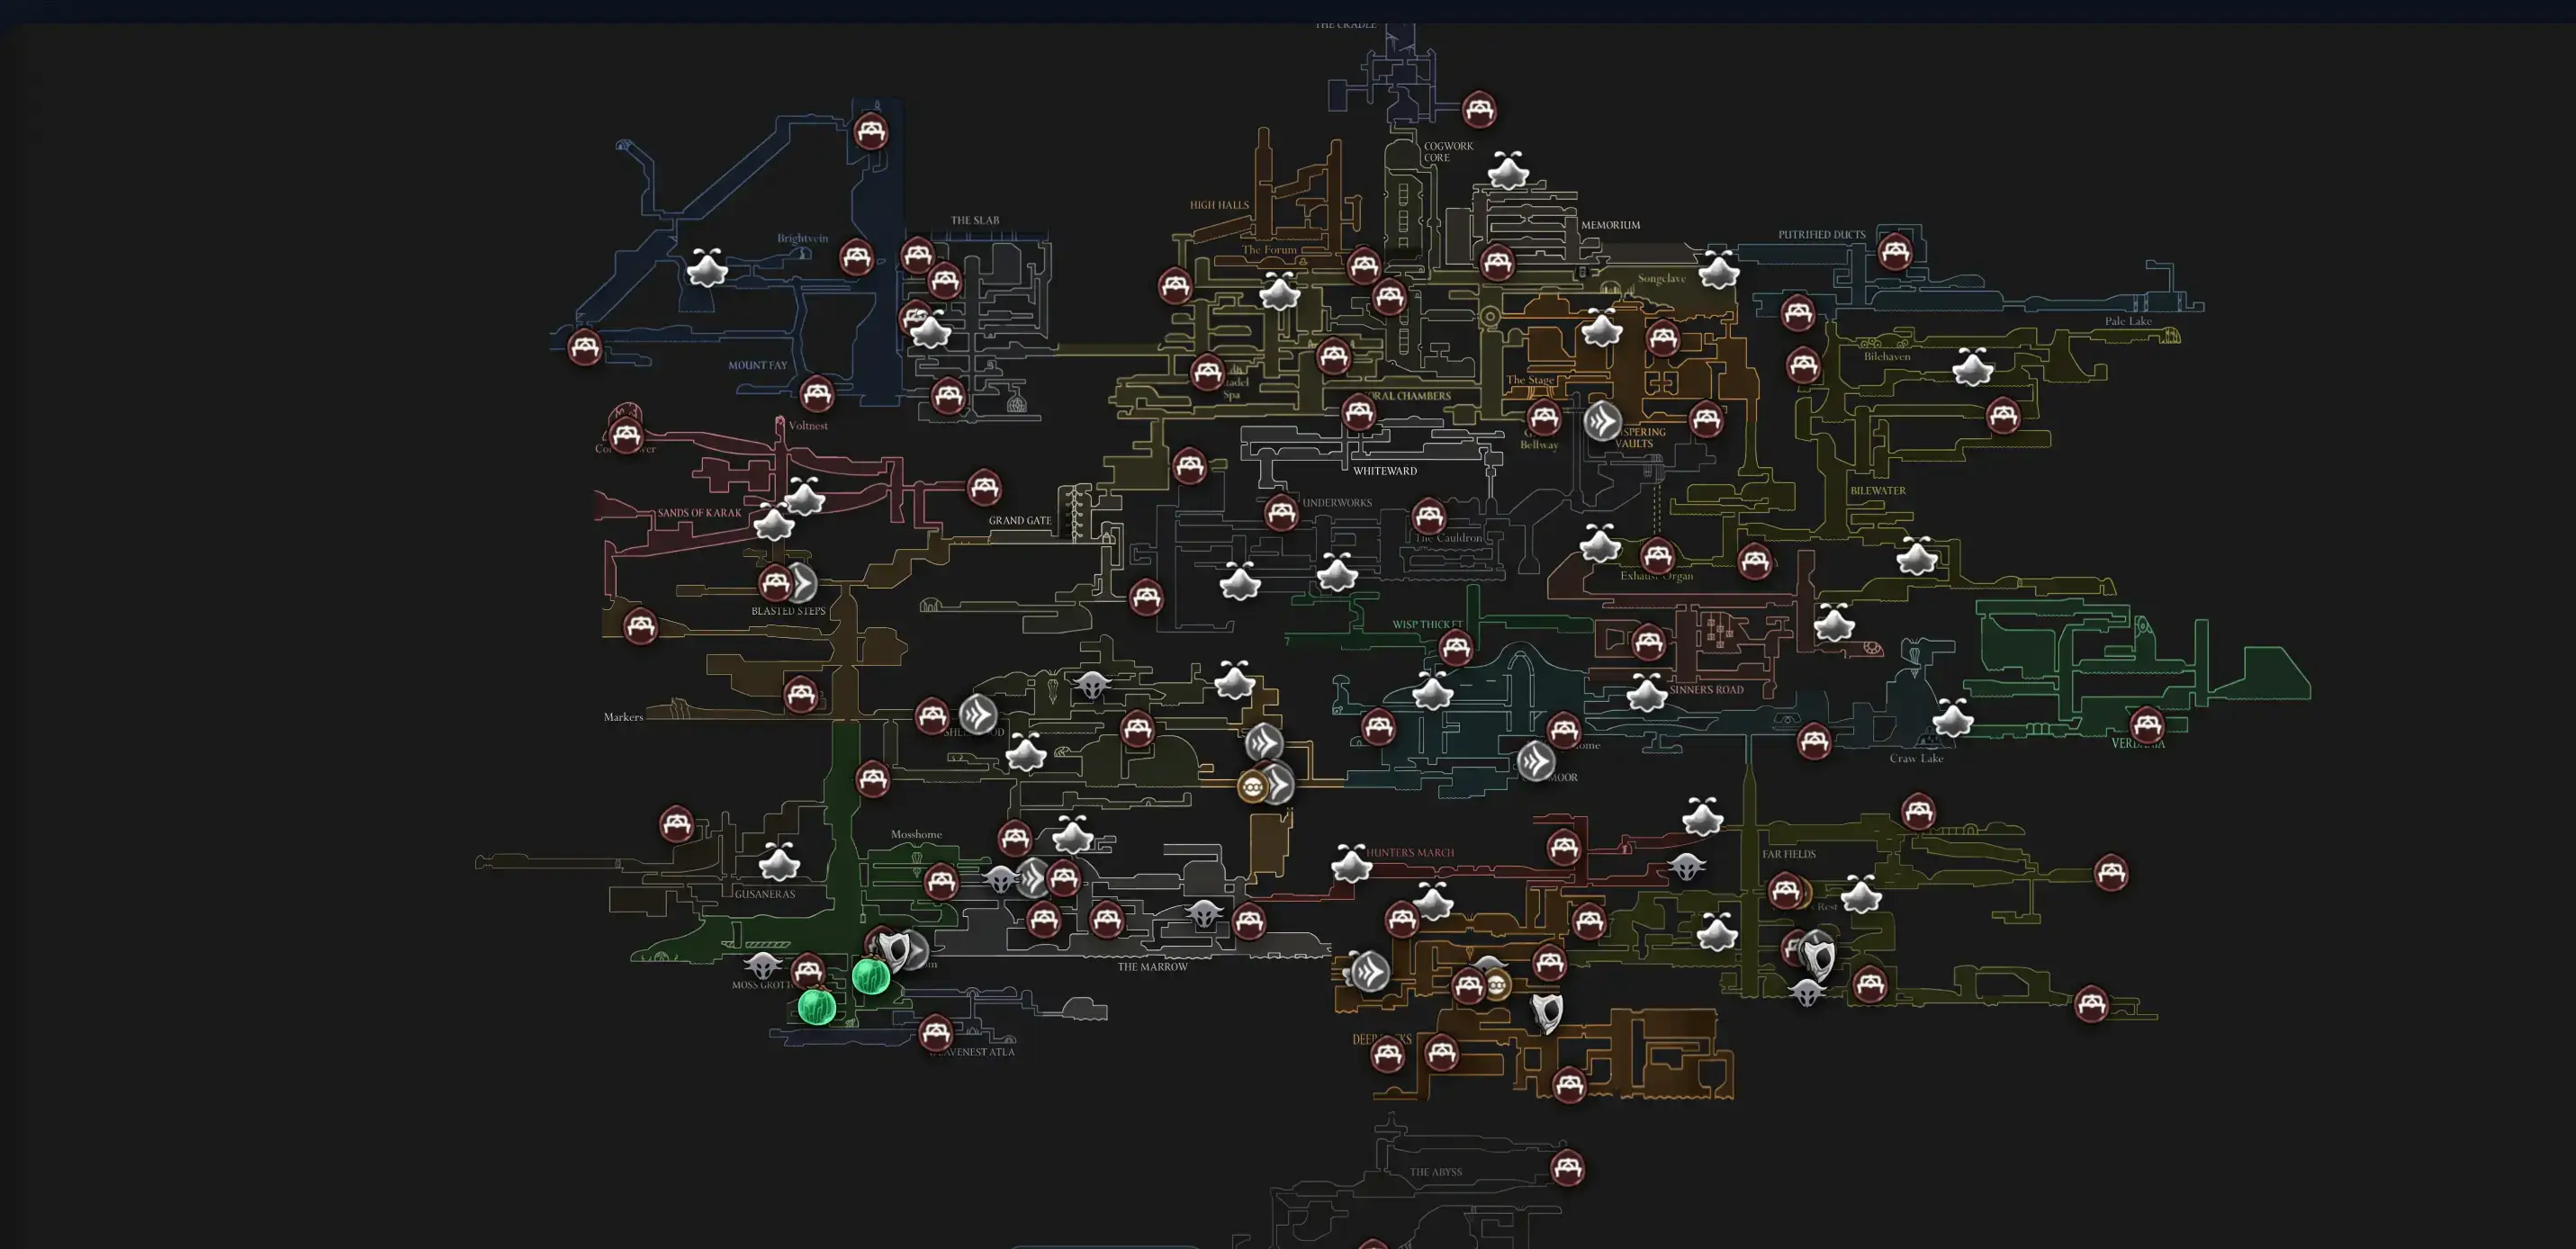
Open Interactive Map
Opens the full interactive Silksong map in a new tab.
Sources
- Boss video: https://www.youtube.com/watch?v=G33fnjoZ4XQ