Light spoilers for an early optional boss. This guide covers location, patterns, counters, and reliable healing windows.
Summary
- Region: Hunter’s March — Chapel of the Beast (far‑eastern side).
- Type: Optional aerial predator with escalating add pressure.
- Difficulty: High—short punish windows, frequent rush‑downs, and crowd control checks.
- Core plan: Control the ground, clear adds on spawn, and punish wall‑bonks and post‑slam stalls.
Location & Requirements
- Area: Chapel of the Beast at the far end of Hunter’s March.
- Access: Practical mobility helps. Wind Gliding (Drifter’s Cloak) improves approach lines; see Unlock Wind Gliding.
- Bench/Runback: A nearby bench and shortcut can be enabled around the chapel platforming; unlock both to cut retry time.
Arena & Hazards
- Long, mid‑height platform with limited ceiling space. Staying grounded widens reaction time to horizontal charges.
- Adds enter from cages above—letting them accumulate reduces your heal windows to near‑zero.
Moveset → Safe Counters
- Charge (horizontal/angled): Beastfly dashes at your elevation. Counter: Anchor near a wall to bait a collision (“wall‑bonk”), then land 1–2 safe hits during the stumble. If it passes under a jump, down‑slash once and reset.
- Vertical Slam: Brief hover then spike down. Counter: Sidestep, strike the landing delay once, then disengage before the next pattern. Slams can crush nearby adds—use this to thin the field.
- Summon Cage (adds): A roar drops a cage that releases a flier or ground pest. Counter: Delete adds immediately with wide‑arc swings or AOE; never let the sky fill or you’ll lose heal windows.
Healing windows: Safest heals are after a wall‑bonk, post‑slam pause, or under a shielding tool. Avoid healing with adds alive—clear first, then take a short heal.
Step‑by‑Step Strategy
- Establish ground control. Play mid‑ground near a wall so Charges bonk; take quick punishes and back out.
- Keep the sky clear. Treat add spawns as top priority—drop an AOE, then resume boss pressure.
- Convert slams. Slide off the slam line, tag the landing, and reposition before the next rush.
- Spend silk smartly. Favor heals during safe windows; save offensive tools for add bursts or stagger conversions.
- Optimize the runback. Unlock the chapel shortcut and nearby bench so you can iterate without fatigue.
Recommended Tools/Crests (Early)
- Ability: Threadstorm for instant add clear and incidental boss chip.
- Tool: Warding Bell to protect during heals and punish contact.
- Tool (alt): Sting Shard for area denial—useful vs. clustered fliers.
- Crest: Reaper Crest to widen slash arcs and improve multi‑target coverage.
Rewards & Progress
- Area mastery: Beating Savage Beastfly stabilizes Hunter’s March routes and opens safer farming/bench loops nearby.
- Loot/narrative: Expect standard drops and journal updates; check your inventory/notes after the fight.
Tips & Common Mistakes
- Over‑chasing after bonks—take 1–2 hits, then reset; don’t eat a counter Charge.
- Ignoring adds—every extra minion shrinks your ability to heal.
- Healing in the open—create a window (bonk/slam/shield), then heal once.
FAQ
- Is Savage Beastfly optional? Yes—its arena is off the main critical path, but rewards and routing benefits make it worth doing.
- What’s a reliable early loadout? Threadstorm + Warding Bell + Reaper Crest; add Sting Shard if you struggle with add piles.
- Do I need Wind Gliding? Not strictly, but Drifter’s Cloak makes the chapel approach more forgiving.
Route & Map Pointers
- Region context: See Hunter’s March for benches, bells, and nearby encounters.
- Broader plan: The 100% route shows how this boss fits into progression pacing.
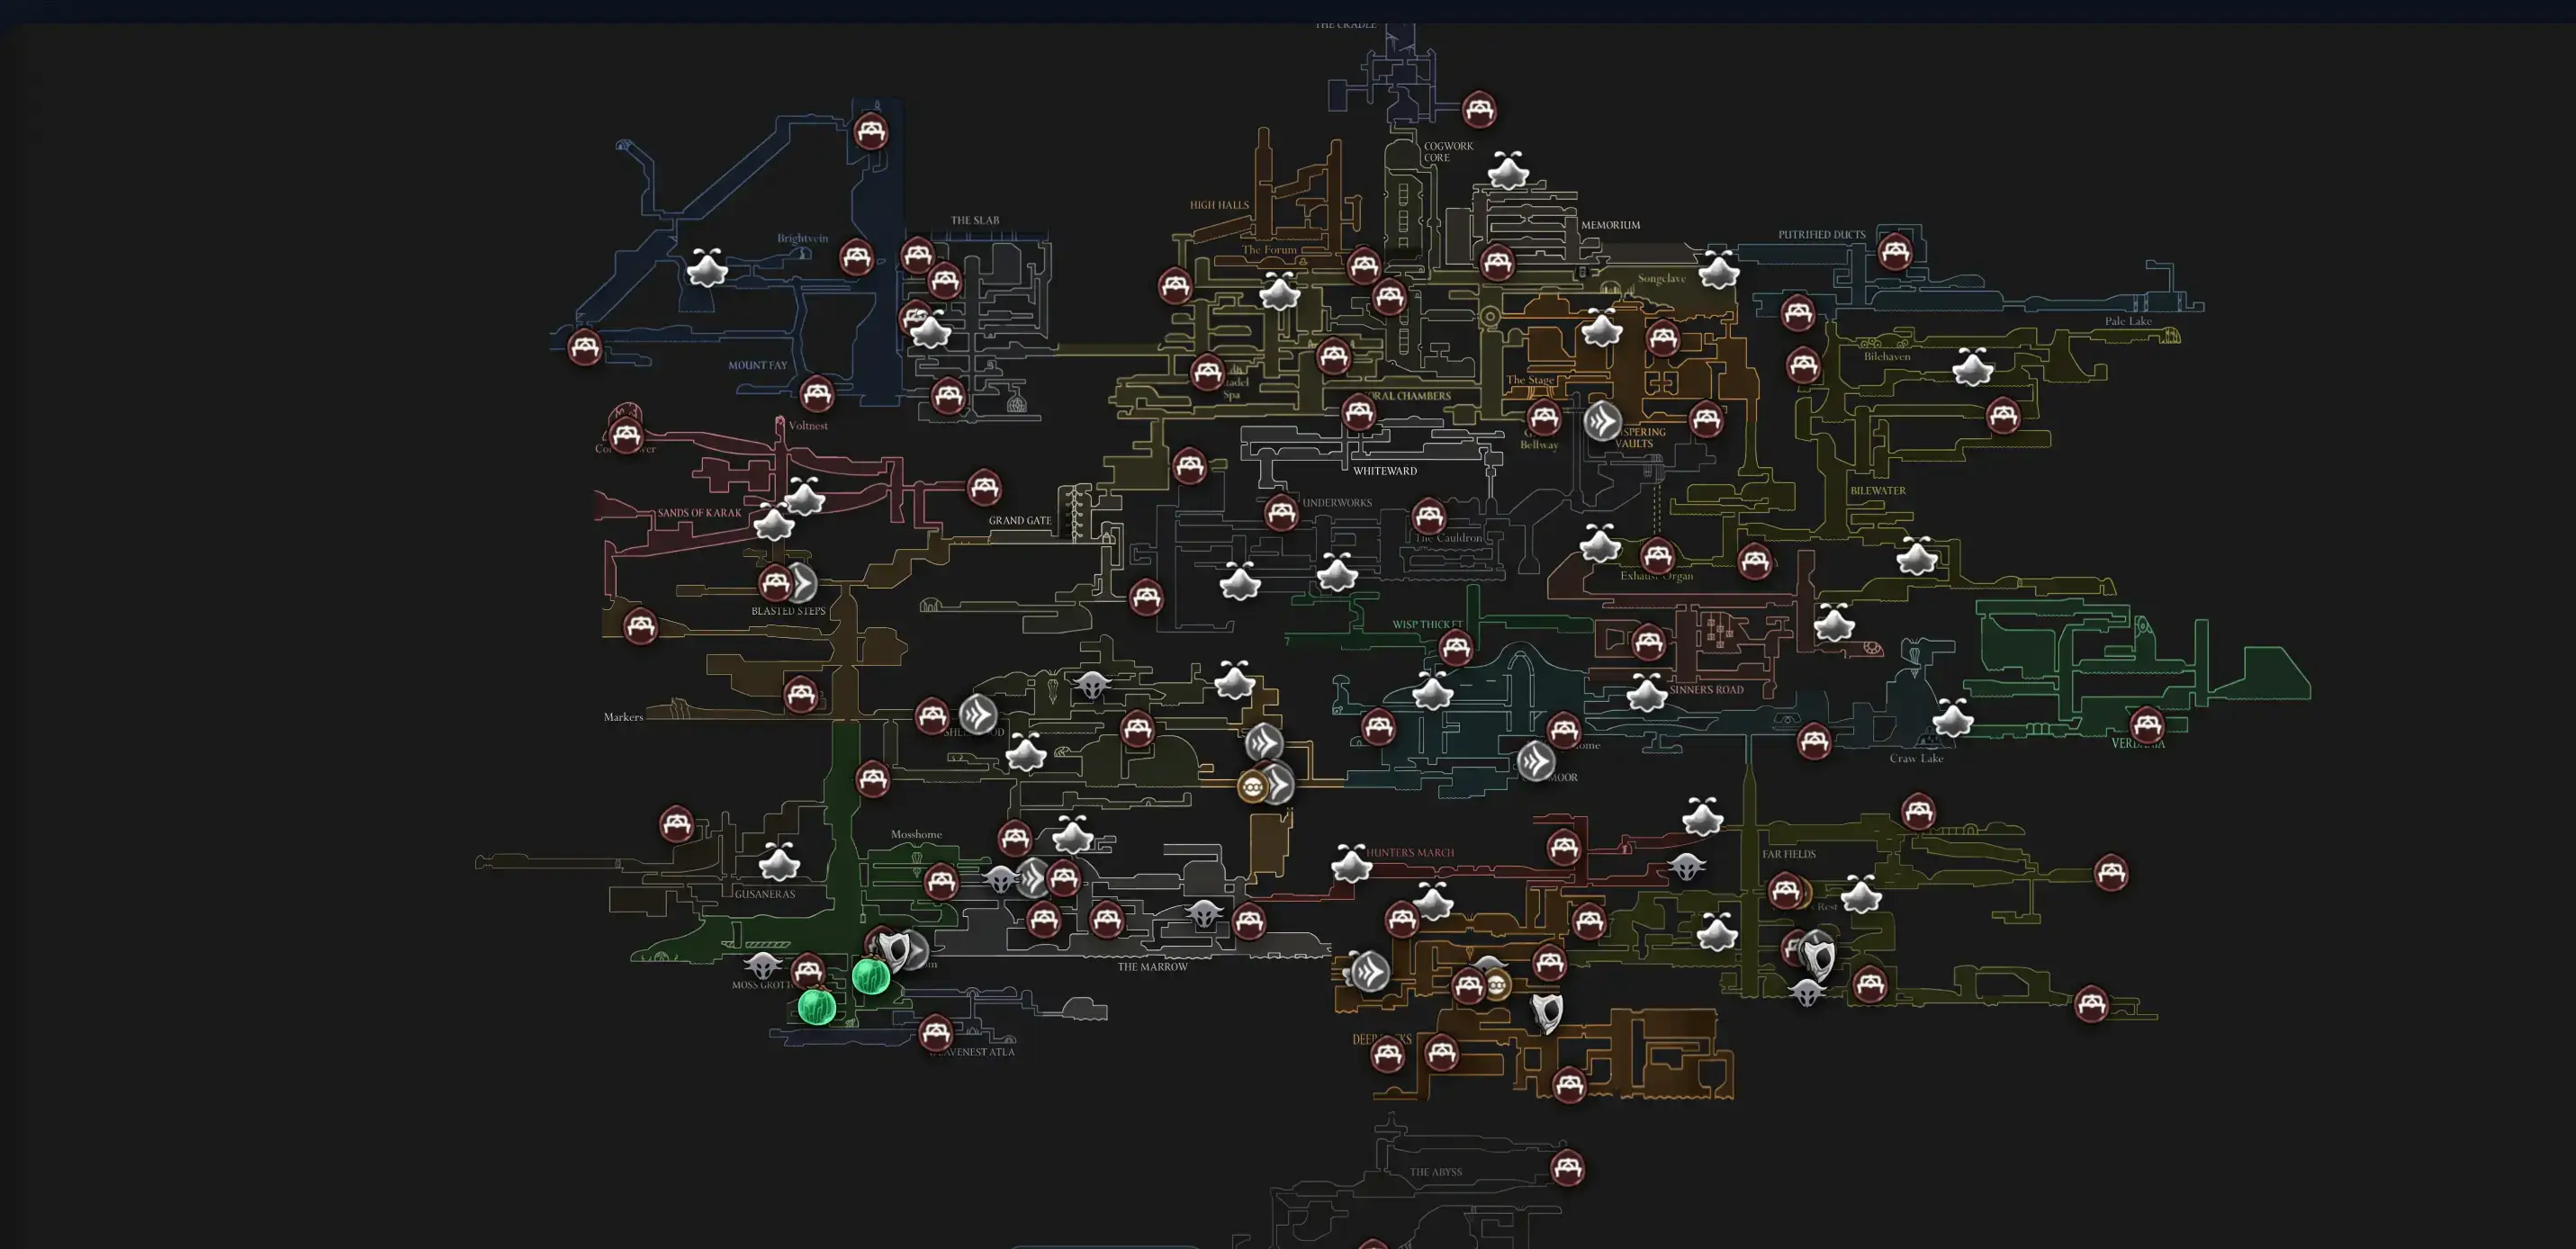
Map Preview
Open Interactive Map
Opens the full interactive Silksong map in a new tab.
Sources
- Boss video: https://www.youtube.com/watch?v=t4L6T7gzdzk


