


Summary
- Region: Blasted Steps → Grand Gate (Citadel entrance)
- Requirement: Ring the grand bells across Pharloom to break the seal
- Summon: Speak to the two Pilgrims at the gate, then play Needolin to begin the boss
- Outcome: Defeat the Last Judge to open the Grand Gate and enter the Citadel (Act 2)
- Difficulty: Act 1 finale boss with challenging fire-based attacks in later phases
The Last Judge represents one of the most significant boss encounters in Hollow Knight: Silksong's opening act, serving as both a skill check for players and a spectacular finale to Hornet's initial journey through Pharloom. This imposing enemy guards the entrance to the Citadel, wielding a massive chained weapon and commanding powerful fire abilities that escalate dramatically as the fight progresses.
Location & Route
- From a Blasted Steps bench, head east and climb using bell pogo and wall‑hops.
- Continue northeast to the antechamber with two Pilgrims at the Grand Gate.
- Expect a moderate runback through shifting sands and falling debris if you die.
- Route help: If you haven't mapped the area, see Blasted Steps route + map.
Detailed Path to the Grand Gate
The journey to reach the Last Judge requires careful navigation through Blasted Steps' treacherous terrain. Players will encounter several environmental hazards along the way:
- Sandy Caverns: Navigate through unstable sandy floors that can shift unexpectedly
- Flying Drill Enemies: Deal with aggressive airborne foes in tight spaces - use downward strikes to manage them effectively
- Bell Platforms: Utilize the signature bell-hopping mechanics to reach higher areas
- Falling Debris: Time your movements to avoid rockfalls triggered by the unstable environment
The runback from the nearest bench to the boss arena is approximately 2-3 minutes of careful platforming, making victory on each attempt crucial for maintaining momentum.
How to Summon the Last Judge
- Ensure the grand bells are rung (story progression requirement).
- At the Grand Gate antechamber, talk to the two Pilgrims.
- When prompted, play Needolin to initiate the Last Judge boss fight.
Complete Moveset Analysis & Counters
The Last Judge fight consists of three distinct phases, each escalating in complexity and danger. Understanding each attack pattern is crucial for consistent victory.
Phase 1: The Foundation (No Fire)
The opening phase introduces players to the Last Judge's core mechanics without fire enhancements. This phase serves as a learning opportunity for the more dangerous encounters ahead.
Jump & Slam Attack
- Visual Cue: Judge leaps high with a yellow glow around its weapon hand
- Execution: Boss targets your current position and slams down with tremendous force
- Counter Strategy: Walk away as soon as you see the jump; the attack has generous recovery time for 2-3 free hits
- Common Mistake: Staying too close and getting caught by the shockwave
Bell & Chain Throw
- Visual Cue: Boss draws back one hand while its body shakes slightly
- Execution: Hurls the chained weapon forward through the air, then retracts it along the ground
- Counter Strategy: Stay close to the boss during the throw, then jump over the returning chain for optimal punish opportunities
- Alternative: Dash far away if positioning isn't ideal
Chain Spin (Large AoE)
- Visual Cue: Boss rotates its weapon in hand for approximately one second
- Execution: Unleashes the weapon around its entire body in a wide circular pattern
- Counter Strategy: Dash away immediately upon seeing the wind-up; provides excellent heal window if you're at safe distance
- Timing: Limited reaction time makes constant awareness of boss stance critical
Phase 2: Fire Ascendant (Enhanced Attacks + New Abilities)
Phase 2 begins with a dramatic roar as the Last Judge channels fire into all its attacks, significantly increasing both damage and area coverage.
Fire Spin Attack (Enhanced Chain Spin)
- Visual Cue: Same spinning wind-up, but now emanates fiery energy
- Execution: Combines the original spin with circular waves of fire across the battlefield
- Fire Pattern: Smoke appears briefly before fire manifests, lasting about one second each
- Counter Strategy: Watch for smoke indicators and position between fire rings; don't rush in during the gaps
Fire Ground Slam
- Visual Cue: Same yellow glow on weapon, but now with fiery particles
- Execution: Normal slam followed by horizontal fire wave across the entire arena floor
- Counter Strategy: Dodge the initial slam, then time your jump to avoid the low-traveling fire wave
- Opportunity: Still the best opening for dealing damage, but requires precise timing
Fire Throw Attack
- Visual Cue: Same hand-back stance with added fire effects
- Execution: Weapon throw followed by an explosive AoE blast where it lands
- Counter Strategy: Either jump the returning chain (harder timing) or maintain distance from the explosion radius
- Risk Assessment: Higher danger than Phase 1 version due to blast damage
Fire Charge Attack (New)
- Visual Cue: Boss bends low while charging hands high behind its back
- Execution: Rapid charge across the arena spawning up to three fire burst locations
- Counter Strategy: Jump and glide until the boss passes underneath, then sidestep any nearby fire bursts
- Advanced Tip: Keep the boss centered in the arena to limit fire burst spawns and create attack windows
Phase 3: The Final Trial
Phase 3 introduces minimal new mechanics but significantly amplifies existing dangers.
Enhanced Fire Spin
- Execution: Four concentric fire rings instead of the standard pattern
- Counter Strategy: Requires rapid back-and-forth movement between rings
- Critical Window: Extremely dangerous but signals the fight's final stage
Self-Destruct Sequence
- Visual Cue: Boss begins collapse animation with sparks venting from its body
- Execution: Multi-hit explosion that can instantly kill if you're too close
- Counter Strategy: Create maximum distance immediately upon seeing the collapse begin
- Common Fatal Error: Attempting to land "one more hit" during the collapse
Step‑by‑Step Strategy
- Play patient in Phase 2—windows shrink; take fewer, safer hits.
- Reset center when the Judge pushes you to edges; bell retractions clip careless chases.
- Heal after long spins or at max range post‑throw; avoid healing between ember rings.
- Respect the self‑destruct—create space as soon as the topple animation starts.
Comprehensive Loadout Recommendations
Building an effective loadout for the Last Judge requires balancing offense, defense, and utility to handle the fight's escalating challenges across all three phases.
Essential Tools for Success
Magma Bell (Highest Priority)
- Function: Reduces fire damage taken by a significant margin
- Why Critical: Phase 2 and 3 fire attacks can quickly overwhelm unprepared players
- Usage: Passive protection allows for more aggressive positioning during fire phases
Magnetite Dice (High Priority)
- Function: Occasional complete damage negation
- Strategic Value: Can save you from devastating mistakes, especially during learning attempts
- Best Use: Save for Phase 2 Fire Charge attacks or emergency situations
Longpin (Situational)
- Function: Armor-piercing capability for enhanced damage
- Application: Useful if the Last Judge has armored portions that resist normal attacks
- Alternative: Standard needle attacks work well for most players
Recommended Abilities
Threadstorm (Optimal Choice)
- Function: Close-range AoE damage capability
- Strategic Advantage: Excellent for punishing the boss during crowded Phase 3 scenarios
- Usage Timing: Most effective after successful dodges when you have brief close-range windows
Crest Selection
Reaper Crest (Top Recommendation)
- Benefits: Increases slash width and damage output significantly
- Why Effective: Larger hitboxes make landing hits more consistent during brief punish windows
- Synergy: Works exceptionally well with Threadstorm for maximum damage per opening
Weapon Upgrades
Needle Enhancement Priority
- Source: Obtain upgrade from Pinmaster Plinney (available after defeating Bellhart/Widow)
- Impact: Substantially reduces time spent in each phase, minimizing exposure to dangerous attacks
- Route Planning: Consider prioritizing this upgrade before attempting the Last Judge
Alternative Loadout Options
Defensive Build
- Focus: Pollip Pouch for poison chip healing, multiple protective tools
- Best For: Players struggling with survival over damage output
- Trade-off: Longer fight duration but higher safety margin
Speed Run Build
- Focus: Maximum damage output tools and abilities
- Risk/Reward: Higher skill requirement but significantly faster clear times
- Recommended For: Experienced players comfortable with attack patterns
Rewards & Progress
- The Grand Gate opens upon victory, granting access to the Citadel (Act 2).
- Early Act 2 drops you into the city’s outskirts/Underworks equivalents before rising inward.
Tips & Common Mistakes
- Don’t stand between the Judge and its bell—retracts will tag you.
- Save Silk for emergency recovery rather than preemptive spends.
- Fire chip adds up—Magma Bell or similar mitigation pays off.
FAQ
- Where is the Last Judge? At the Grand Gate on the far east side of Blasted Steps.
- Do I need Needolin? Yes—to trigger the fight at the gate after speaking with the Pilgrims.
- Can I bypass the Judge? Some routes into Act 2 via Bilewater/The Mist are reported; treat as sequence workarounds subject to patches.
Route & Map Pointers
- Area mapping and route: /guides/tutorial/how-to-get-to-blasted-steps-and-get-map
- Upgrade power: /guides/tutorial/how-to-upgrade-needle
- Needolin source: /guides/tutorial/widow-boss-fight
Map Preview
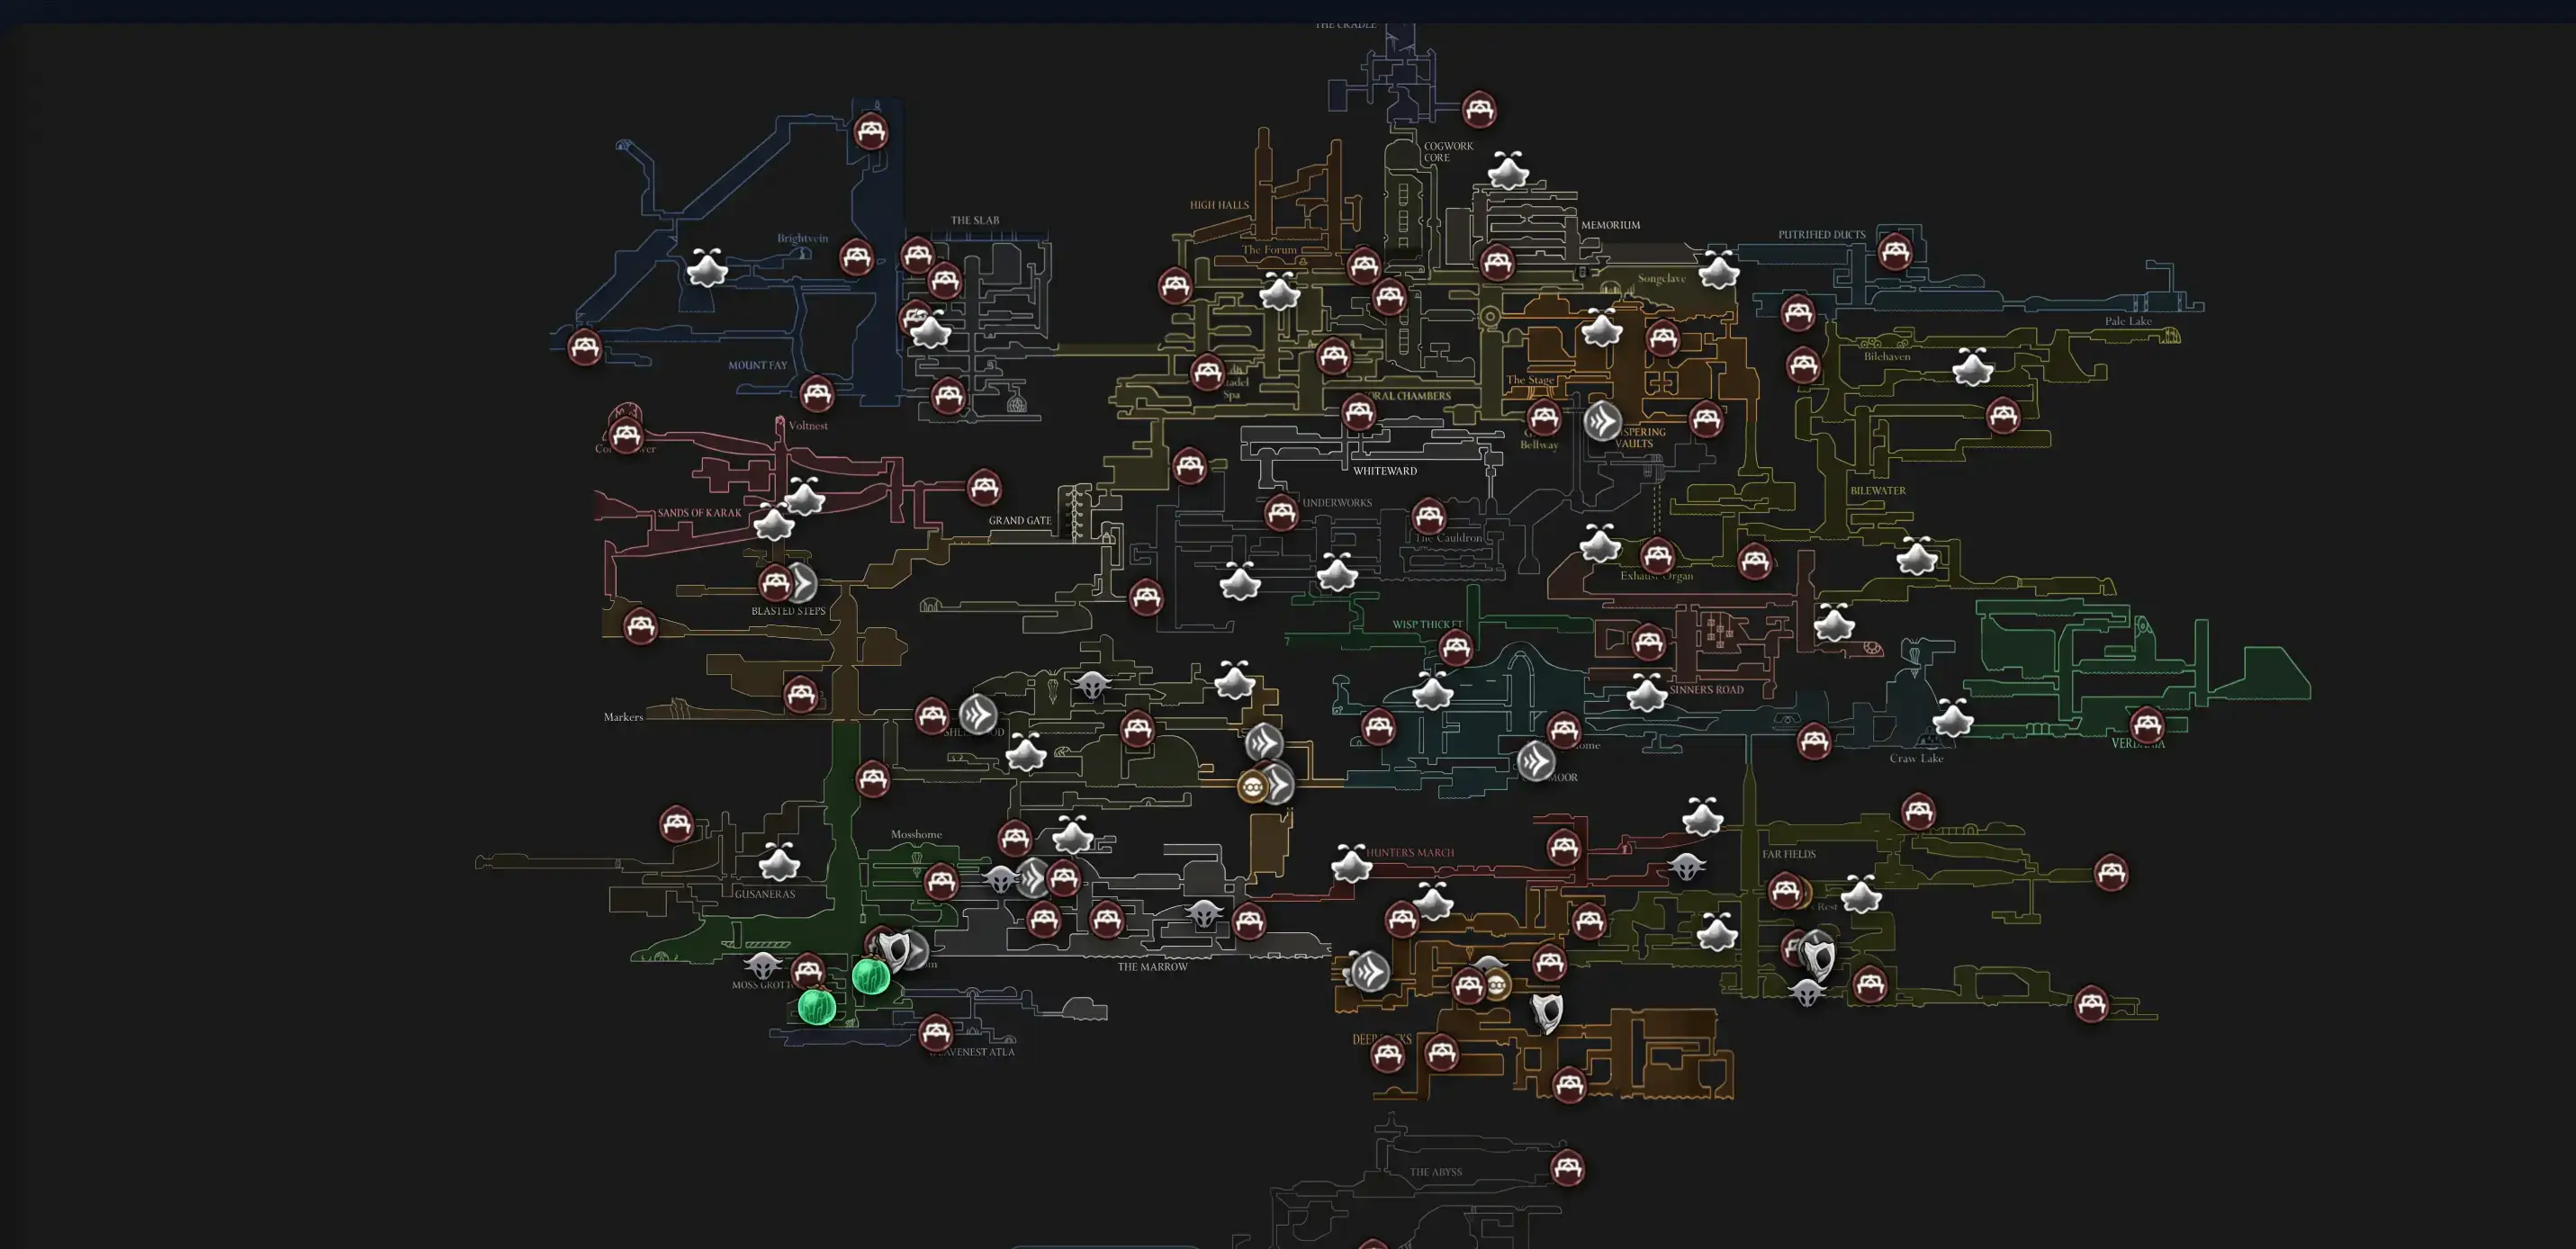
Open Interactive Map
Opens the full interactive Silksong map in a new tab.
Sources
- Video: https://www.youtube.com/watch?v=VSaIV0MfjJU
- Launch‑window guides validating gate location, Needolin trigger, moveset phases, and Citadel unlock.