


Summary
- Area: The Cradle (upper Citadel, Act 2)
- Gate: Complete the Three Melodies and unlock the upper elevator in Cogwork Core
- Win plan: Punish after Uppercut → Dive, don’t swing into Parry, and keep center control to avoid ledge scrambles
- What unlocks: The main path into The Cradle; commonly paired with a mid‑game sustain reward
Lace’s second encounter raises the tempo of her agile duelist kit and adds punishing follow‑ups that catch impatient players. The arena sits at the top of a story‑locked lift; once you stabilize the runback and respect her counters, the fight becomes a clean, repeatable clear.
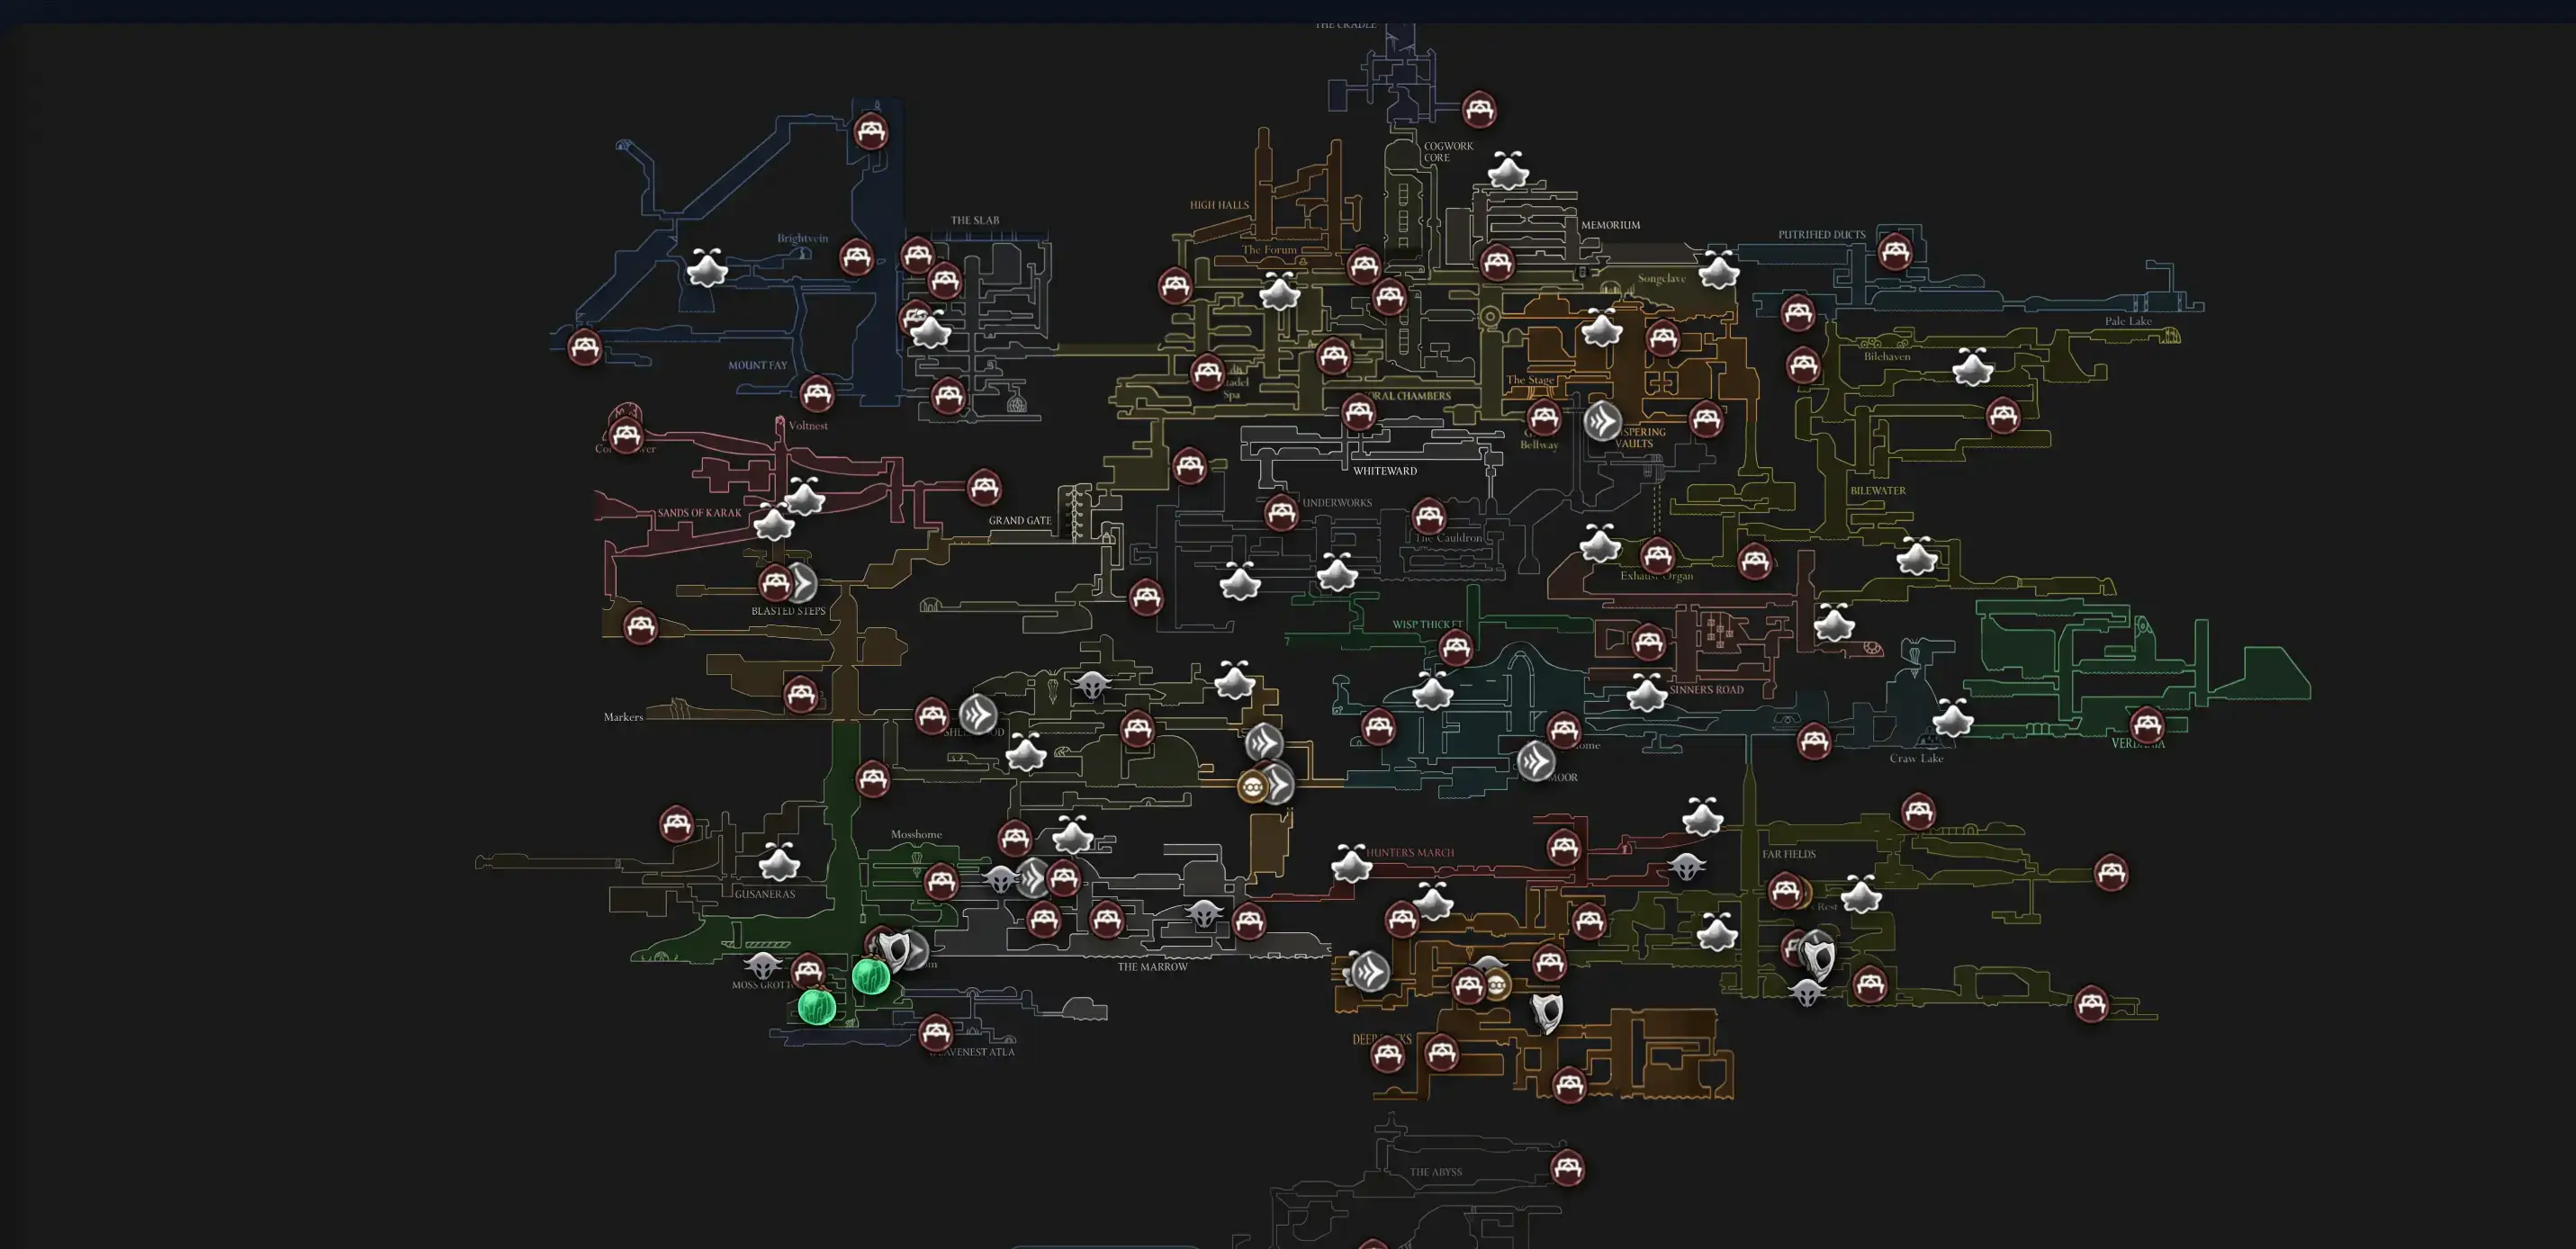
Location & How to Reach
- Progress Act 2 through interior Citadel routes: start in Choral Chambers, then route toward Cogwork Core. Adjacent links often include Whispering Vaults and High Halls.
- Complete the Three Melodies objective line. This is the narrative gate to power the upper elevator.
- In Cogwork Core, from the bench near the Cogwork Dancers, activate the elevator and ride it to the top access. The lift deposits you at the threshold of The Cradle and into Lace’s arena.
- Quality of life: buy maps from Shakra when available, and unlock bell travel to shorten the runback.
First encounter recap: Lace’s Act 1 duel is in Deep Docks. That fight teaches the spacing and counter rules you’ll reuse here.
Arena Notes (The Cradle)
- Edges punish greed. Don’t attempt long heals at ledges; reset to center before binding.
- Three escalating phases. Expect faster chains and added AoE markers as the fight progresses.
- Vertical checks. Short hops and pogo confirms are safer than full jumps once Phase 2 begins.
Moveset & Counters (Act 2)
Carries from Act 1 then upgrades in Phases 2–3:
- Triple Slash: Three advancing cane strikes. If already above her, pogo for 1–2 safe taps, then disengage.
- Line Dash: Fast ground dash; in Phase 2 she can chain it twice. Micro‑sidestep or dash‑through at the last possible moment; punish only on the true stop.
- Uppercut ×2 → Air Pause → Diagonal Dive: In Phase 2, the uppercuts seed brief AoE markers that pop during/after the dive. Do not chase mid‑air. Wait for the landing thud, then take 1–2 hits and reset.
- Parry → Riposte: Raised cane guard that reflects your hit into an immediate counter. If you tag the guard, jump‑back/dash‑back and re‑enter from behind. Never mash into parry.
- Aerial Slash Variant (Phase 3): Arena‑wide tell followed by a descending slash, sometimes repeated. Hold neutral, track the circle, then re‑center for the next opening.
Pro tip: The upgraded leap/landing in Phase 2 punishes jumpers—stay grounded, dash late through the safe gap, then counter on the landing.
Strategy — Safe Loops, Punishes, and Heals
- Anchor the punish: Farm consistency from Uppercut → Dive landings. Dash toward the landing to finish behind her, land 1–2 hits, then disengage before parry can start.
- Never test the guard: If you hit Parry, your next input is retreat. Only punish a whiffed riposte from her back.
- Center control > damage: If spacing breaks near an edge, rotate to the middle before attempting to heal or swing.
- Phase 3 discipline: Tempo spikes but telegraphs remain fair. Keep single‑hit punishes and preserve Silk for emergency spacing/binds.
Safe heals (typical windows)
- After a full landing from Diagonal Dive if you’re already centered
- Post‑spin/large aerial after the AoE circle collapses
- On knockback that pushes her off a ledge—sip once, then re‑center
Recommended Loadouts (Act 2)
- Tools: Weavelight (passive Silk regen), Flintslate (short, safe damage windows), Rune Rage (tracking AoE punish), Threefold Pin (steady chip at mid‑range)
- Crests: Reaper Crest (wider arcs for pogo/confirm), plus one survivability crest like Fractured Mask or Magnetite Dice to buffer mistakes
- Playstyle: One‑and‑done confirms. Avoid slow commitments that collide with Parry or double dashes.
Rewards & Progress Impact
- Route unlock: Opens the onward path through The Cradle and advances Act 2 story beats
- Sustain note: Community routes often pair this win with a mid‑game sustain pickup (e.g., a Silk‑related heart effect) that smooths longer segments ahead
Quick Route Reference
- Choral Chambers objectives → interior Citadel links
- Enter Cogwork Core → complete Three Melodies requirements
- Activate and ride the upper elevator near the Dancers’ bench
- Arrive at The Cradle threshold → Lace (Act 2) arena → defeat to progress
FAQ
Q: Is Lace (Act 2) optional? A: Generally treated as mandatory for progressing into The Cradle during Act 2.
Q: Do I need specific movement upgrades beyond the story gate? A: The main requirement is completing the Three Melodies to power the lift. Mobility helps with the runback, but the duel itself hinges on spacing/discipline more than unlocks.
Q: Where was Lace earlier? A: Her first duel is in Deep Docks, commonly gated by a dash route.
Related Guides
- The Cradle — Area Guide
- Cogwork Core — Area Guide
- High Halls — Area Guide
- Choral Chambers — Area Guide
- Lace — Boss Strategy (Act 1 focus)
- Cogwork Dancers — Boss Guide
Open Interactive Map (All Areas)
Opens the full interactive Silksong map in a new tab.