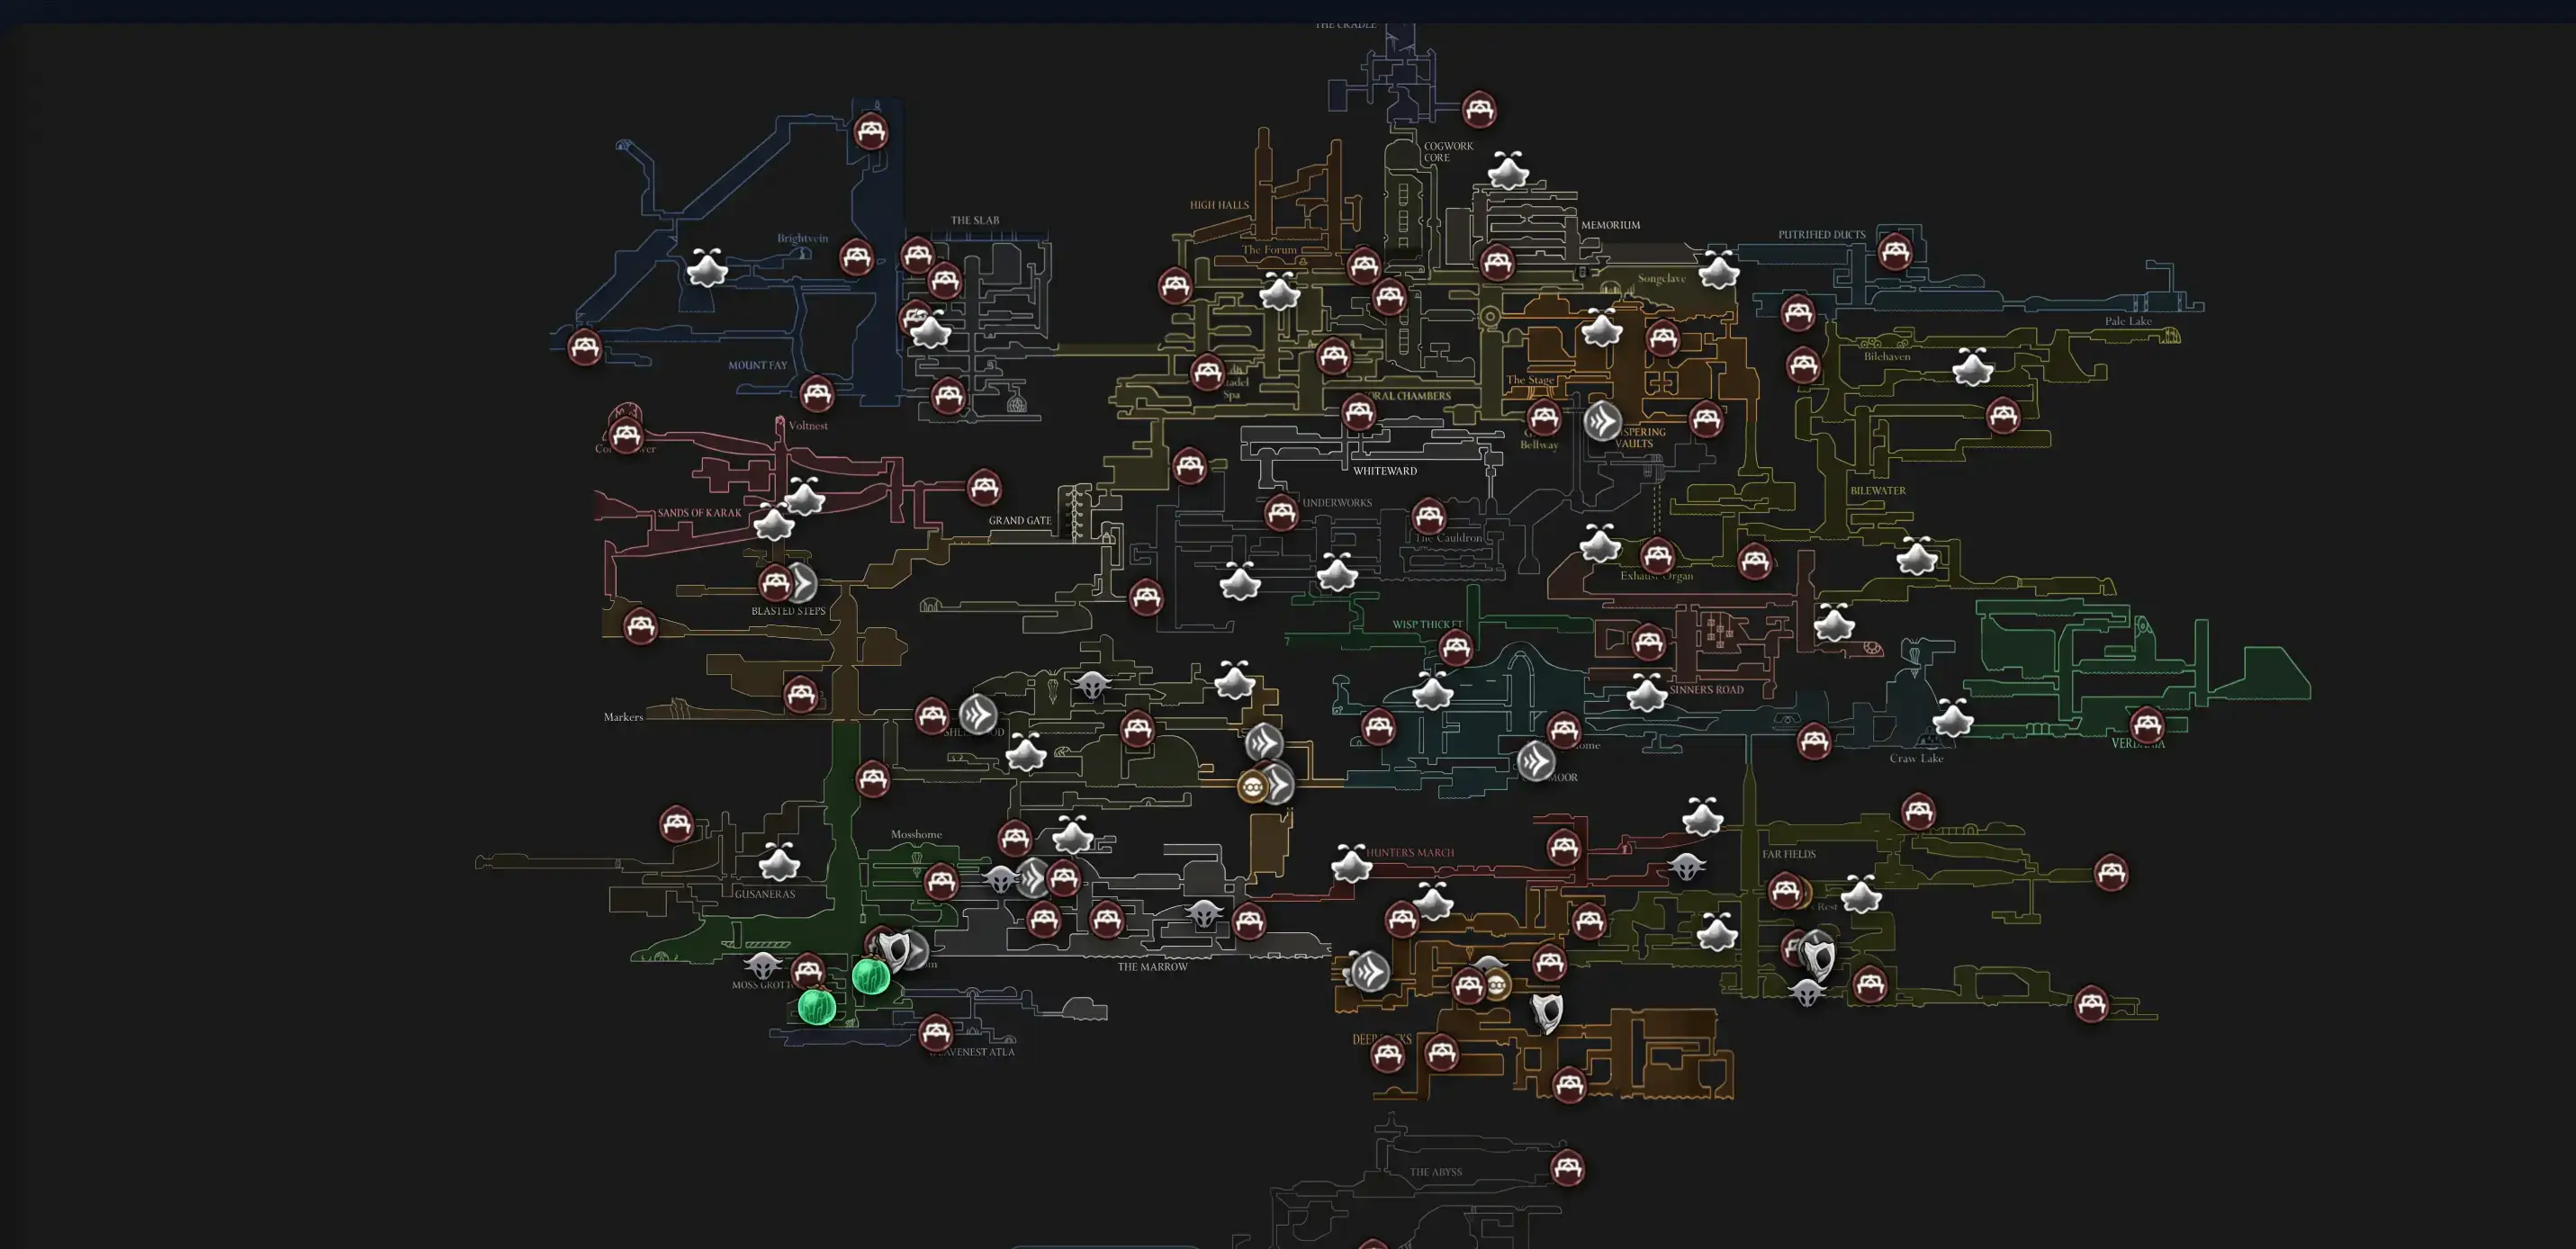
Light progression spoilers. This guide shows how to reach Mount Fay (often called “Mount Fray” in videos), handle the cold hazard, and snag the area map.
Overview
Mount Fay sits to the left of The Slab. The area features cold exposure that drains health away from heat sources, plus windy ledges that favor short, controlled jumps. You’ll often need ring grapples and gliding to make vertical progress, so bringing Clawline and Wind Gliding is recommended.
Quick Facts
- Official name: Mount Fay (many uploads spell it “Fray”).
- Access: From The Slab’s Bellway exit, go left into Mount Fay.
- Hazard: Cold — stay near heat sources (campfires, lamps) to avoid health drain.
- Map: Buy from Shakra on the mountain; recall her at Bone Bottom if missed.
- Reward up top: Faydown Cloak (Double Jump) later in the climb.
Prerequisites
- Reach The Slab.
- Movement: Clawline strongly recommended for ring anchors; Wind Gliding smooths long gaps. Wall‑movement and dash help consistency.
Step‑by‑Step: The Slab → Mount Fay
- From The Slab’s Bellway, take the left exit into Mount Fay.
- Secure the first bench. Stabilize your run before attempting long vertical pushes.
- Climb using ring anchors and heaters. Move heater‑to‑heater; avoid breaking heat sources.
- Listen for humming. Shakra sets up in a sheltered alcove along the lower/mid climb—buy the Mount Fay map and rest to update parchment.
Map Location (and Backups)
- Primary: Shakra’s camp appears along a sheltered alcove during the lower ascent—listen for humming.
- Missed it? Strike the bell post twice in Bone Bottom to summon Shakra and purchase skipped maps, including Mount Fay.
Surviving the Cold
- Travel between heaters. Plan each jump chain so you’re rarely far from warmth.
- Don’t destroy safety. Some heaters can be broken; be careful swinging near them.
- Pace in wind. Favor short hops and ledge checks instead of long dashes into gusts.
Recommended Abilities
- Must‑have: Clawline (grapple to ring anchors).
- Strongly recommended: Wind Gliding for control across gusty spans.
- Helpful: Wall‑movement and Swift Step for safer climbs.
FAQ
- Why am I taking damage? Cold exposure away from heat sources; regroup at heaters.
- Do I need Clawline? For ring sequences and safer climbs, yes—limited progress is possible without, but expect dead‑ends.
- Where do I buy the map? From Shakra on the mountain; if missed, recall her at Bone Bottom.
Sources
- Video: https://www.youtube.com/watch?v=Jxd4N0IGB0k
- Community area guides and interactive maps noting The Slab left exit, cold hazard rules, and Shakra recall behavior.
Open Interactive Map (All Areas)
Opens the full interactive Silksong map in a new tab.


