


What is the Bell Beast in Hollow Knight: Silksong?
The Bell Beast is one of the most important early-game bosses in Hollow Knight: Silksong, serving as both a challenging combat encounter and a crucial progression gate. Located in The Marrow region, this massive, beetle-like creature is initially found trapped in webs and becomes a formidable opponent once freed.
What makes the Bell Beast particularly significant is that defeating it unlocks the Bellways fast travel system, fundamentally changing how you navigate Pharloom. This boss represents a perfect skill check for new players while rewarding victory with essential quality-of-life improvements that benefit your entire playthrough.
The Bell Beast fight is designed to teach players about positioning, patience, and pattern recognition - core skills that become increasingly important as you face tougher bosses later in the game.
How to Find and Unlock the Bell Beast Fight
Location in The Marrow
The Bell Beast is located in the central area of The Marrow, one of the first major regions you'll explore in Hollow Knight: Silksong. Here's how to reach the boss:
- Enter The Marrow - Progress from the starting areas into this cavernous region
- Navigate toward Shakra - Look for the map vendor (Shakra) as a landmark
- Find the webbed chamber - The Bell Beast is initially trapped in a large, web-filled room
- Locate nearby bench - There's a rest point close to the boss arena for preparation
Prerequisites and Requirements
Essential Requirements:
- Silk Spear (also called Silkspear) - Required to cut the webs trapping the Bell Beast
- Basic combat proficiency - Comfortable with jumping, attacking, and healing
- 2-3 health masks minimum - More health makes the fight significantly easier
How to Obtain Silk Spear:
- Progress through early areas until you find the Silk Spear tool
- This weapon/tool allows you to cut through silk barriers and webs
- Once obtained, return to the Bell Beast's chamber
- Use the Silk Spear to cut the webs binding the creature
- The boss fight begins immediately after freeing the Bell Beast
Preparation Tips
Before Starting the Fight:
- Rest at the nearby bench - Ensures full health and saves your progress
- Clear the path - Defeat any enemies between the bench and boss room
- Equip helpful charms - Any healing, mobility, or silk-focused charms are beneficial
- Practice basic techniques - Make sure you're comfortable with pogo attacks and timing
Complete Bell Beast Attack Pattern Guide
Phase 1: Ground-Based Attacks
The first phase focuses on straightforward but punishing attacks that teach fundamental combat skills.
Ground Charge Attack
Description: The Bell Beast lowers its head and charges straight across the arena at ground level.
Telegraph: Brief pause and head-lowering motion before the charge begins.
How to Counter:
- Jump over the charge - Time your jump as the Bell Beast approaches
- Pogo attack - Strike downward while jumping to land on the Bell Beast's back
- Land 1-2 hits - After the pogo, you have a brief window for ground attacks
- Retreat quickly - Don't get greedy; back away after your hits
Damage Potential: This is your primary damage opportunity in Phase 1.
Leap Attack
Description: The Bell Beast performs a high, arcing jump to the opposite side of the arena.
Telegraph: The creature crouches low before launching into the air.
How to Counter:
- Run underneath - Move to where the Bell Beast was standing
- Attack the belly - Strike upward as it passes overhead
- Prepare for landing - Be ready to dodge or attack when it lands
- Alternative: Meet the landing with a well-timed ground attack
Positioning Tip: Stay mobile and use the full arena width to avoid being cornered.
Bouncing Bells Attack
Description: The Bell Beast summons two metal bells that roll across the arena floor.
Telegraph: The creature roars and bells appear at the arena edges.
How to Counter:
- Identify safe spaces - Look for gaps between the rolling bells
- Jump timing is crucial - Time your jumps to clear the bells safely
- Don't attack during this phase - Focus purely on survival
- Wait for the pattern to end - Bells eventually disappear, allowing you to resume attacking
Common Mistake: Trying to attack while dodging bells leads to unnecessary damage.
Phase 2: Bell Barrage Escalation
Once the Bell Beast reaches approximately 50% health, the fight escalates with more dangerous attack patterns.
Falling Bell Barrage
Description: Multiple bells fall from the ceiling in a rapid sequence, covering much of the arena.
Telegraph: The Bell Beast emits a louder roar and the screen may shake slightly.
How to Counter:
- Keep moving constantly - Standing still is almost guaranteed damage
- Watch for shadows - Falling bells cast shadows indicating impact points
- Move in diagonal patterns - Reduces the chance of being caught by multiple bells
- Wait for clear moments - Only attack during brief pauses in the barrage
- Use healing windows wisely - Bind healing takes time and leaves you vulnerable
Survival Priority: During this phase, focus on staying alive rather than dealing damage.
Comprehensive Fighting Strategy
Early Fight Strategy (Phase 1)
Positioning and Movement:
- Control the center - Stay roughly in the middle of the arena for equal reaction time
- Maintain distance - Don't hug the walls where you might get trapped
- Use the full arena - Take advantage of the space available for dodging
Attack Patterns and Timing:
-
Charge Counter Technique:
- Jump as the Bell Beast approaches
- Perform exactly one pogo attack (don't get greedy)
- Land behind the creature and deliver 1-2 ground attacks
- Immediately back away to prepare for the next attack
-
Leap Counter Technique:
- Run toward the Bell Beast's starting position
- Attack upward as it passes overhead
- Alternatively, position for a ground attack at the landing spot
- Be ready to dodge if the timing isn't perfect
-
Bell Dodge Technique:
- Treat this as a pure survival phase
- Focus on clean jumps over rolling bells
- Don't attempt any attacks during this pattern
- Reset your positioning once the bells disappear
Advanced Fight Strategy (Phase 2)
Adapting to Bell Barrage:
- Prediction is key - Learn to read the falling bell patterns
- Diagonal movement - Move in L-shapes or diagonal lines to avoid clustering
- Patience over aggression - Wait for genuinely safe openings
- Emergency healing - Use Bind healing only during the longest pauses
Damage Optimization:
- Quality over quantity - Focus on safe, guaranteed hits rather than risky combos
- Respect the phase transition - Don't get caught attacking when Phase 2 begins
- End-game positioning - Stay mobile as the Bell Beast's health gets low
Common Mistakes and How to Avoid Them
Mistake #1: Over-Pogoing on Charge
- Problem: Multiple pogo attempts leave you vulnerable to follow-up attacks
- Solution: Discipline yourself to do exactly one pogo, then retreat
Mistake #2: Healing During Bell Attacks
- Problem: Bind healing animation is too long during active bell patterns
- Solution: Only heal during clear lulls between attack patterns
Mistake #3: Greed for Extra Damage
- Problem: Staying too long in attack range for one more hit
- Solution: Stick to safe, proven punish windows and retreat immediately
Mistake #4: Poor Positioning
- Problem: Getting cornered against walls during leap attacks
- Solution: Always maintain central positioning and use the full arena
Mistake #5: Panic During Phase 2
- Problem: Trying to rush the fight when bells start falling
- Solution: Accept that Phase 2 is slower and focus on clean dodging
Recommended Builds and Equipment
Essential Early-Game Charms
Healing and Survivability:
- Druid's Eye - If obtained from the Berry Picking quest, improves healing efficiency
- Any health-boosting charms - More masks mean more mistakes you can survive
- Silk regeneration charms - Faster Bind healing between attacks
Mobility and Combat:
- Movement speed charms - Helps with positioning and dodging
- Attack range extensions - Makes charge punishes safer and more consistent
- Silk-based damage charms - If you have silk abilities available
Optimal Charm Combinations
Beginner Setup:
- Focus on survival and healing over damage
- Druid's Eye + health charm + mobility charm
- Prioritize staying alive while learning the patterns
Advanced Setup:
- Balance survival with damage output
- Healing efficiency + attack power + silk management
- More aggressive charm combinations for faster clear times
Tools and Abilities
Required:
- Silk Spear - Must have to start the fight
- Bind healing - Your primary healing method
- Basic needle attacks - Standard attack for all damage dealing
Recommended:
- Wall-jumping - If available, provides better positioning options
- Any silk abilities - Additional combat options and utility
Bell Beast Rewards and Progression Benefits
Primary Rewards
Bellways Fast Travel System
What it unlocks:
- Fast travel network - Connect to any discovered bell station instantly
- Map traversal revolution - Dramatically reduces backtracking time
- Quality of life improvement - Makes exploration and quest completion far more efficient
How it works:
- Ring any bell in the world to access the travel menu
- Select destination from discovered bell locations
- Instant teleportation - No loading screens or animation delays
- Two-way travel - Can return to your starting point just as easily
Strategic importance:
- Game-changing utility - Transforms how you approach exploration
- Quest efficiency - Makes completing wishes and collecting items much faster
- Reduces frustration - Less time spent walking through cleared areas
Silk Heart Upgrade
What it provides:
- Automatic silk refill - When your silk is empty, one spool auto-refills
- Enhanced sustainability - More frequent access to Bind healing and silk abilities
- Combat advantage - Less resource management during fights
How to use effectively:
- Aggressive silk usage - Use abilities more freely knowing you'll get refills
- Healing optimization - More opportunities for Bind healing during exploration
- Combat sustainability - Especially valuable during longer boss fights
Secondary Benefits
Progression Unlocks:
- Area accessibility - Fast travel opens up new exploration routes
- Quest efficiency - Completing wishes becomes much more manageable
- Backtracking elimination - Can revisit areas for missed items easily
Skill Development:
- Combat proficiency - Teaches essential boss fighting techniques
- Pattern recognition - Improves your ability to read other boss attacks
- Patience and positioning - Core skills for all future encounters
Advanced Techniques and Optimization
No-Hit Strategies
Perfect Positioning:
- Center-weighted movement - Stay within the central 60% of the arena
- Predictive positioning - Move to optimal spots before attacks begin
- Emergency spacing - Always maintain escape routes
Frame-Perfect Techniques:
- Charge pogo timing - Jump exactly as the Bell Beast approaches for consistent hits
- Leap counter positioning - Stand precisely under the arc for guaranteed belly hits
- Bell dodge optimization - Minimal movement patterns for maximum safety
Phase Transition Management:
- Health threshold awareness - Know when Phase 2 begins and prepare accordingly
- Attack canceling - Abort unsafe attacks when the phase changes
- Positioning reset - Get to safety before the bell barrage intensifies
Speedrun Techniques
Time Optimization:
- Aggressive pogo chains - Advanced players can land multiple pogos safely
- Phase skip attempts - High-damage builds can sometimes skip phase transitions
- Perfect punish windows - Maximizing damage during every safe opening
Risk-Reward Balance:
- When to be aggressive - Experienced players know safe moments for extra hits
- When to play safe - Recognizing dangerous moments that require patience
- Resource management - Optimal use of silk and healing for fastest clear
Practice Recommendations
Learning the Fight:
- Focus on survival first - Learn all attack patterns without worrying about damage
- Master individual counters - Practice each punish until it's automatic
- Gradually increase aggression - Add more damage as you get comfortable
- Phase transition practice - Specifically practice the switch to Phase 2
Skill Building Exercises:
- Pogo practice - Use other enemies to perfect your timing
- Positioning drills - Practice maintaining optimal arena position
- Pattern memorization - Learn the exact timing of all attacks
Interactive Map and Visual Guide
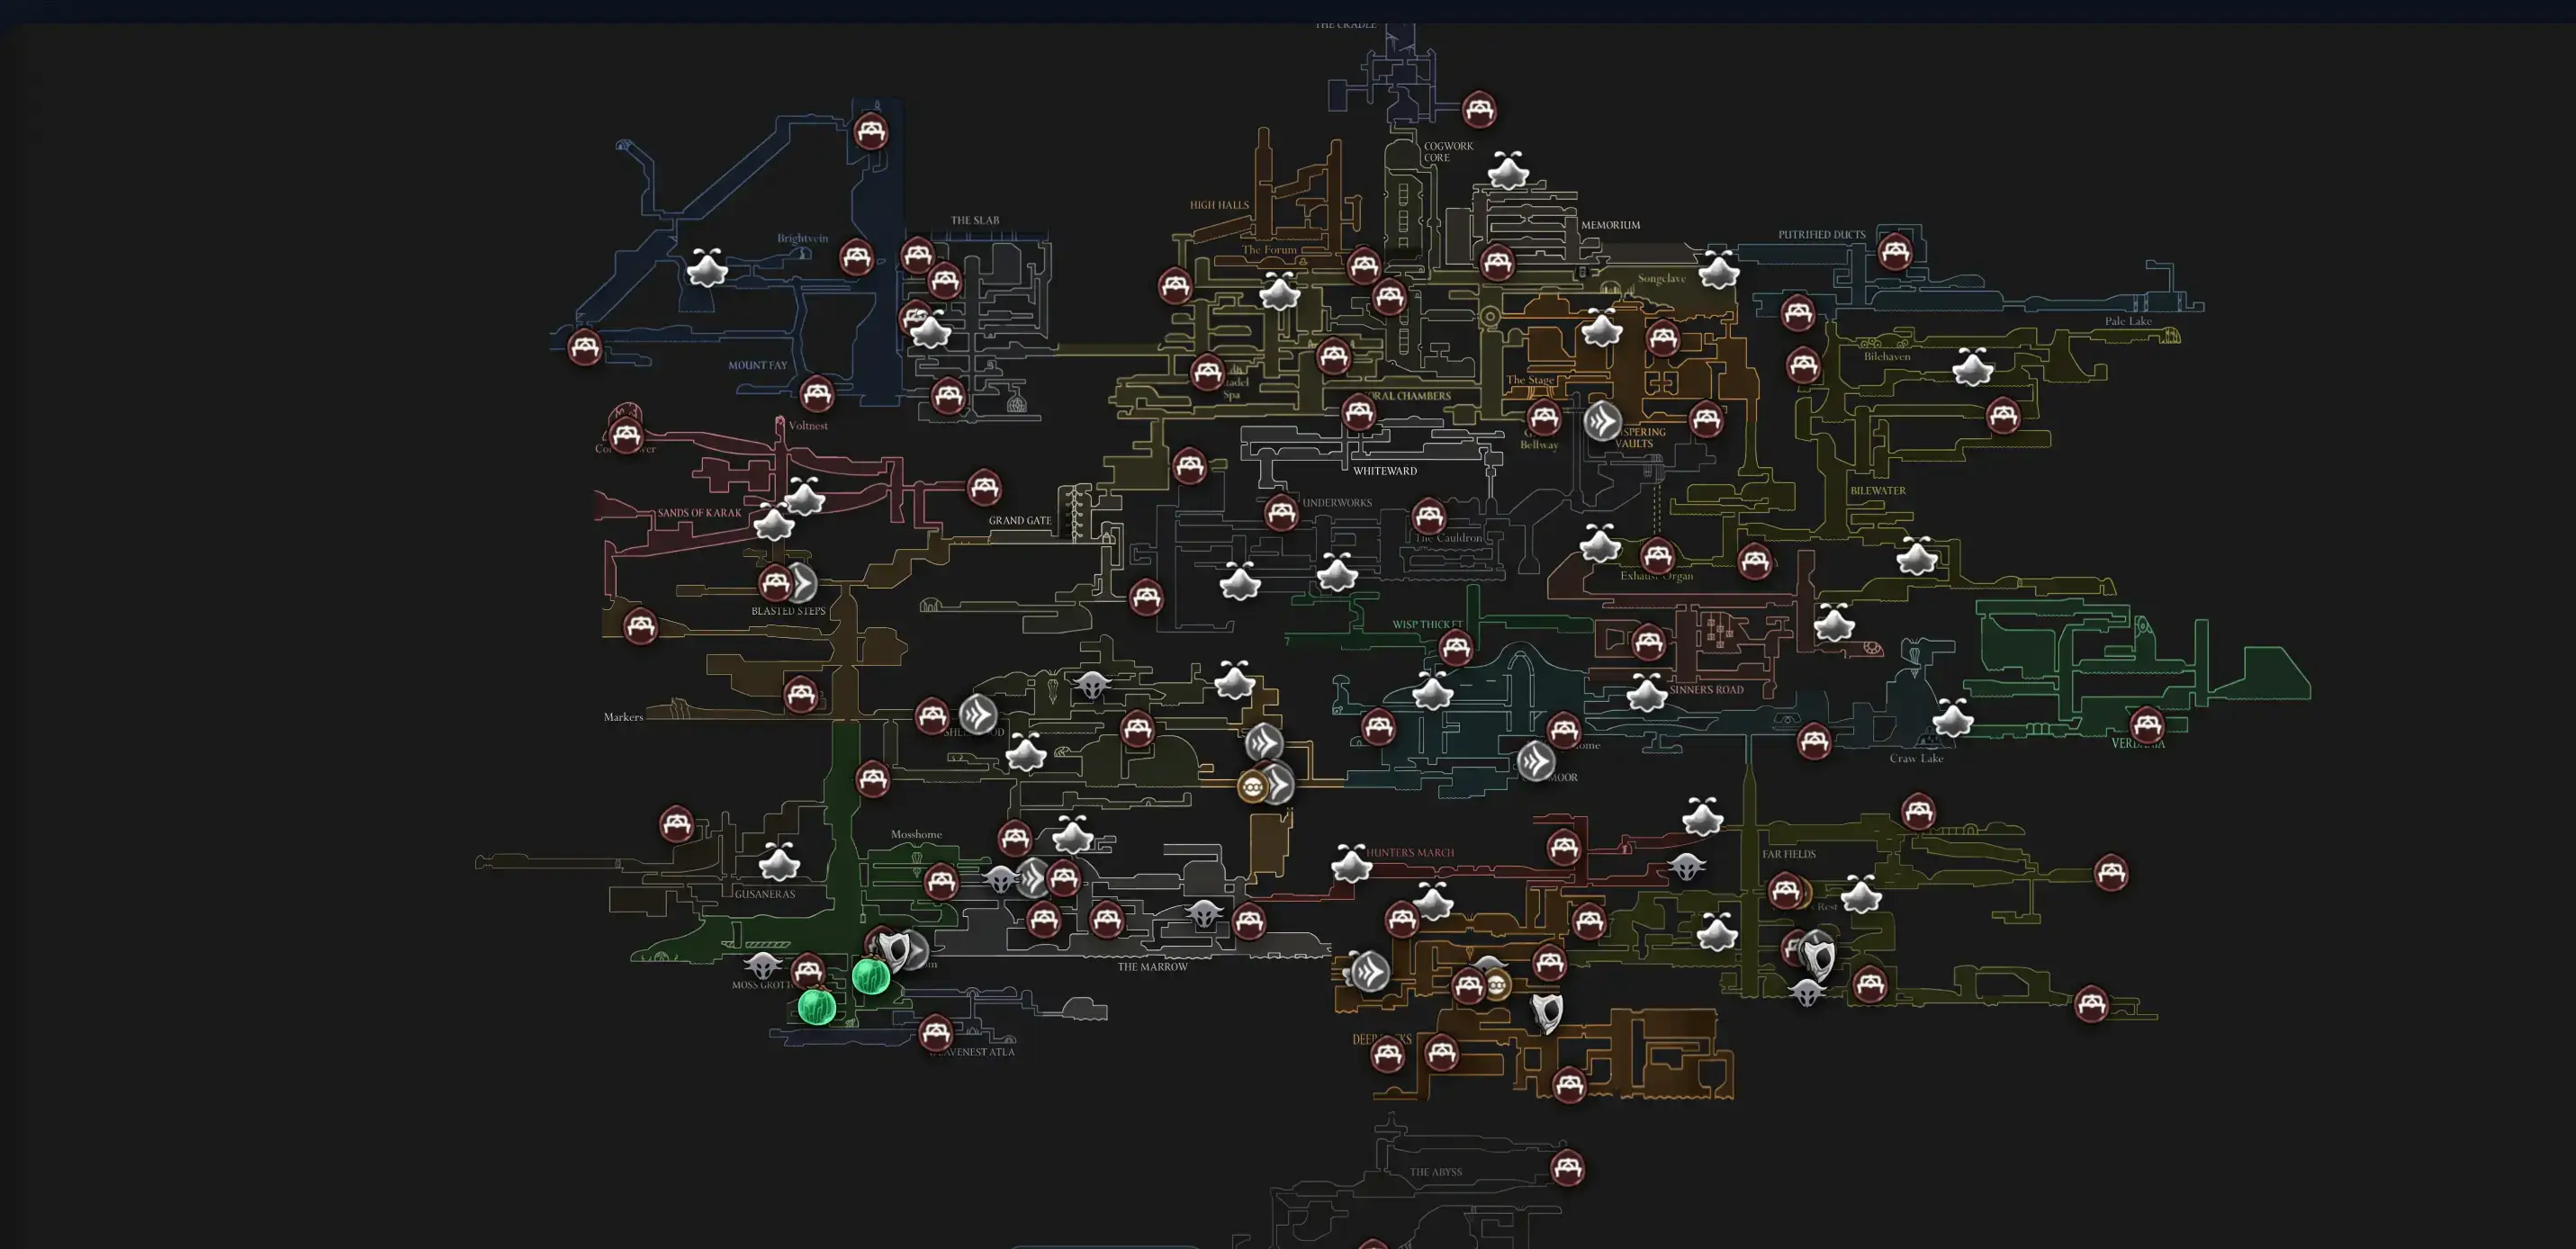
Open Interactive Map
Opens the full interactive Silksong map in a new tab.
Boss Arena Layout
Arena Features:
- Rectangular chamber - Wide enough for dodging, not so large you lose control
- Flat floor - No elevation changes or hazards to worry about
- Clear boundaries - Walls are clearly defined for positioning reference
Key Locations:
- Entrance/Exit - Where you enter and can retreat if needed
- Optimal fighting zone - Central area provides best reaction time
- Emergency corners - Last resort positions if you get overwhelmed
Frequently Asked Questions
Basic Fight Questions
Q: Where exactly is the Bell Beast located? A: The Bell Beast is in The Marrow region, in a large webbed chamber near where you can find Shakra (the map vendor). Look for a room filled with thick webs containing a large, trapped creature.
Q: What do I need to start the Bell Beast fight? A: You need the Silk Spear tool to cut the webs trapping the Bell Beast. Once you have this tool, return to the webbed chamber and use it to free the creature, which immediately starts the boss fight.
Q: Is the Bell Beast fight required for progression? A: While not technically required for the main story, the Bell Beast fight is highly recommended because it unlocks the Bellways fast travel system, which dramatically improves your ability to navigate Pharloom efficiently.
Q: How difficult is the Bell Beast compared to other early bosses? A: The Bell Beast is considered a moderate difficulty early boss. It's more challenging than basic enemies but serves as good preparation for harder encounters later. The fight is very learnable with proper pattern recognition.
Strategy and Combat Questions
Q: What's the best strategy for Phase 1? A: Focus on patience and positioning. Wait for charge attacks to pogo once and land 1-2 ground hits. Dodge under leap attacks for belly strikes. Treat bouncing bells as dodge-only phases. Stay in the center of the arena for optimal reaction time.
Q: How do I survive the falling bells in Phase 2? A: Keep moving constantly in diagonal patterns, watch for shadows indicating where bells will land, and only attack during clear lulls. Never try to heal during active bell barrages - wait for safe moments.
Q: Should I focus on damage or survival? A: Survival first, especially while learning. Master the dodge patterns and safe punish windows before worrying about optimal damage. The fight rewards patience more than aggression.
Q: Can I use silk abilities during this fight? A: Yes, if you have silk abilities available, they can be helpful. However, manage your silk carefully since you need it for Bind healing. The Silk Heart reward from this fight will help with silk management in future encounters.
Rewards and Progression Questions
Q: What exactly does the Bellways system do? A: Bellways unlocks fast travel between any bell stations you've discovered. Ring any bell in the world to see a travel menu, select your destination, and teleport instantly. This eliminates most backtracking and makes exploration much more efficient.
Q: How does the Silk Heart work? A: The Silk Heart automatically refills one silk spool when your silk is empty. This means more opportunities for Bind healing and using silk abilities without constantly worrying about running out of resources.
Q: Are there any other rewards for beating Bell Beast? A: The primary rewards are Bellways and Silk Heart. These are incredibly valuable quality-of-life improvements that benefit your entire playthrough. The Bell Beast also becomes friendly after the fight and can be used for fast travel.
Q: Does the Bell Beast respawn after I beat it? A: No, boss fights in Hollow Knight: Silksong are one-time encounters. After defeating the Bell Beast, it becomes a friendly fast travel point rather than a combat encounter.
Technical and Troubleshooting Questions
Q: I freed the Bell Beast but the fight won't start - what's wrong? A: Make sure you're using the Silk Spear correctly on all the webs restraining the creature. If some webs remain, the boss won't activate. Cut all visible webs in the chamber.
Q: The fight seems too hard - am I underleveled? A: The Bell Beast is designed to be challenging but fair for early-game players. Consider upgrading your health masks, obtaining the Druid's Eye charm from the Berry Picking quest, or practicing basic combat techniques on regular enemies first.
Q: Can I leave the boss fight and come back later? A: Once you start the Bell Beast fight, you're committed until victory or death. However, if you die, you can return from the nearby bench and try again. The boss doesn't reset your progress permanently.
Q: Are there any glitches or exploits for this fight? A: The Bell Beast fight is generally stable, but if you encounter any issues, rest at a bench and return. This often resolves any temporary problems with boss behavior or arena loading.
Related Guides and Resources
Essential Preparatory Guides
- Complete Silk Spear Location Guide - How to find the tool needed to start this fight
- The Marrow Area Guide - Complete exploration of the region containing Bell Beast
- Early Game Health Upgrades - Increase survivability before the fight
- Berry Picking Quest (Druid's Eye) - Essential early charm for healing
Advanced Combat Resources
- Pogo Attack Mastery - Perfect the key technique for this fight
- Boss Fight Fundamentals - Core skills for all boss encounters
- Healing Timing and Safety - When and how to heal effectively
- Arena Positioning - Master battlefield control
Post-Victory Guides
- Bellways Fast Travel System - How to use your new travel options
- Silk Heart Usage Guide - Maximize your new silk regeneration
- Early Game Progression Routes - Where to go after Bell Beast
- 100% Completion Checklist - Tracking all collectibles and bosses
Related Boss Guides
- Moss Mother Boss Fight - Another early-game boss encounter
- Lace Boss Fight Guide - Mid-game boss requiring similar skills
- Early Boss Comparison - Difficulty and reward analysis
Conclusion
The Bell Beast represents a pivotal moment in your Hollow Knight: Silksong journey. This carefully designed boss encounter teaches essential combat skills while rewarding victory with game-changing quality-of-life improvements. The Bellways fast travel system and Silk Heart you gain from defeating the Bell Beast will benefit you throughout your entire playthrough.
Key takeaways for success:
- Patience over aggression - Learn the patterns thoroughly before trying to optimize damage
- Positioning is crucial - Control the center of the arena for optimal reaction time
- Phase 2 requires adaptation - Accept the slower pace and focus on survival during bell barrages
- The rewards are worth it - Fast travel and silk regeneration dramatically improve your gameplay experience
Remember that every player learns boss patterns at their own pace. Don't be discouraged if the fight takes several attempts - each death teaches you something new about timing, positioning, or pattern recognition. The skills you develop fighting the Bell Beast will serve you well against every future boss in Silksong.
Most importantly, enjoy the satisfaction of overcoming this challenge. The Bell Beast fight represents the perfect balance of difficulty and reward that makes Hollow Knight: Silksong so compelling. Once you master this encounter, you'll have the confidence and skills needed to tackle even greater challenges in Pharloom.
Sources and Additional Resources
- Video Guide: https://www.youtube.com/watch?v=ZQN3IJ0TRsQ
- Community Wiki: Hollow Knight: Silksong Boss Database
- Developer Commentary: Team Cherry design philosophy on early-game bosses
- Speedrun Community: Optimized strategies and advanced techniques
- Player Forums: Community strategies and troubleshooting tips