


Light spoilers for a mid‑early boss. This guide covers mechanics, arena hazards, and progression outcomes.
Summary
- Region: Deep Docks (far eastern end), duel‑style arena with lava edges.
- Requirement: Swift Step needed to reach the gate lever and trigger the encounter.
- Why it matters: Beating Lace opens the route toward Far Fields and main‑story progress; expect a later rematch.
Location & Requirements
- Area: Deep Docks — head east until you reach a locked gate near a narrow platform.
- Unlock: Acquire Swift Step to access a lever above/behind the gate, then return to initiate the fight.
- Audio cue: Lace hums/sings near the gate, confirming you’re close.
- Bench: Rest at a nearby bench before attempts to shorten runbacks.
Arena & Hazards
- Narrow, single platform bordered by lava on both sides; staying centered preserves reaction time.
- A mistimed dash can send you into the lava. Stun‑locks near edges can tick extra damage (for both you and Lace).
Moveset → Counters
- Parry → Flurry Riposte: She posts the pin like a guard; striking into it triggers a multi‑hit riposte (often 2 masks). Counter: Don’t swing front‑on—hop past or Swift Step behind, then punish.
- Lunging Thrust: Points the pin forward, then slides across half the arena. Counter: Short hop over the lunge and tag the recovery.
- Two Wide Slashes: Forward‑carrying double arcs. Counter: Jump the first arc; hit during the flourish.
- Jumping Dive Slash: Brief hang, then a diagonal dive from apex to impact. Counter: Run under on the jump tell.
- Flashing Air Assault (phase): A bright white circle appears in mid‑air; Lace blurs through it several times then ground‑slams. Counter: Exit the circle, wait it out, punish the landing.
Step‑by‑Step Strategy
- Play mid‑range to widen reaction time for aerials and thrusts.
- Bait a commit, then back‑stab: short‑hop the thrust or dash through the double‑slash, then hit from behind.
- Respect the parry: if the guard is up, disengage or reposition with Swift Step.
- Phase attack: treat the flashing circle as a no‑hit zone; punish only after the slam.
- Healing: Short air‑heals between patterns are safer than grounded heals; don’t heal near edges.
- Arena use: Extra lava ticks are nice, but don’t chase at the edge—reset center control.
Recommended Tools/Crests
- Mandatory pathing: Swift Step for approach; still valuable during the duel for repositioning.
- Tools: Straight Pin (chip damage without silk) and any reach boosters if available for safer punishes.
- Crests: Prioritize movement control and healing safety early; add damage only once consistency is high.
Rewards & Progress
- Route unlock: Opens the way toward Far Fields and subsequent main‑story beats.
- Expect rematch: Lace appears later in a new arena with adjusted patterns.
Tips & Common Mistakes
- Don’t swing into the parry guard; it often costs two masks.
- Avoid cornering yourself near lava; maintain mid‑screen spacing.
- Over‑dashing through the thrust can overshoot into the edge—use short hops when unsure.
No‑Hit Notes (Advanced)
- Mid‑screen anchor: Keeps both thrust and dive within short hop / run‑under reaction windows.
- Micro‑buffers: Tap jump on thrust telegraph to guarantee a clean hop without pogo.
- Circle phase: Stand just outside the radius; step in the moment her slam recovery begins.
Route & Map Pointers
- After victory, sync nearby benches and bells for routing. See 100% map route for broader progression context.
FAQ
- Is Lace optional? No—the first encounter gates progress toward Far Fields.
- Can I heal safely? Yes—prefer short aerial heals between patterns or after a whiffed thrust.
- Is there a second fight? Yes—guides note a later rematch in a different arena.
Related Guides
Map Preview
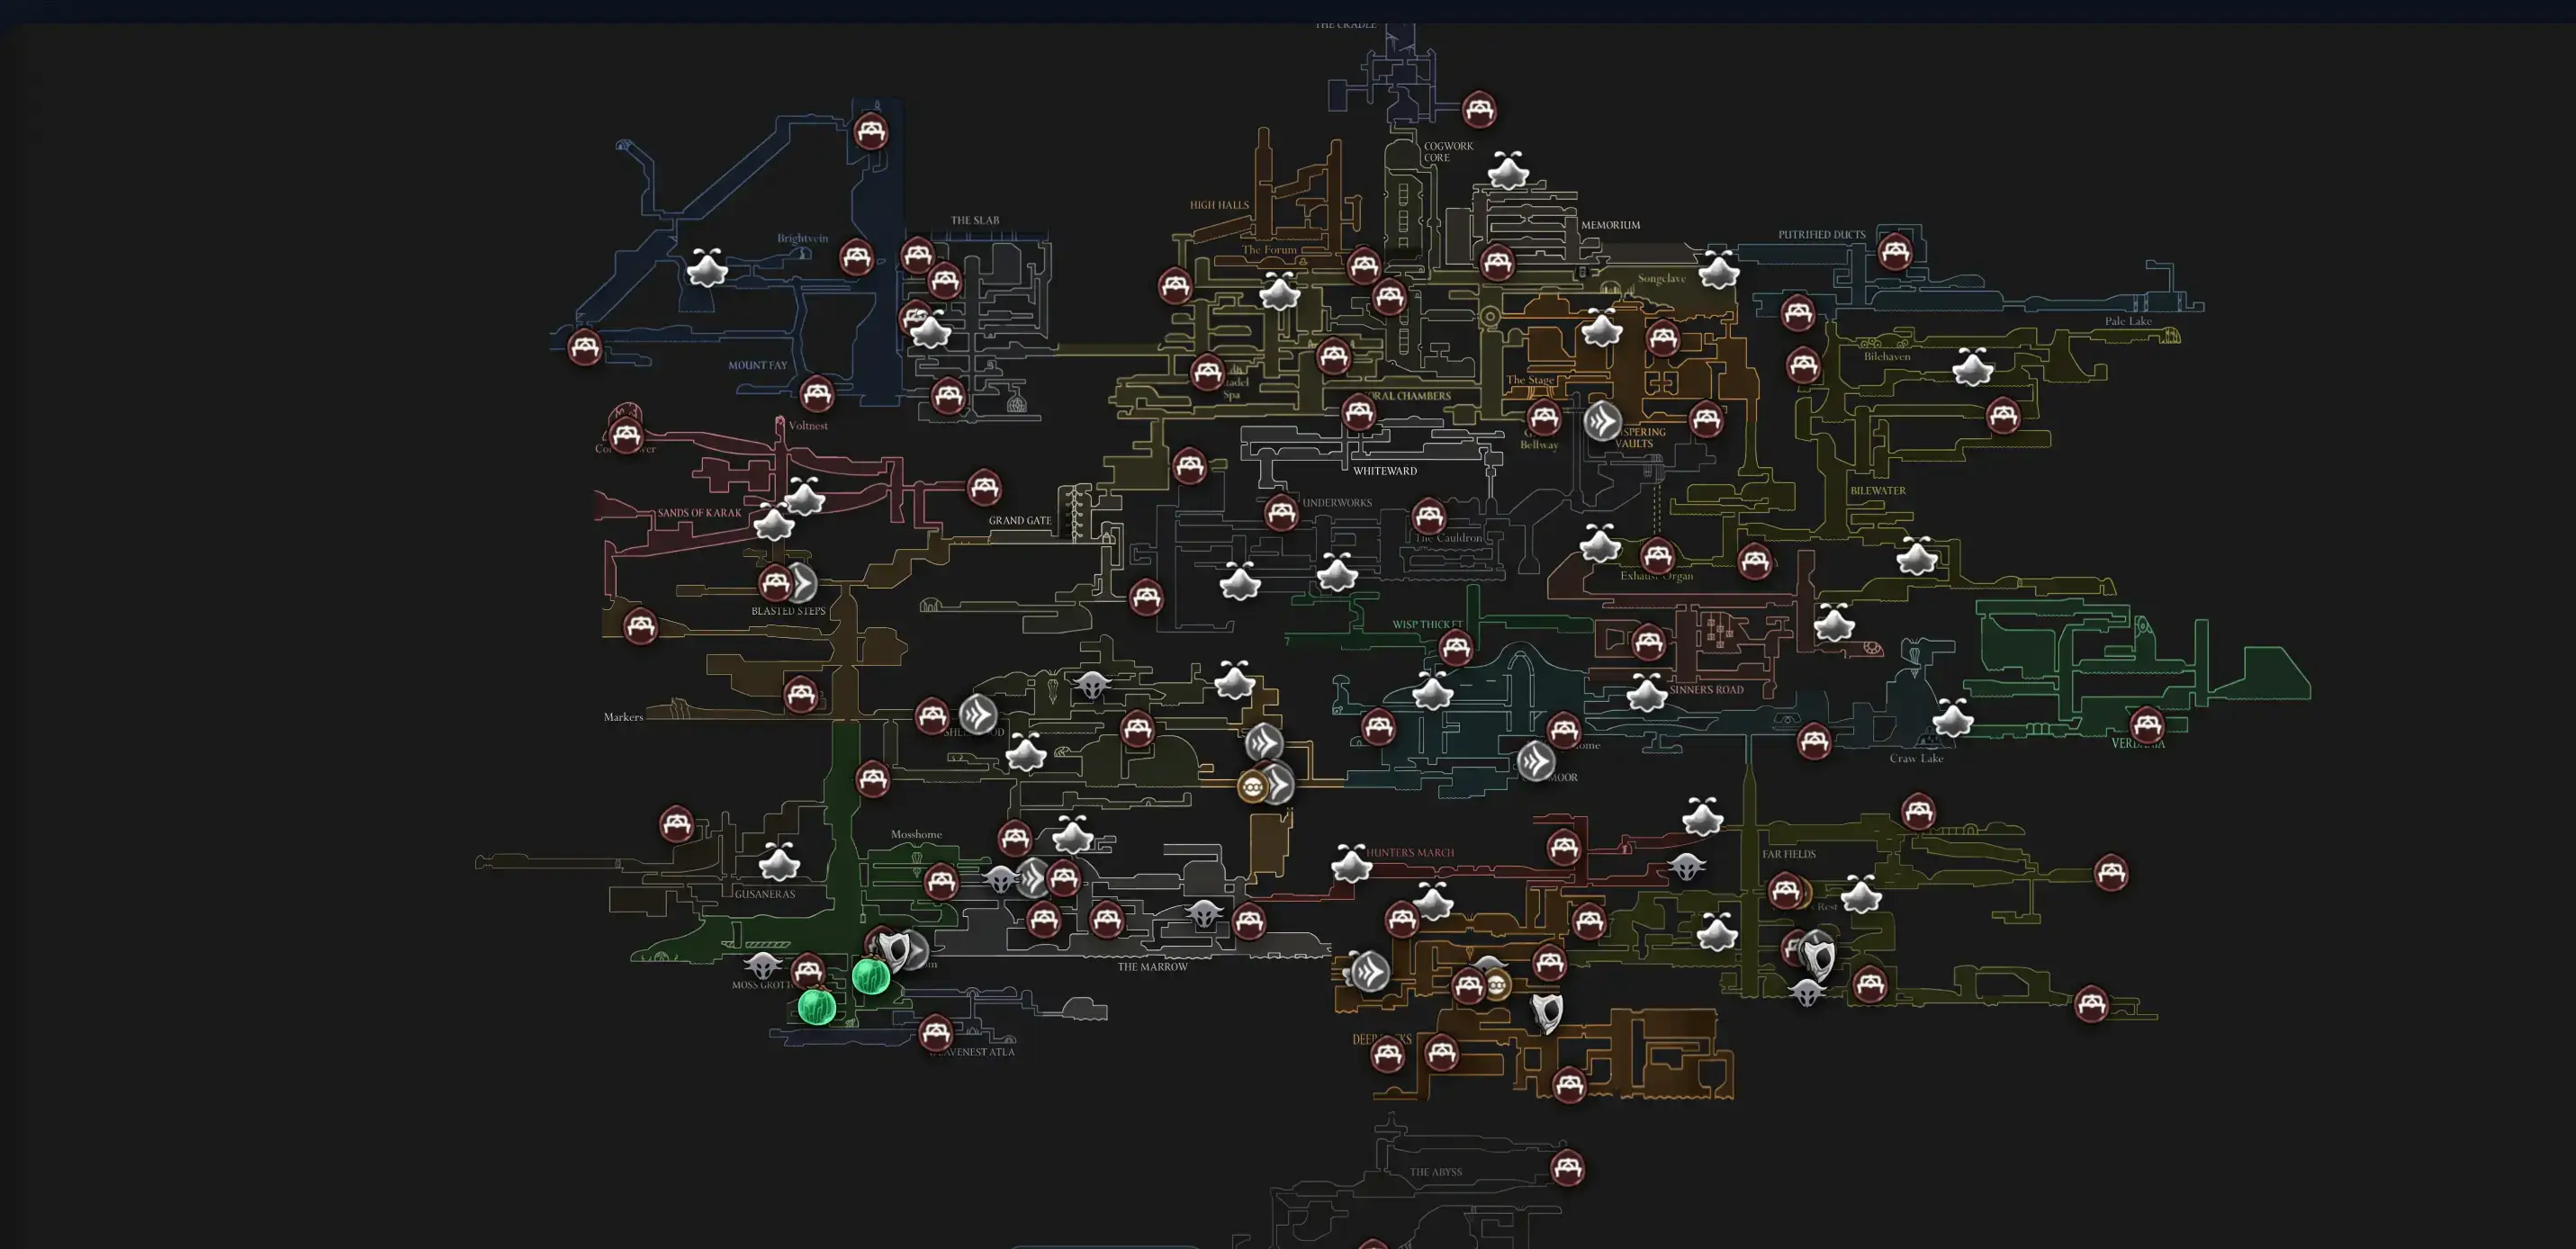
Open Interactive Map
Opens the full interactive Silksong map in a new tab.
Sources
Location, requirements, attack patterns, and route implications reflect launch‑window guides and verified gameplay uploads. Re‑check in‑game logs and storefront notes for any patch adjustments.