


Light spoilers for an area gate boss. Covers allies/skip options and the route toward Shellwood.
Summary
- Where: Far right edge of Greymoor, on the path to Bellhart → Shellwood.
- Outcome: Defeating Moorwing opens the door toward Bellhart; continue left to enter Shellwood.
- Allies: After a first encounter/loss, you can recruit Garmond & Zaza to assist mid‑fight.
- Possible skip: Completing “The Lost Fleas” can place the Flea Caravan in the arena, letting you pass without fighting (sequence dependent).
Route to Shellwood (Step‑by‑Step)
- Clear Greymoor ramparts and reach the locked gate at the Bellhart border.
- Climb above the gate to hit the mechanism; drop to unlock it and advance to the Moorwing arena.
- Beat Moorwing → a left door opens. Pass the sign and transition into Bellhart.
- Traverse Bellhart leftward to enter Shellwood. There’s no additional boss gate between them.
- Optional: Early in Shellwood, loop to find Shakra and purchase the Shellwood map for easier navigation.
Moveset → Safe Counters
- Dive/Swoop: Short‑hop or glide past; down‑slash or arc slash as it recovers, then reset.
- Pull‑back → Drill Flurry: The hand‑knife rush—dash away on the wind‑up; punish at the tail end only.
- Ground Saw‑Blades (boomerang path): Give the lane space; jump only after they pass under to avoid the upward return.
- Circle AOE (two blades): When inverted, two blades sweep a large circle—sprint clear or hug safe edges so blades fall outside.
Healing windows: Best during staggers or a safe mid‑air float after a clean Dive pass.
Strategy (Consistent Clear)
- Stay mid‑range to read flurries and saws; take one‑hit punishes.
- Drop Sting Shard (AOE trap) during blade wind‑ups or post‑Dive to lock in safe damage.
- Reaper Crest widens your slash arc for safer tags during aerial passes.
- Optional safety strat: From the right updraft, reach the upper platform and poke from the extreme ledge. Slower but forgiving; may be patched.
Recommended Tools/Crests
- Crest: Reaper Crest for wide arcs and safer aerial tags.
- Tool: Sting Shard from Forge Daughter (AOE trap; Moorwing’s large body takes full ticks).
- Build focus: Mobility and heal safety first; add damage once consistent.
Allies & Skip Options
- Garmond & Zaza: After your initial encounter/loss, ride the updraft to speak with them; they can join mid‑fight and create safe heal pockets.
- Flea Caravan: If you finish “The Lost Fleas,” the caravan may park in the arena so you can pass without the fight. Reports vary on later respawns—assume sequence dependence.
After the Fight: Bellhart → Shellwood
- Left door opens toward Bellhart; continue left to enter Shellwood.
- Early Shellwood tip: Find Shakra to buy the area map—quality of life for vertical loops.
Tips & Common Mistakes
- Don’t chase through saw returns—reset spacing and wait the lane out.
- Save Silk for heals during staggers; tool spam often trades poorly.
- Avoid cornering; use mid‑screen to preserve reaction time to dives and flurries.
FAQ
- Do I need to beat Moorwing to reach Shellwood? Usually yes; a Flea Caravan skip can appear if you completed “The Lost Fleas.”
- What’s the best loadout? Reaper Crest + Sting Shard; emphasize mobility/heal safety early.
- Can I get help? Yes—recruit Garmond & Zaza after the initial encounter.
Map Preview
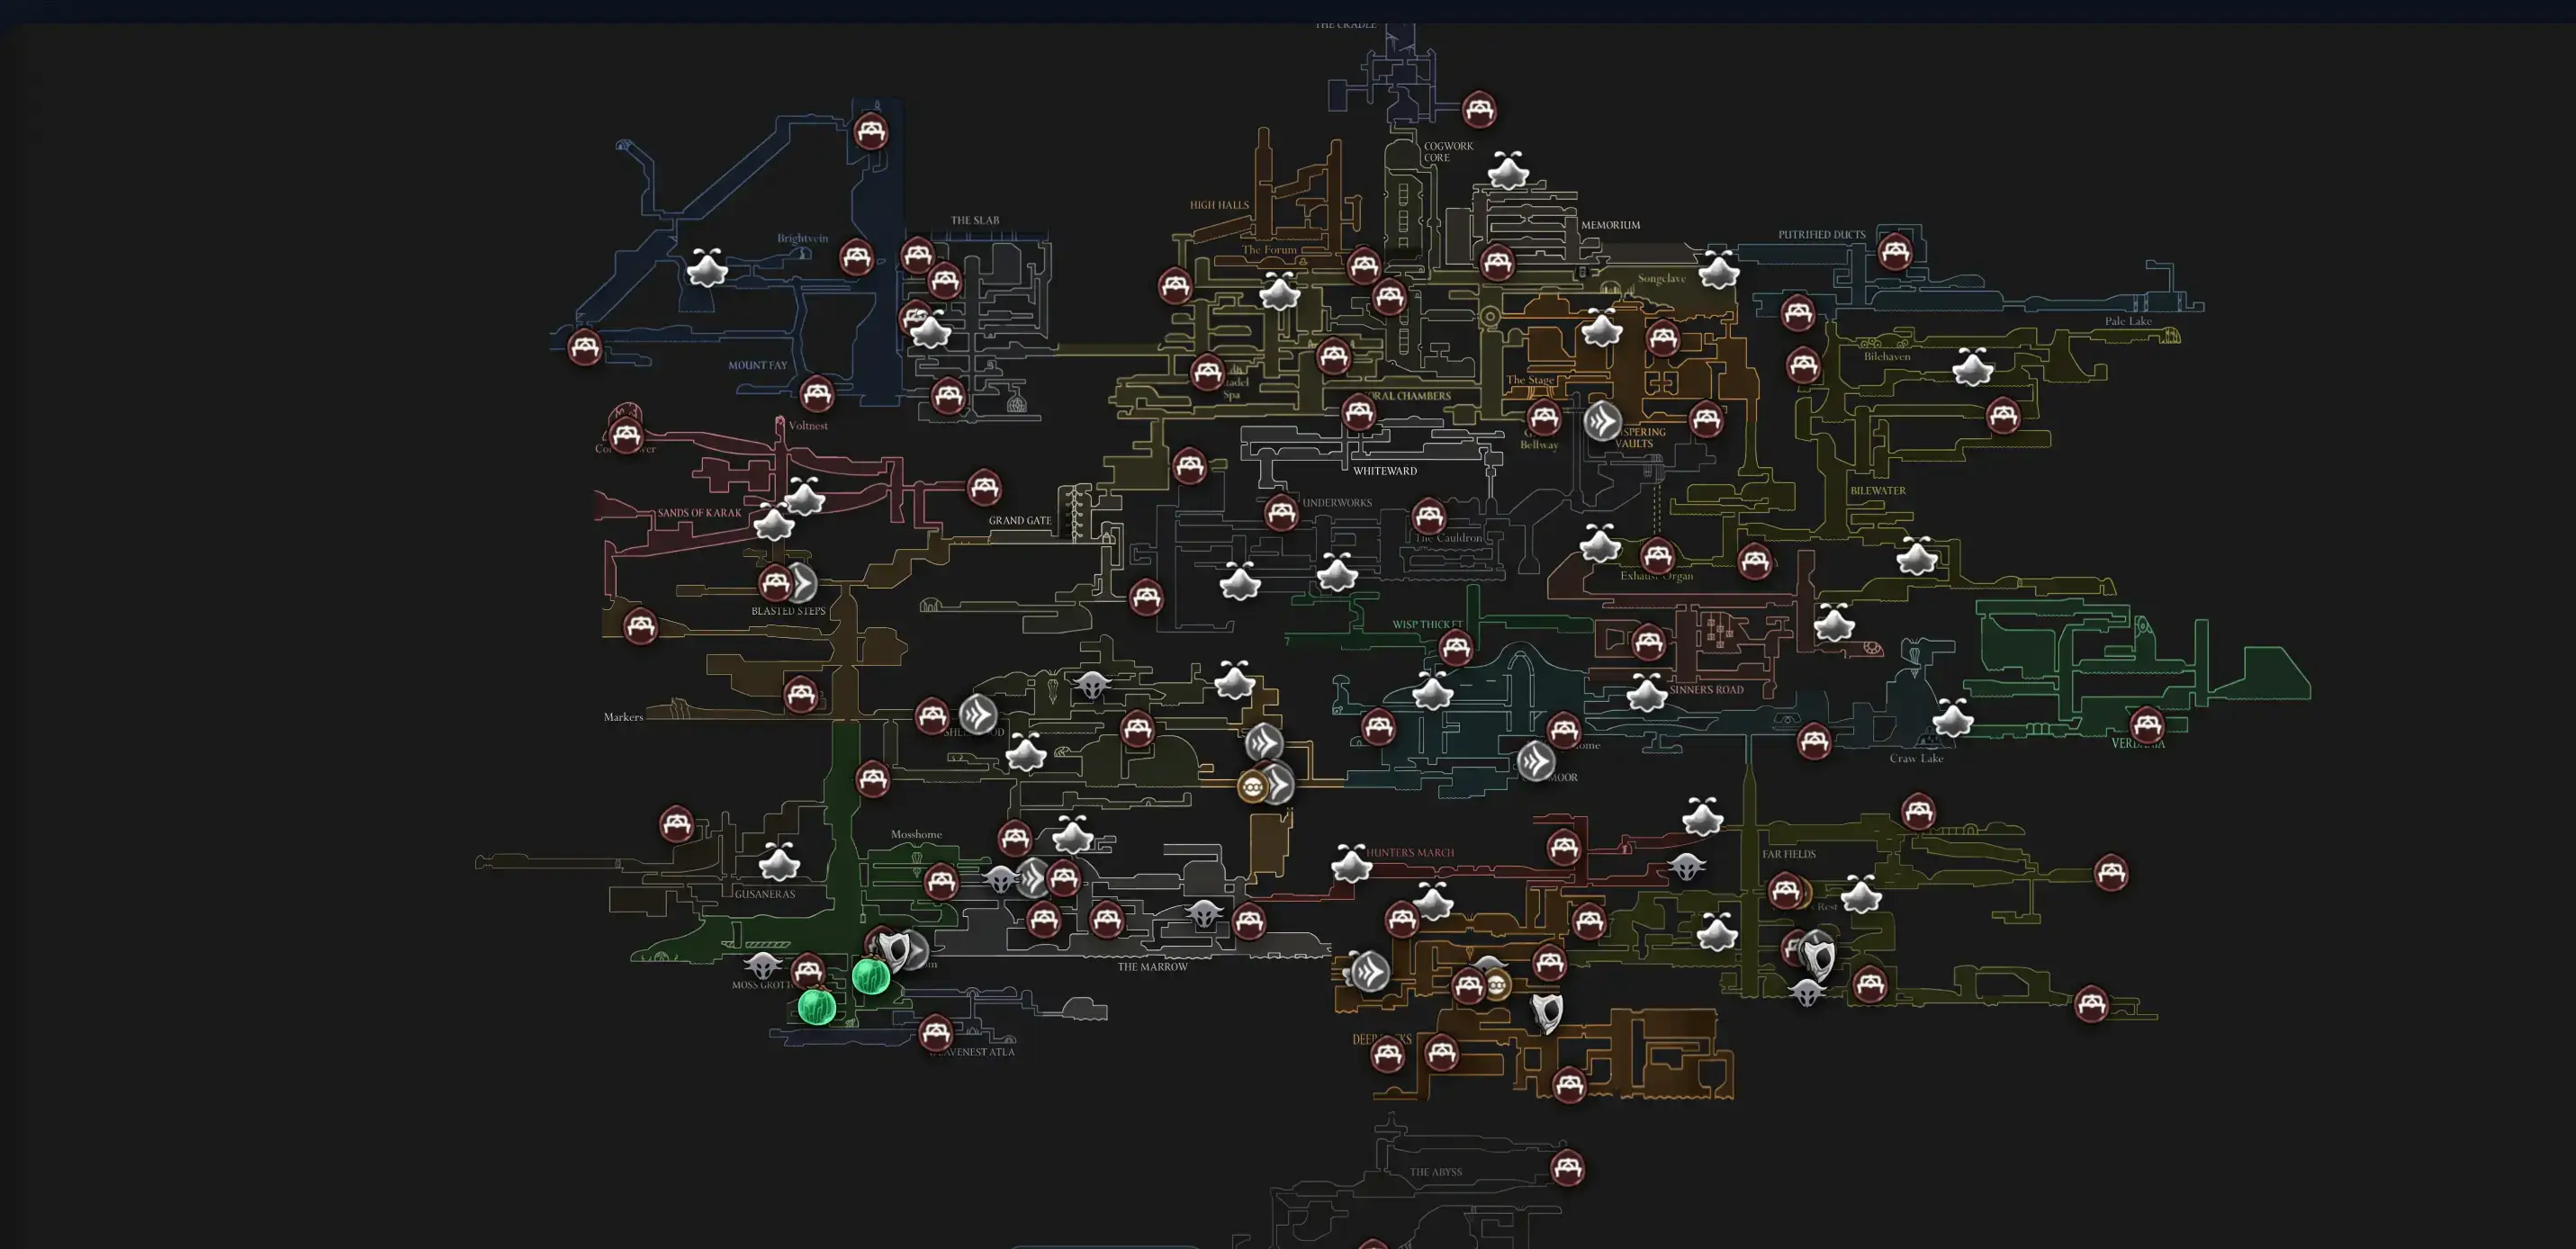
Open Interactive Map
Opens the full interactive Silksong map in a new tab.
Sources
- Boss/route video: https://www.youtube.com/watch?v=mv2gSWqfFKQ