


Light spoilers only. These are small discoveries and QoL tricks gathered from community runs and verified routes where possible.
Summary
- Fast travel has layers: free the Bell Beast, then expand with later systems.
- Maps are forgiving: Shakra can sell missed maps after she moves on.
- Benches can be puzzles: some require fixes or have tricks nearby.
- Currency safety exists: Rosary Strings act like “banking with a fee.”
Fast Travel, Maps, and Vendors
- Bell Beast unlocks bell travel. See Bell Beast — Fast Travel System for the first unlock and station behavior.
- Two networks: Early bell travel is later complemented by additional nodes (often referenced as Ventrica). Using both drastically reduces runbacks between Citadel districts.
- Missed a map? If Shakra leaves before you buy, she can reappear in town to sell missed area maps once you progress. Listen for humming in‑area; check hub returns if you miss her.
Benches, Binds, and Safety
- Trap or trick benches: Certain benches require an extra step before they’re safe or usable (hidden walls, repairs, or mini‑gauntlets). Treat new benches like light puzzles before committing.
- Bench hubs matter: In challenging zones like The Slab or ducts, anchor at a hub bench and build short scouting loops to reduce risk.
- Injector‑style tools: Consider a bind‑safer tool in boss routes where downtime is tight.
Combat and Resource Details
- Enemies with conditional drops: For collection quests (e.g., Far Fields’ Flexile Spines), triggering enemy behaviors often improves yields versus raw defeats.
- Crest effects: Crests can subtly reshape needle arcs and pogo feel; experiment when your spacing feels “off.”
- Strings as safety: Convert loose Rosaries into Strings before risky segments; you’ll recover a portion later at a vendor.
Traversal and Hidden Paths
- Memorium detour to ducts: A hidden ceiling in the Memorium map room leads outside to a bridge, then into the Putrifield Ducts via a breakable wall.
- Citadel shortcuts: Interior toggles in Whispering Vaults and Underworks stitch strong return paths—flip them early.
- Audio tells: Hums (Shakra), choral pads (Chambers puzzles), and wind cues (Far Fields) are practical navigation signals.
Area‑Specific Little Details
- Cold exposure in The Slab encourages pathing from fire to fire during outdoor segments.
- Some benches in long‑runback regions (e.g., road or march routes) hide fixes or safer sit spots behind a breakable wall nearby.
- Hidden wall conventions: Exterior stone seams and unusually flat panels often mask breakable tiles—poke them when a route feels “almost connected.”
- Forum prep in High Halls: Flyers chip your binds—save a throwable/pin for the final wave.
Early QoL Purchases
- Magnetite‑style pickup: A modest-cost trinket that improves Rosary pickup comfort pairs well with early map/key saving.
- Simple Keys: Useful for optional doors and early shortcuts; save one for routes you plan rather than impulse unlocking everything.
Notes and Caution
- Cheats and platform‑specific codes circulate widely; availability can vary. Treat “unlock codes” as platform/version‑dependent features.
- Prices, names, and exact NPC placements can differ by build and progression state; use hub vendors and benches as your safety anchors.
FAQ
Q: How do I know if a bench is safe to sit? A: If something looks “off” (broken, blocked, or oddly placed), scout the room. Look for a hidden wall, lever, or interactable before committing.
Q: What if I miss Shakra in an area? A: Keep exploring; she can sell missed maps later once you’ve progressed. In‑area, listen for humming; in towns, check hub returns.
Q: Are Rosary Strings worth it early? A: Yes, they protect value when practicing bosses or traversing hazard‑dense routes. The trade‑off is a small fee when converting back.
Related Guides
- Bell Beast — Fast Travel System
- Rosaries — Earn and Spend
- 100% Route — Region Order
- Memorium — Area Guide
- Putrifield Ducts — Area Guide
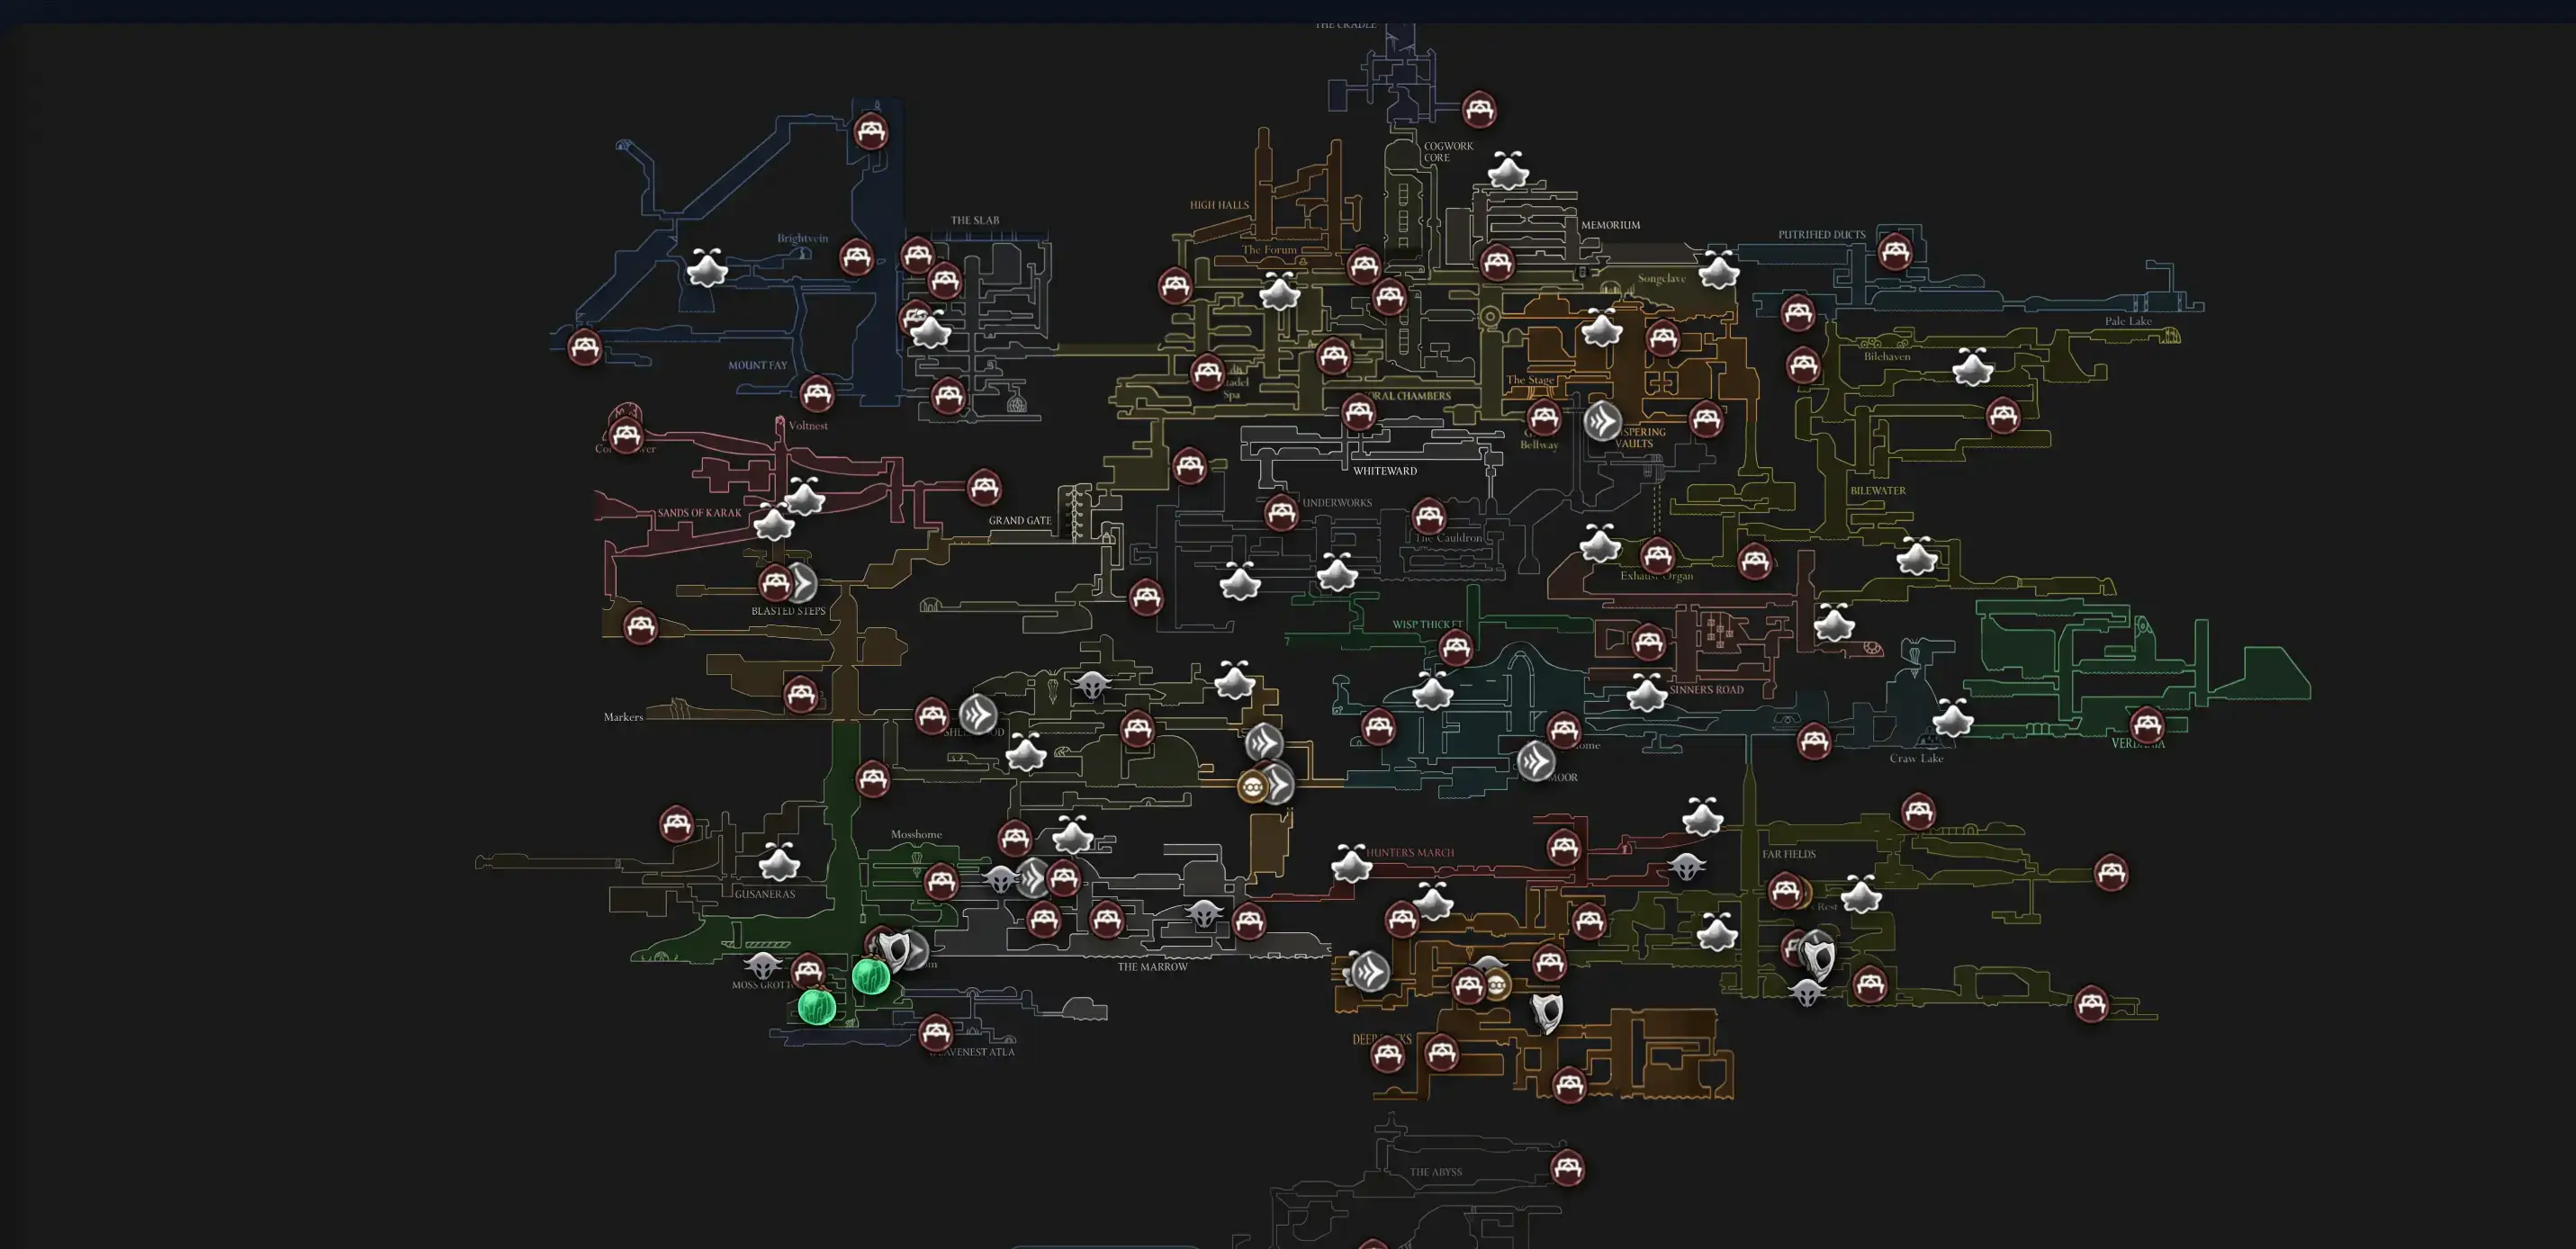
Open Interactive Map (All Areas)
Opens the full interactive Silksong map in a new tab.