


Summary
- Who: Grand Mother Silk — Act‑2 capstone encounter in the upper Citadel.
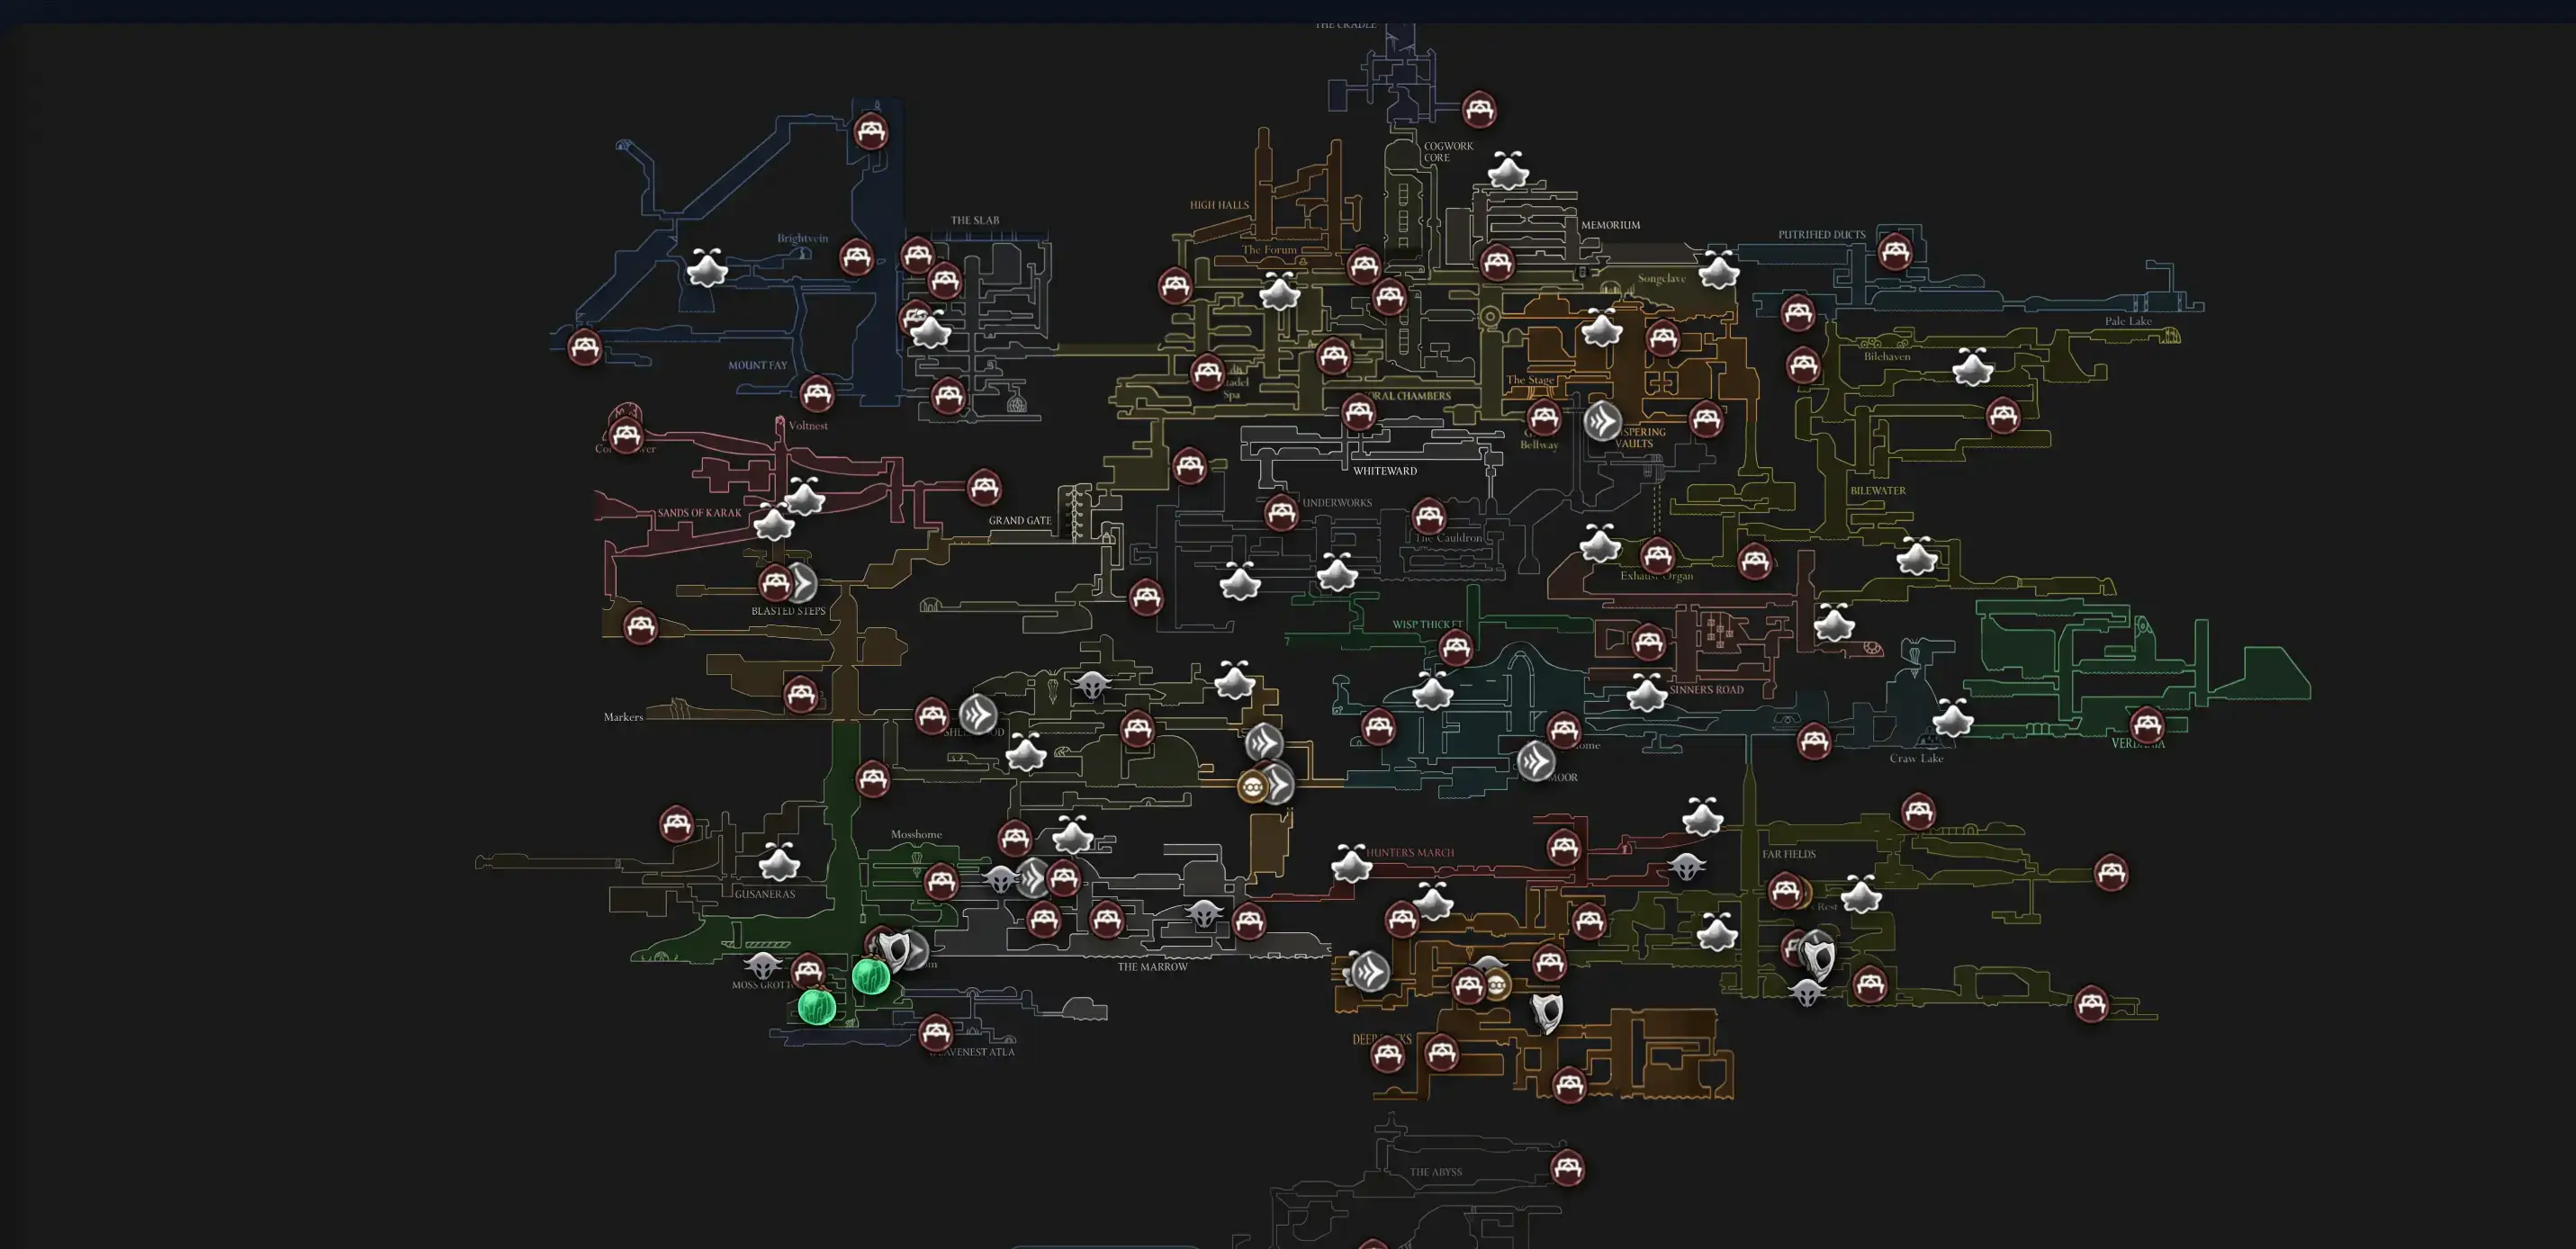
- Where: The Cradle top bridge (unlocked after Lace — Act 2).
- Why it matters: If alternate conditions aren’t met, defeating her triggers the credits immediately; specific routes branch into additional content.
How to Reach the Arena
- Progress Act 2 and defeat Lace’s second encounter to open access to The Cradle.
- Traverse the Cradle’s vertical chambers and climb to the long top bridge.
- Step onto the bridge center to begin the fight.
Recommended Loadouts (Comfort > DPS)
- Crests: Reaper Crest (clean pogo arcs/aerial confirms) plus one survivability crest to buffer mistakes.
- Tools: Injector Band (safer binds between strings), Flintslate (short damage windows), Cogfly (reliable chip while dodging). Optional Magnetite Dice for occasional damage negation.
- Alternate plan: A steady chip tool rewards disciplined movement if you avoid trading.
Tip: Many routes assume the boss has no contact damage—use selective dash‑throughs to stay close during recoveries, but only after a committed swing.
Moveset & Phases
Grand Mother Silk fights while orbiting pins sweep lanes and silk strands seed hazards across the arena.
Phase 1
- Strafing Blades / Pin Flurry: Horizontal/vertical lane sweeps; stand in gaps and micro‑adjust.
- Claw Swipe: Wide arc with pins falling behind the arm; edge‑side spacing is safer.
- Silk Field / Grab: Dense silk lines punish contact—drop to clean lanes before re‑engaging.
Transition
- Brief disappearance and silk line telegraphs, followed by rockfalls (center → sides). React to threads and reposition.
Phase 2 (Faster + Stage Hazards)
- Upgraded lane sweeps paired with rockfalls to squeeze space.
- Rockfall: Ceiling collapse telegraphed by silk threads; pre‑position out of lanes.
- Risen Spears / Ground Pins: Floor spikes from threads; avoid or break if safe.
Strategy — Consistent Clear Loop
- Openers: Hold slightly above/behind shoulder line; pogo only when blades aren’t in your lane.
- Punish: After Claw Swipe, dash through body, land 2–4 hits, disengage before the next string.
- Heals: Bind during post‑string downtime while chip tools cover you.
- Transition: Rotate away from falling rocks; center → sides → center is a common pattern.
- Phase 2: Prioritize thread reads (threads = danger lanes). When pressured, switch to two‑hit punishes and frequent resets.
Endings, Credits, and Branching
- Default roll: Binding her power commonly triggers a credits sequence if you haven’t met alternate conditions.
- Alternate outcomes: Community routes describe variants tied to different end‑of‑fight choices and prior questlines. Names vary by source.
- Branching to more content: Some routes indicate that completing specific wish chains and using Needolin at the decision point can lead past the standard credits into additional late‑game content.
Note: Exact names and triggers for endings can differ across sources; verify in your version before committing a run.
Boss Data (At a Glance)
- Area: The Cradle (top bridge)
- Phases: 2
- Key threats: Silk Field/Grab, lane sweeps during rockfalls, floor spikes
- Safe habits: Read thread telegraphs, keep pogo height controlled, dash‑through only after a committed swing.
FAQ
Q: Why did my game roll credits immediately after the fight? A: That’s the common outcome if you bind her power without meeting alternate route conditions.
Q: Is this the “true final boss”? A: It’s the Act‑2 capstone. Some routes extend beyond if you’ve set specific conditions beforehand.
Q: Any quick tip for Phase 2 consistency? A: Track silk threads first, then blades. Two‑hit punishes and frequent resets keep you safe when space is squeezed.
Related Guides
Open Interactive Map (All Areas)
Opens the full interactive Silksong map in a new tab.