


Spoiler‑light checklist for six mid‑game shards. Four shards combine into +1 Mask (max HP). This mirrors the video route and cross‑checks common sources.
Overview
There are 20 Mask Shards total; every four shards grant +1 max Mask. This guide covers shards 9–14 from the Part 2 video and highlights the mobility and quest steps typically needed at this stage.
TL;DR — Shards 9–14
- #9 Choral Chambers (Songclave): Buy from Jubilana after activating pilgrims + Wandering Merchant wish (≈750 Rosaries).
- #10 Mount Fay: Lower‑left alcove in the cold zone; Double Jump recommended.
- #11 Weavenest Atla: Enter via Needolin from Moss Grotto; hidden passage near the Rune Harp, lava/spikes.
- #12 Blasted Steps: Far‑left platforming chain; Grapple + Double Jump.
- #13 The Slab: Apostate Key door → trap‑pogo challenge to a hidden ledge.
- #14 Bilewater: Mid‑shaft scaffolds and upper structure.
Requirements & Prep
- Mobility: Faydown Cloak (Double Jump), Clawline (Grapple), Drifter’s Cloak (Glide), Cling Grip (Wall‑jump).
- Items: Needolin; Apostate Key for The Slab.
- Currency: ≈750 Rosaries for the Songclave purchase.
Locations — Step by Step
#9 — Choral Chambers (Songclave merchant: Jubilana)
- Ring the First Shrine to start the pilgrimage phase.
- Complete the Wandering Merchant wish and locate Jubilana in the Chambers.
- Return to Songclave to buy the shard (≈750 Rosaries).
#10 — Mount Fay (lower‑left)
- Traverse freezing corridors; use Double Jump to reach the nook safely.
- Plan short hops between safe spots; glides help stabilize.
#11 — Weavenest Atla (Rune Harp side)
- Enter via Needolin from Moss Grotto.
- From the teleporter floor, climb right to the Rune Harp room; break a bottom‑right wall to reveal a lava route.
- Double Jump + Grapple recommended.
#12 — Blasted Steps (south‑west climb)
- Start low on the left corridor; chain Grapple + Double Jump across collapsing floors and spikes.
- Expect a falling‑boulder set piece near the top.
#13 — The Slab (Apostate Key door)
- Use the Apostate Key on the top door in the central room.
- Step on the plate, then pogo the spinning traps and wall‑jump to the upper ledge with the shard.
#14 — Bilewater (mid‑shaft scaffolds)
- From the central shaft’s mid level, take the right path (not the bench route).
- Climb wooden scaffolds; Grapple up to the upper structure to find the shard near top‑right.
Troubleshooting
- Can’t find Jubilana: Ensure the pilgrimage bell is rung and the Wandering Merchant wish is completed.
- The Slab gate won’t open: You need the Apostate Key—progress other routes first.
- Cold damage in Mount Fay: Move room‑to‑room quickly and use glides to minimize exposure.
Sources
- Video: https://www.youtube.com/watch?v=TDkF5s6xwKI
- Cross‑checked with PCGamesN, GameSpot, and community route notes for costs and room specifics.
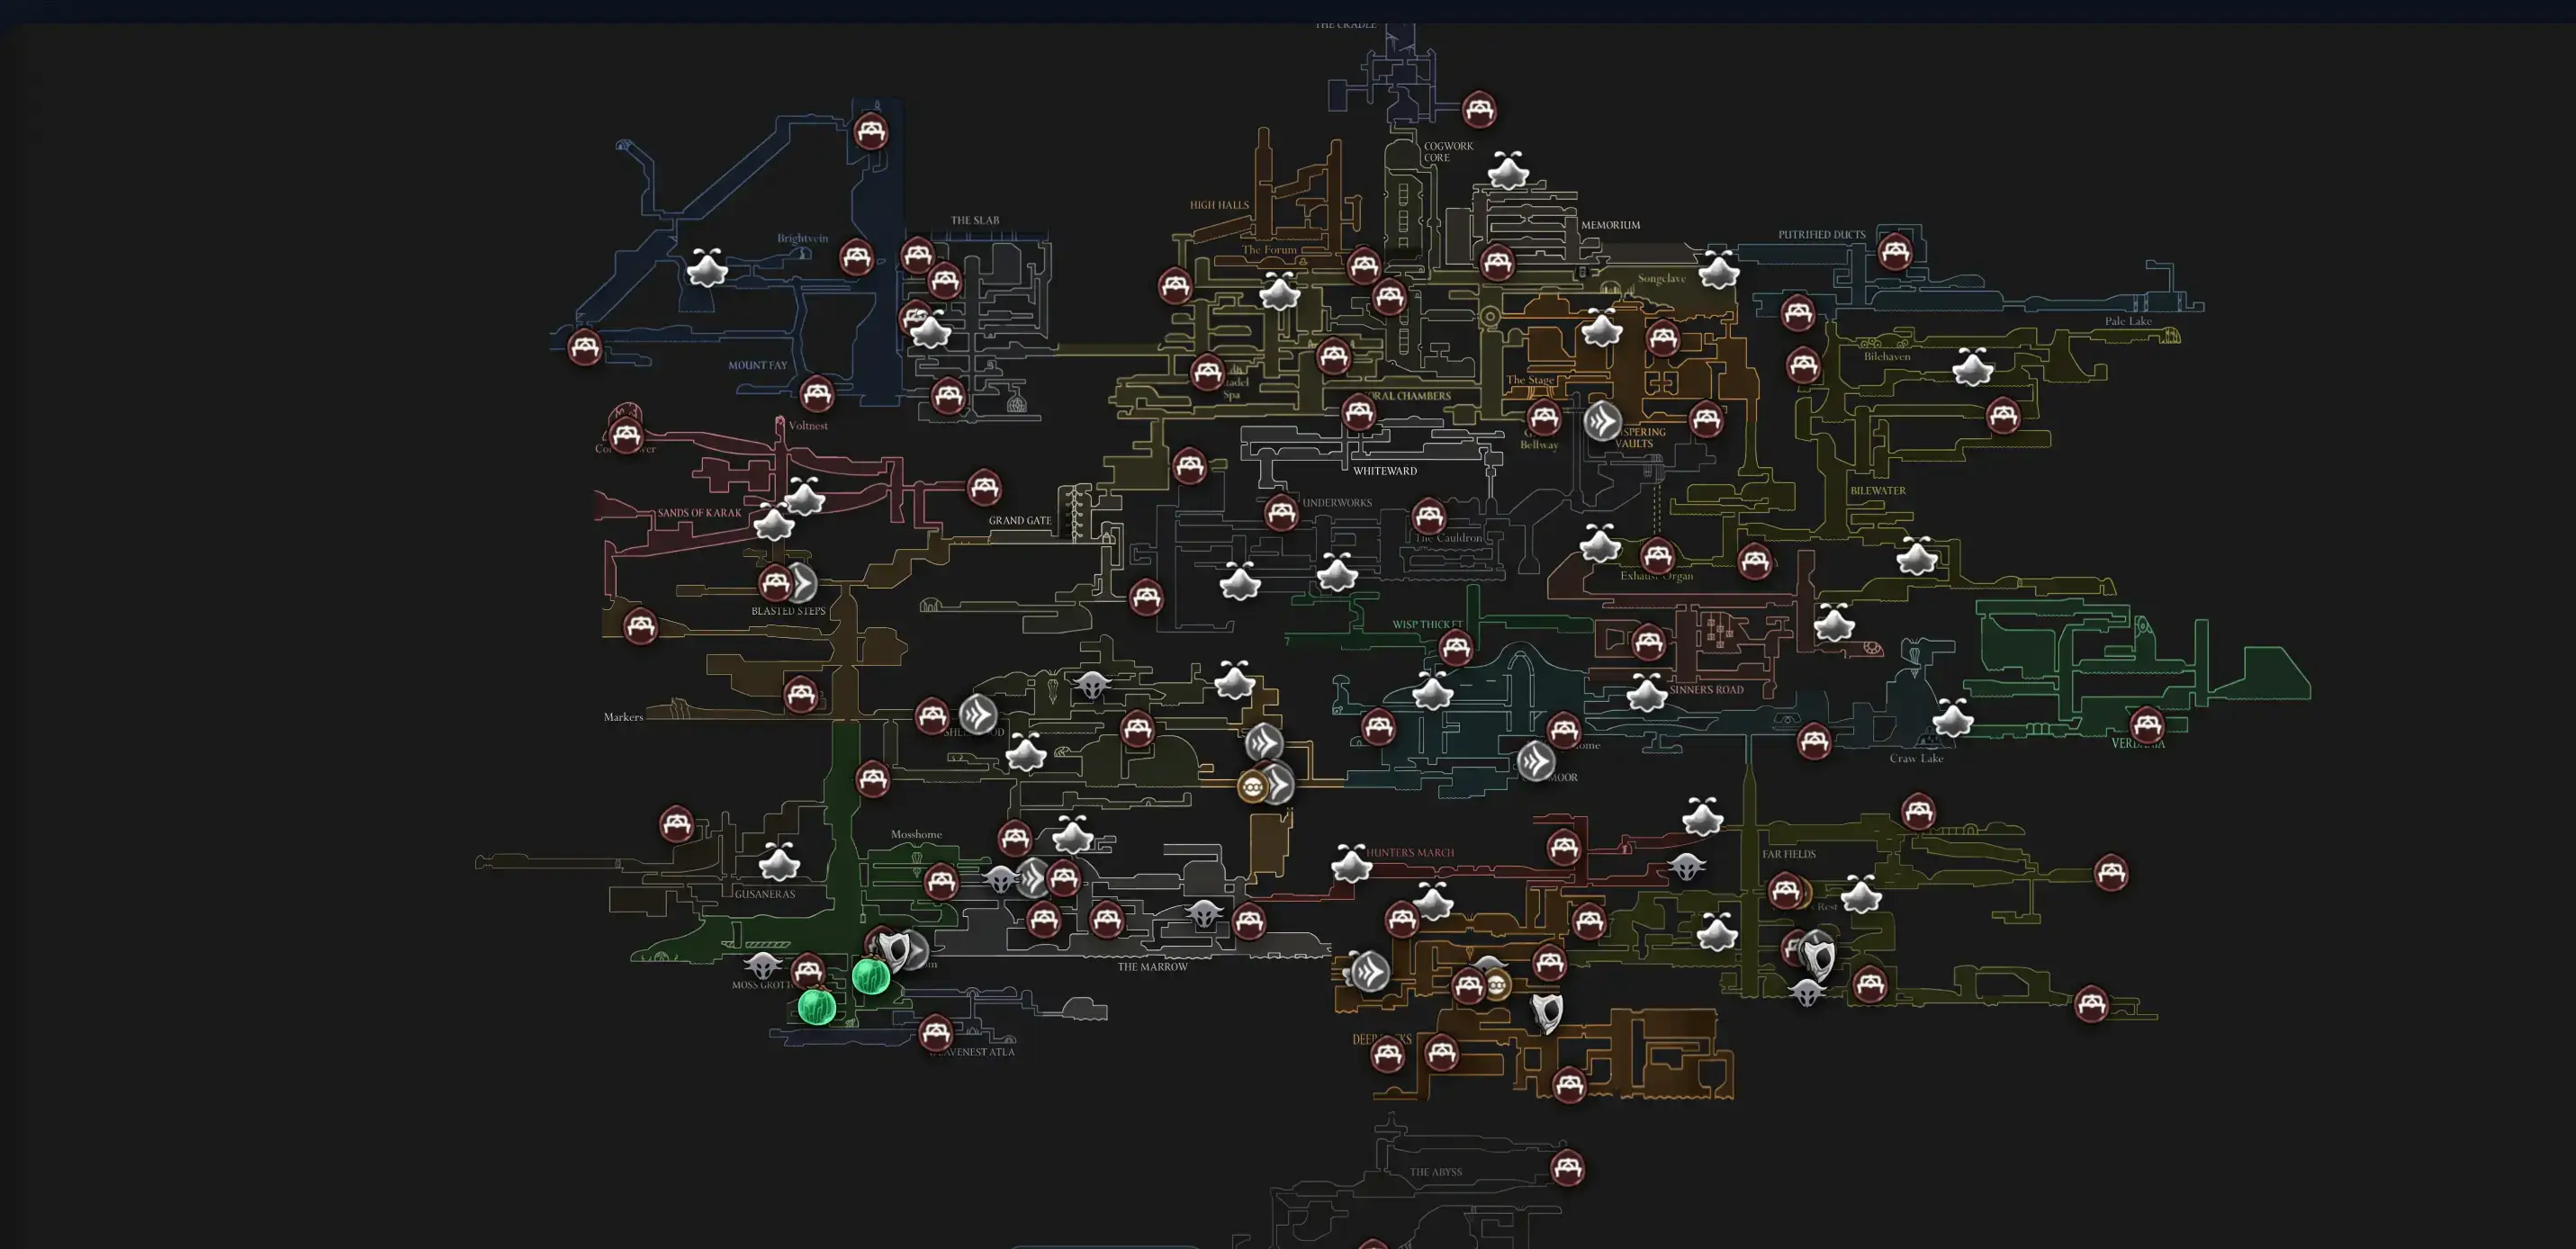
Open Interactive Map (All Areas)
Opens the full interactive Silksong map in a new tab.