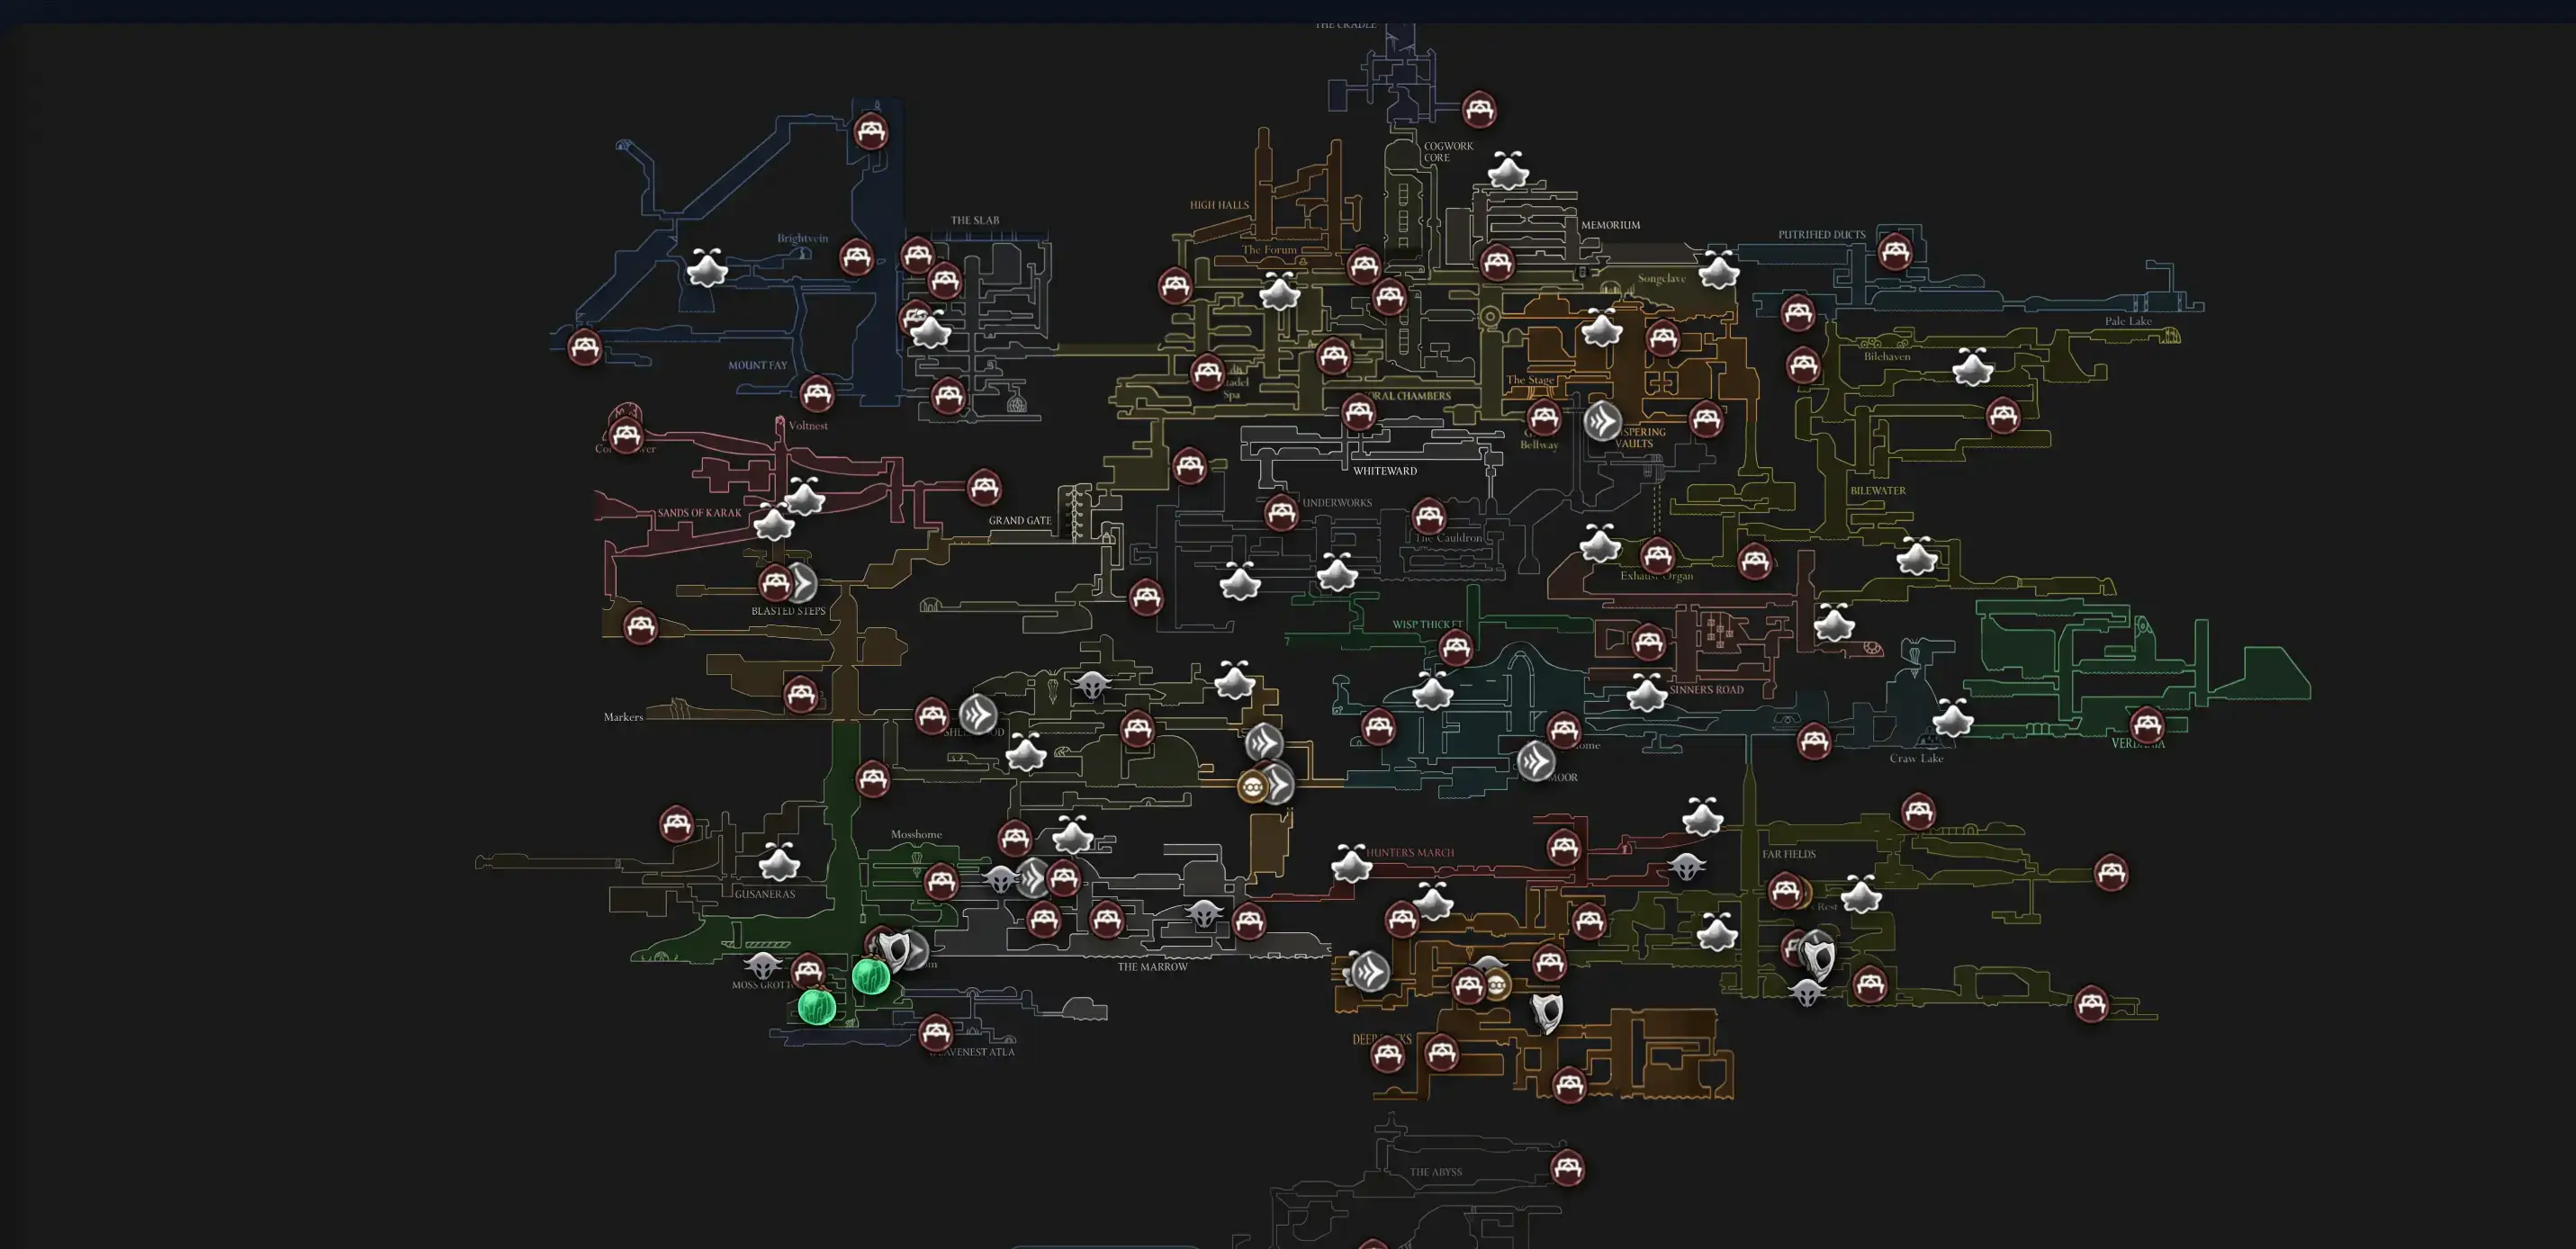
Optional encounter in Blasted Steps. Two Conchflies engage at once, but the fight ends as soon as one dies.
Summary
- Location: Blasted Steps (upper‑west niche off a climb‑heavy route).
- Win condition: Defeat either Conchfly; the survivor flees and the fight ends.
- Difficulty: Moderate—mechanics‑light and pattern‑driven with tight arena spacing.
- Reward: Opens the western path toward the Pinstress’s hut and Needle Strike (charged attack).
Location & Route
- Region: Blasted Steps, upper‑west. From within the zone, climb the right wall with Cling Grip, ascend across small platforms, then cut back up‑left to a doorway marked by a blue banner—the arena entrance.
- Prep: Cling Grip (wall‑movement) is strongly recommended; the approach is climb‑heavy.
- Visual: The video shows the exact doorway and the short runback path.
Moveset → Safe Counters
- Drill Dash: Bursts from a wall, crosses the arena, exits the opposite wall. Watch wall shakes; short‑hop and forward‑slash as it passes.
- Drill Slam: Pops up then drills straight down. Sidestep, then take 1–2 free hits on landing recovery.
- Conch/Drill Spit: Hovers and spits a bouncing projectile. Use the bounce spacing for a safe heal or tag it between bounces if confident.
Phase/end: When one Conchfly falls, the other roars and retreats—fight ends immediately.
Step‑by‑Step Strategy
- Hold center line. Mid‑arena positioning maximizes time to read Drill Dashes.
- Prioritize Slam punishes. That recovery window is your highest‑value damage.
- Heal on Spit. One pip is safe while the projectile travels and rebounds.
- Focus fire. Track the more grounded Conchfly (often the lower one) and burst it down.
Recommended Loadouts
- Tool: Warding Bell to cover heals in the tight arena and punish contact.
- Ability: Threadstorm for quick AoE when both overlap after a Slam.
- Crest: Reaper Crest to widen arcs for consistent tags during pass‑bys.
Rewards & Progress
- Western Blasted Steps route opens, leading quickly to the Pinstress’s hut where you can learn Needle Strike.
- Optional encounter but recommended for the upgrade and routing convenience.
Tips & Common Mistakes
- Don’t chase toward walls after a Dash—reset center to avoid blind entries.
- Don’t trade inside Slam—step out, then punish recovery.
- Keep heals short—take one pip during Spit, then re‑center.
FAQ
- Is this required? No. It’s optional but opens a useful route and an early upgrade.
- Fastest way to win? Tunnel on one target and convert every Slam punish—you only need one kill.
Sources
- Video: https://www.youtube.com/watch?v=pGBjIgpTzWM
- IntoIndieGames boss/location coverage (upper‑west niche, blue‑banner doorway, moveset, post‑fight path).
- PCGamesN area order/map notes referencing Conchflies and Pinstress/Needle Strike.
- Community wiki notes on paired behavior and retreat‑on‑one‑kill condition.
Open Interactive Map (All Areas)
Opens the full interactive Silksong map in a new tab.


